When we vector, what we do is convert an image that is in a bitmap, for example in jpg or png format, into a vector image (SVG). That is to say, we transform the pixels into vectors.
Working with vector images has certain advantages, these can be scaled without any distortion and they are ready to be edited. In this tutorial, we tell you how you can vectorize images using Adobe Illustrator. First, we'll vectorize an illustration, and then we'll repeat the process with a photograph.
Vectorize an illustration
Create new artboard and open image

Let's start by creating a new artboard in Illustrator, for that you just have to click on «File», at the top of the screen, and select "new". I'm going to make it A4 size and I'm going to place it horizontally.
Then we will open the illustration. You can do it in three ways:
- Directly dragging the image from the folder
- Pressing> files> place
- Using the shortcut shift command
I have downloaded any illustration from the internet and it is the one I am going to use. If you look and zoom in enough, you will see that the image has pixels, when we vectorize it those pixels will disappear. I'm going to duplicate the illustration so that you can see the changes and differences, but if you want you can skip this step.
Activate the «image tracing» panel and apply it to the illustration
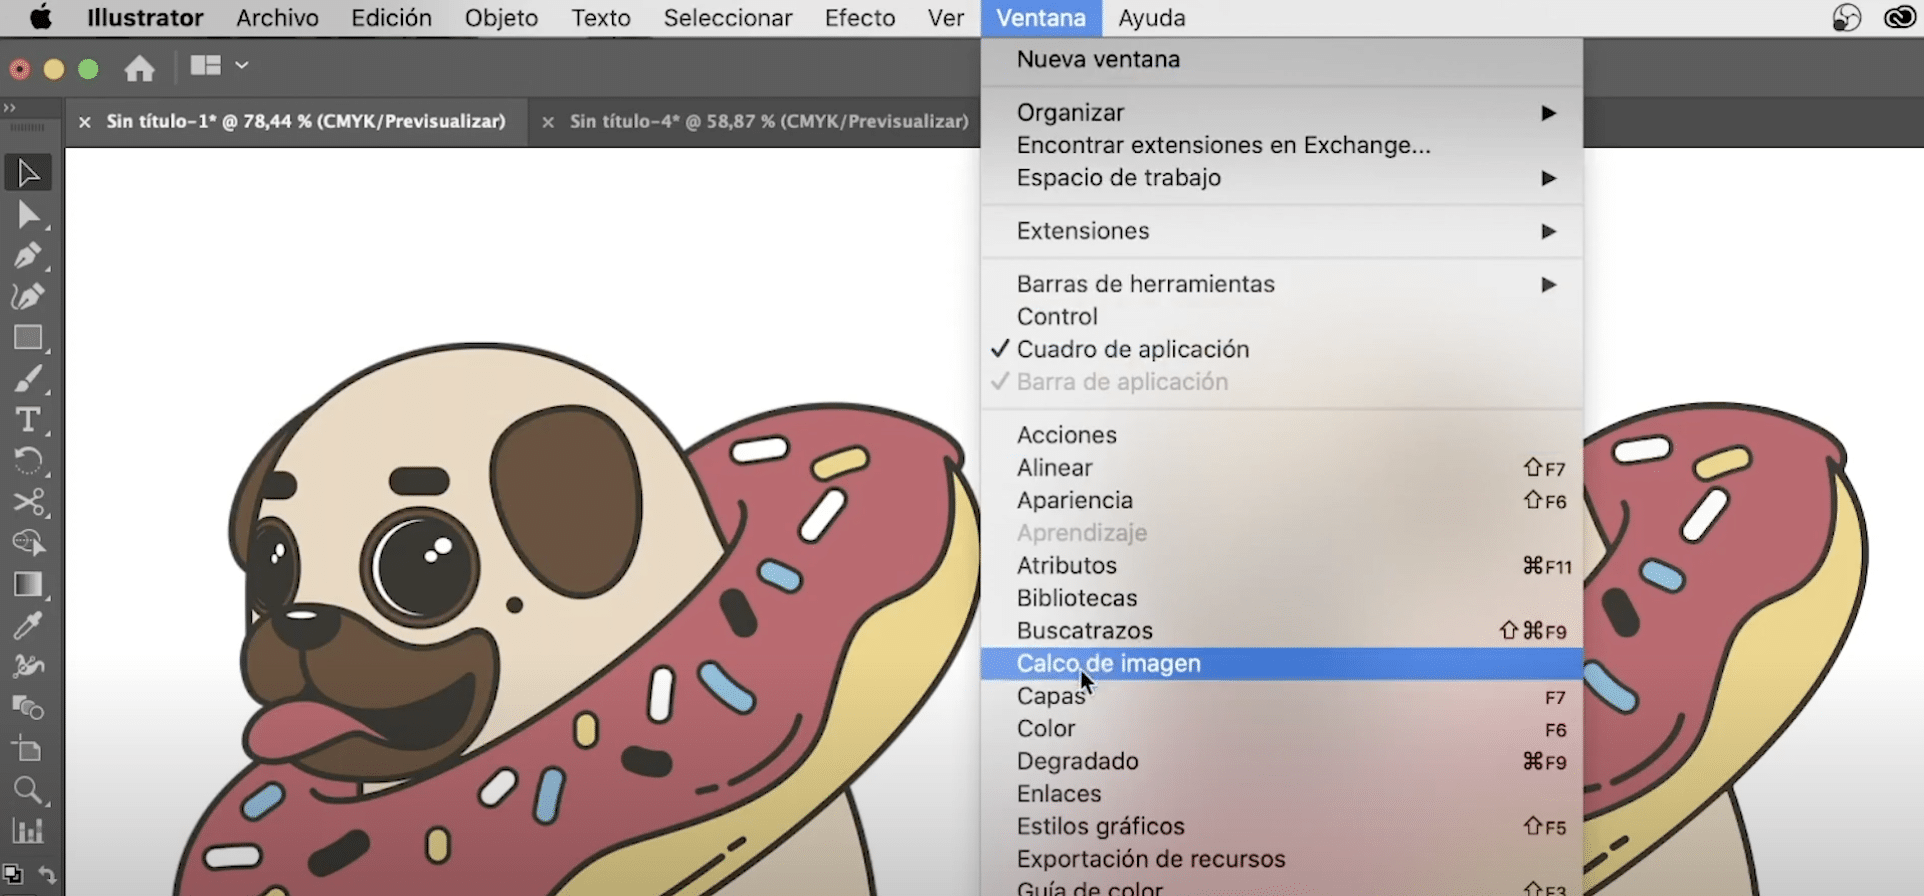
Now let's open the "image tracing" panel, which you may have hidden. To make panels and tools visible in Illustrator you have to activate them in the "window" tab (in the top menu). So we will go to "window" and among all the options we will select "image tracing".
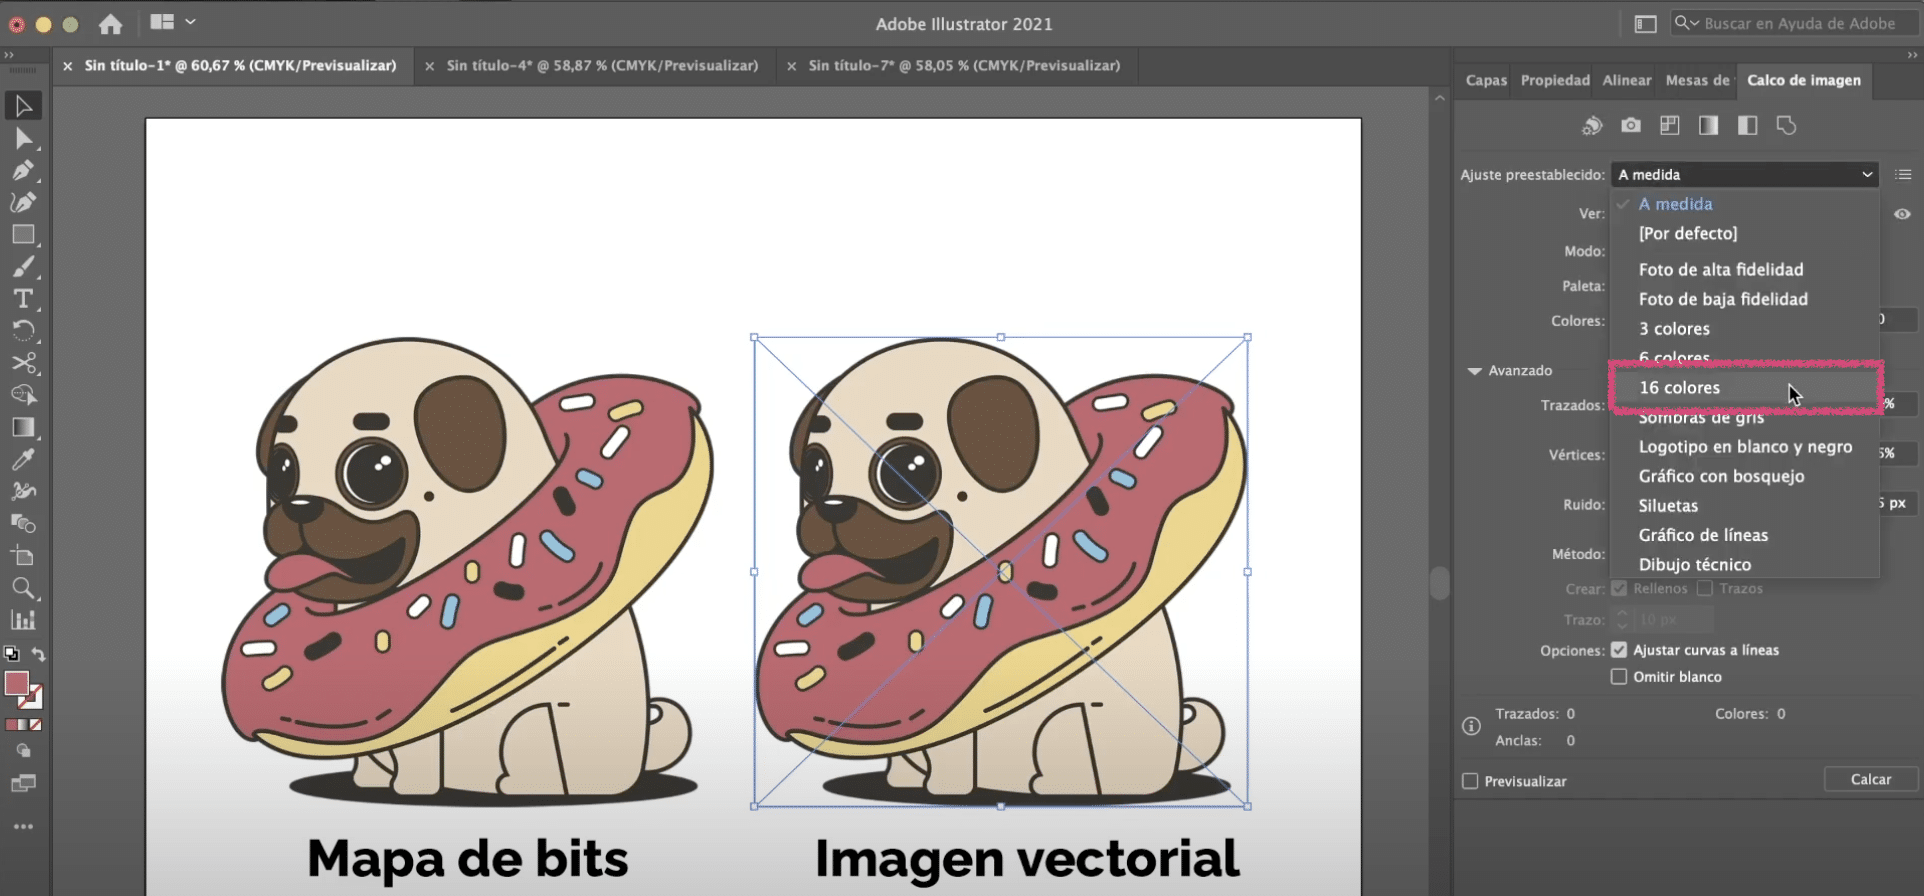
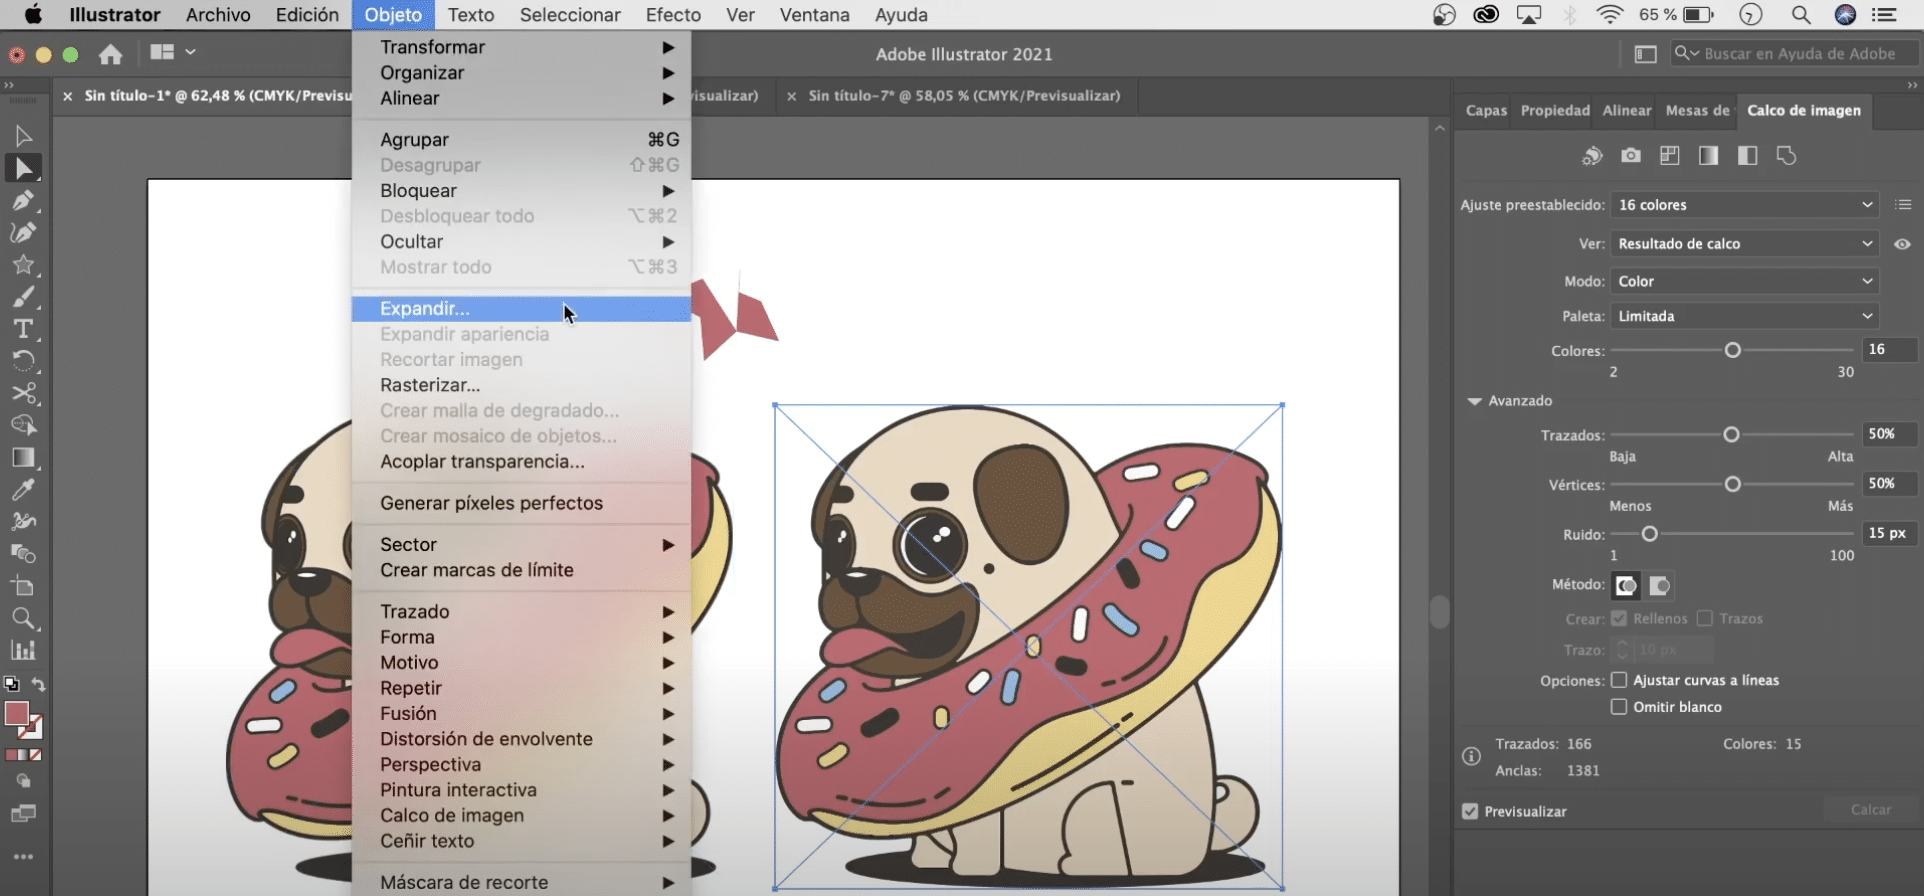
Click on the Illustration, and in the image tracing panel, we are going to select the "color" mode. In "watch", you must have selected "Tracing result". Above, you have an option that says "Presets" and in that small menu you have a lot of options to choose from. Choosing one or the other will depend on the level of precision that we look for by changing the bitmap image to vector image. Let's see some of them:
Brianda options 3, 6 and 16 colors It refers to maximum color limit to be used in the tracing result. If you apply 16 colors you will see that in this illustration we get a pretty good result. If we already go down to 6 colors we lose some details and if we go down to 3 then even more. By pressing the eye, located to the right of the image tracing panel next to the "view" option, you will be able to see the difference between the source image and the tracing we have now. Zoom in and you will see that the pixels have already disappeared.
Hi-Fi photo and low-fidelity photo settings are usually applied when we have photographs or illustrations with many details, for illustrations as simple as this it would not be necessary. You can apply it, if you apply, for example, "low fidelity photo" will also look good.
There are many other settings and modes. If you select the "grayscale" mode or if in "presets" you apply "shades of gray" you will get a vector in gray tones. Selecting the “black and white” mode or the “sketch graphic” preset will create a kind of sketch.
For now, we are going to opt for the “16 colors” setting.
Make your vector editable and remove the background
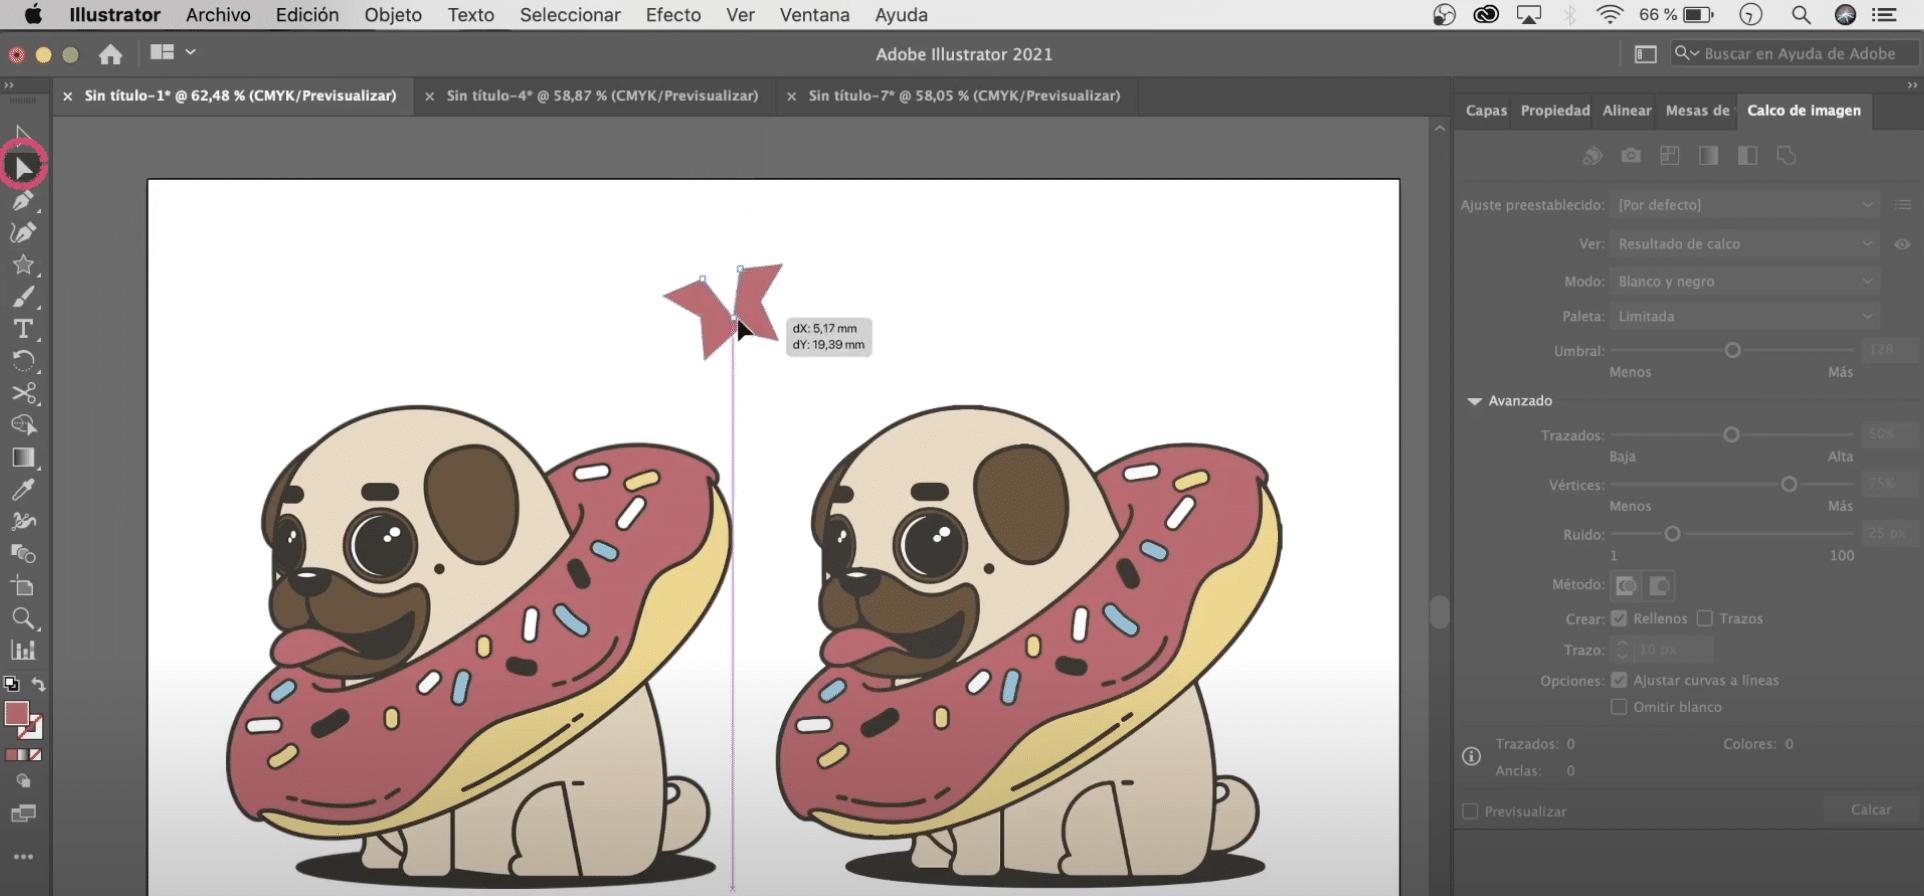
We would already have the vector image, but now I'm going to show you a trick so you can transform and edit it quickly. When we have a vector image created with Illustrator, such as this star, using the “direct selection” tool we can select the anchor points and we can transform it as we please. On the other hand, if we give the vector that we have created, we cannot do anything.
To solve it, select the illustration, and in the top menu, go to object> expand. In the menu that will open, we will mark "object" and "fill". With this tool, what we achieve is to divide an object into all the elements that compose it, in order to be able to transform each one of them independently. We can delete elements, change colors, move them, scale them ...
This will also allow you to erase the background of the vector. If you move the illustration off the artboard, you will see that it has a white background, as you have applied "expand" with the direct selection tool, you can select the background and remove it simply by clicking the backspace key on the keyboard.
What happens when we vector an image?
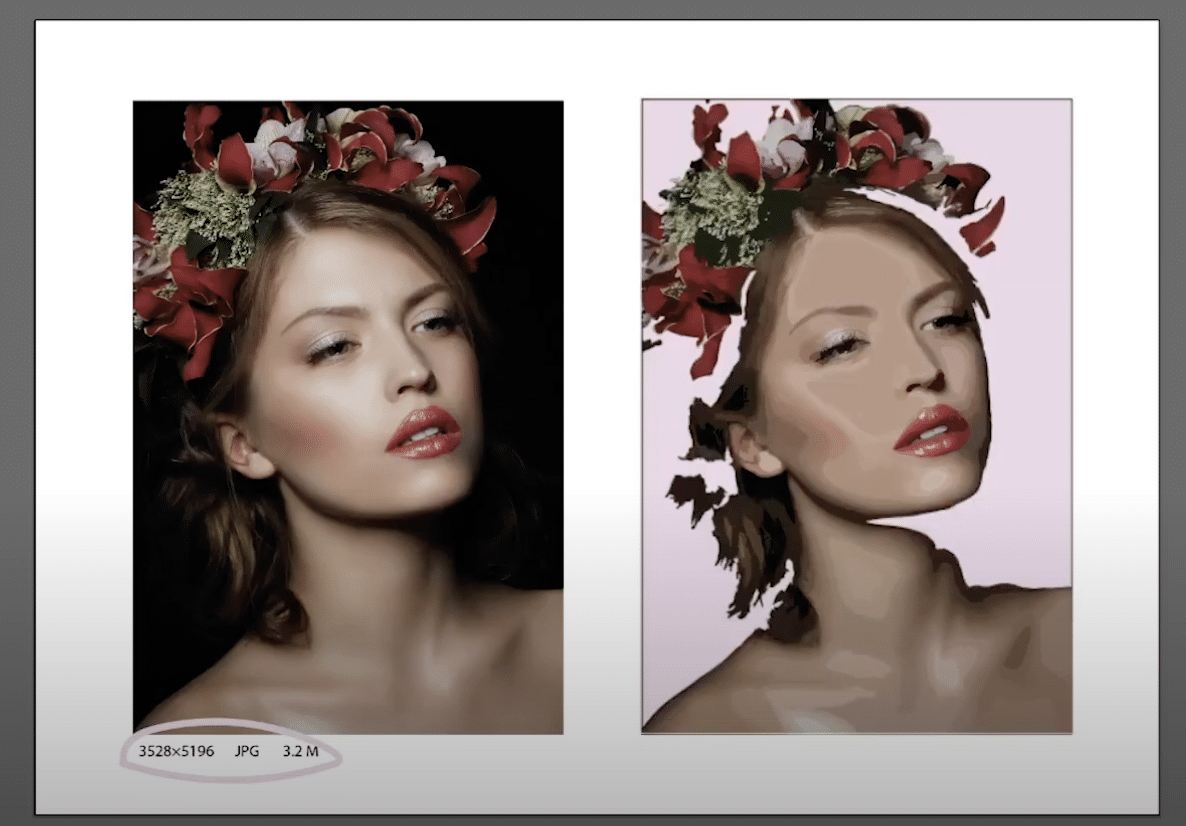
For this part of the tutorial, I have chosen a photo with a very high resolution, in fact, I have to magnify a lot to be able to distinguish the pixels. The procedure will now be the same. We will apply "image tracing", but this time instead of preset 16 colors we are going to give the photo high fidelity.
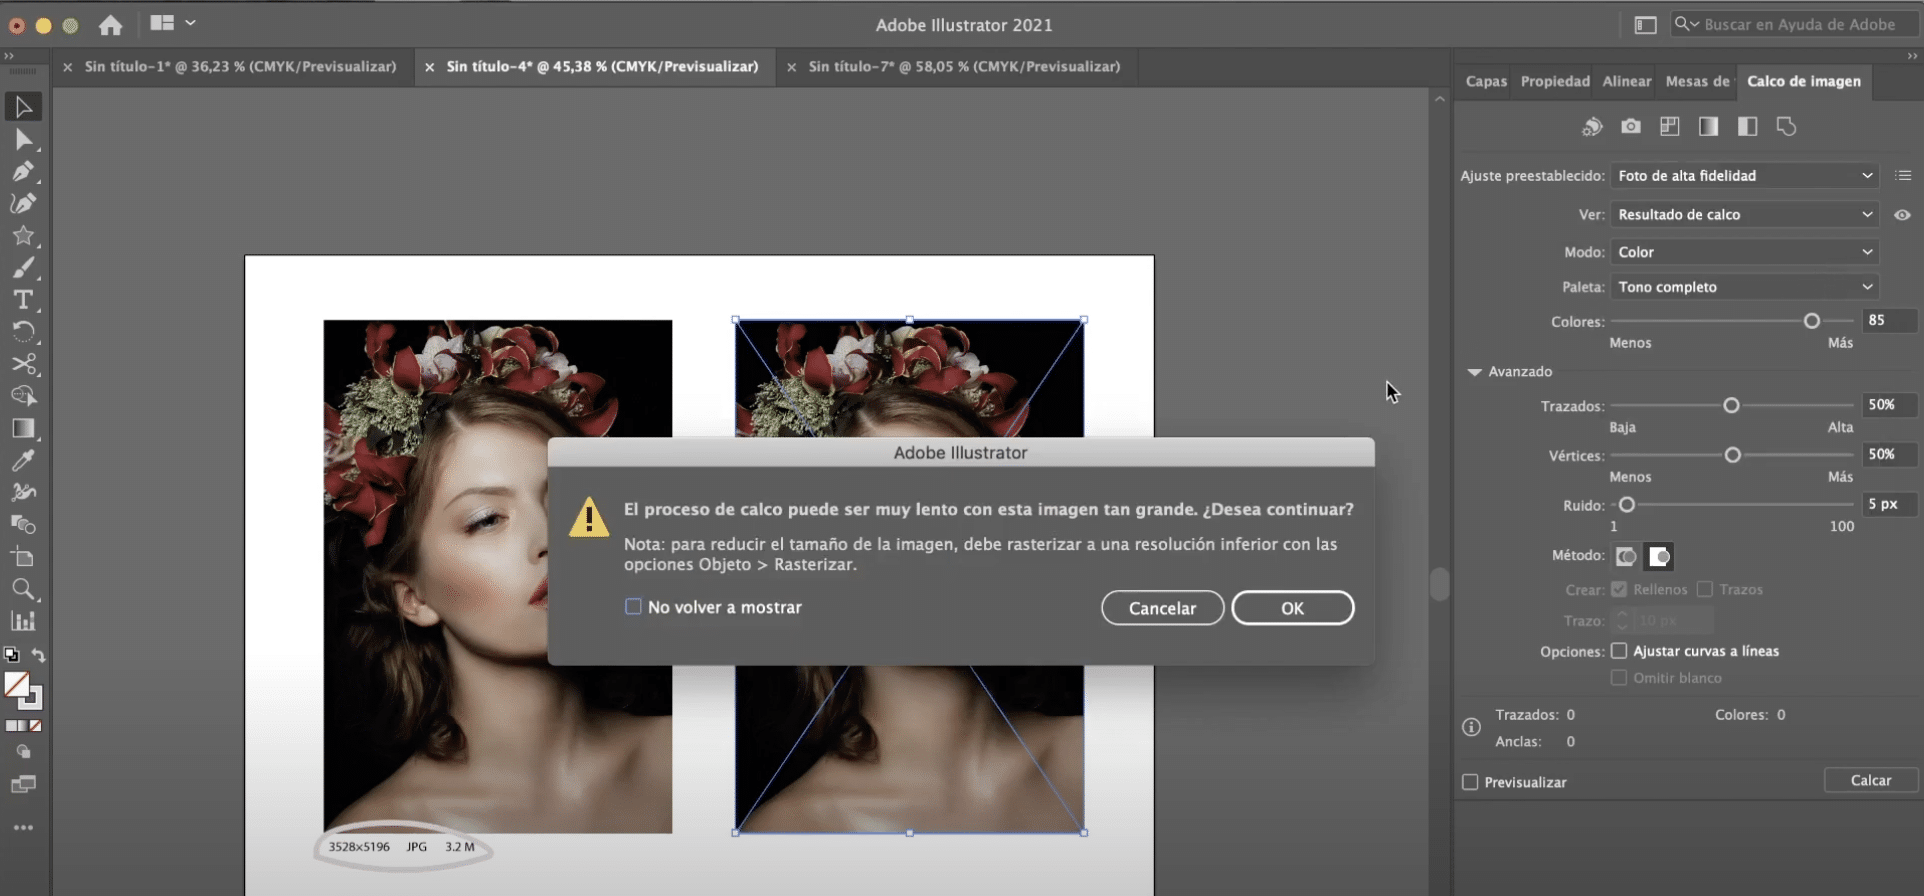
If you have chosen an image as big as mine most likely you will get a message asking you to rasterize the image to be able to apply the tracing. To rasterize images, we give «Object» (tab in the top menu)> «rasterize».
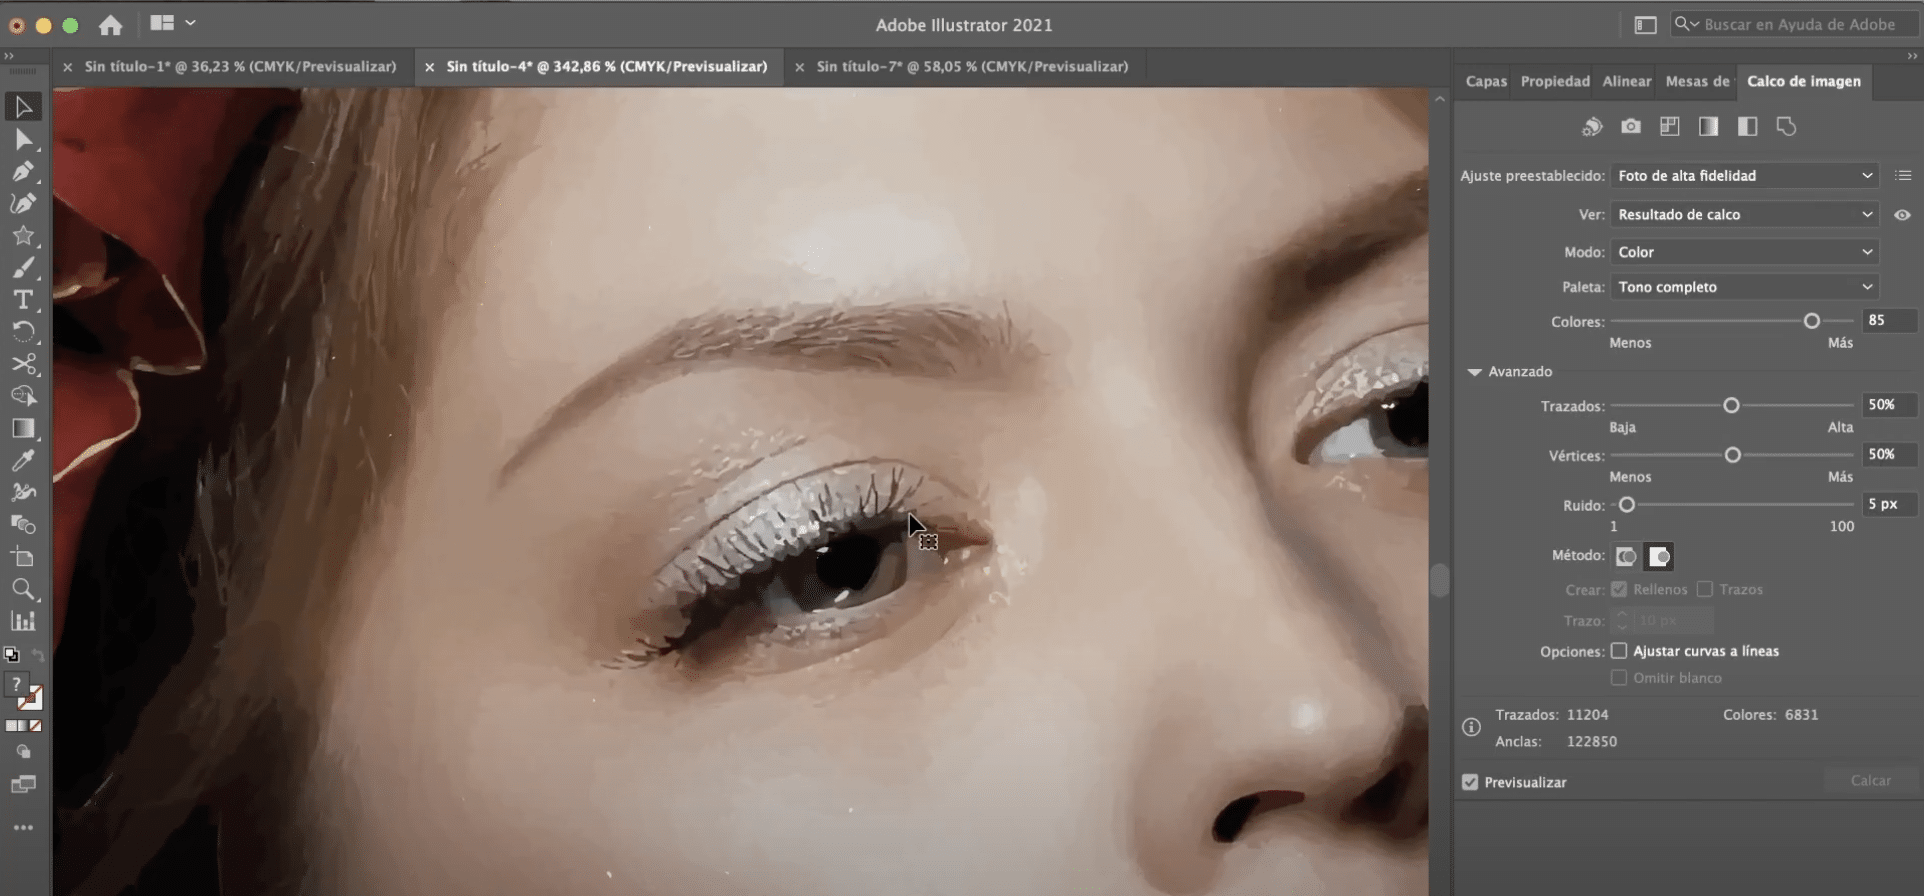
Possibly, at first glance you will not notice any changes, but we can now apply the photo adjustment of high Fidelity. When you apply it, zoom in to see better, you will see that we have created a kind of hyper realistic painting. If instead of high fidelity photo you apply Low fidelity photo, this drawing effect will be further accentuated.
By clicking on "expand", as we have done with the previous illustration, we can correct parts of the drawing that do not convince us too much, even we can break it down to create more abstract compositions.