
There are many considerations that are made when editing an image. And it is that our creativity can make us project multiple designs of the same model, in such a way that it will be convenient to know how to handle multiple design techniques in order to be exhaustive, not only about our requirements but also about the demands of our clients.
In this sense, this article will present the necessary procedures to get the double exposure effect through the program adobe photoshop, in such a way that the user can perform this effect whenever they want.
Let's start the Photoshop tutorial: Double Exposure

In this sense, the steps to begin the process of creation of double effect exposures begin as follows:
We must first select a image that is neutral in terms of its background colors. Black and white images can also be considered.
We will proceed to modify the brightness and it's contrastTo do this, we will apply the command Image> Adjustments> Levels.
We drag the white graphic slider to the left and make the photo clearer. Likewise, we will drag the black slider to the right side, for which, we will finish adding contrast and clicking on the OK option.
With the brush tool We will take a few good minutes to solve the possible details that our image may have, in such a way that it is as close as possible to the point of perfection.
With the command Menu> Selection> Invert in which we will select the magic wand, we will proceed to eliminate the background of our image.
With the use of selection tools, we click on the Refine Edge option in the control panel. We go to the "View" mode and change the display of the photo to make our editing easier.
Next, in the section on edge detection we will increase the value of the radius, in such a way that the edges become less rigid and it is possible to discover details such as the hair. Now, in the section to send to, we will select a new layer with layer mask.
This would have created a copy of our image without background automatically hidden by a layer mask.
We will create a new layer below the one we have with mask, we will select the paint pot tool and fill the layer with the preferred color.
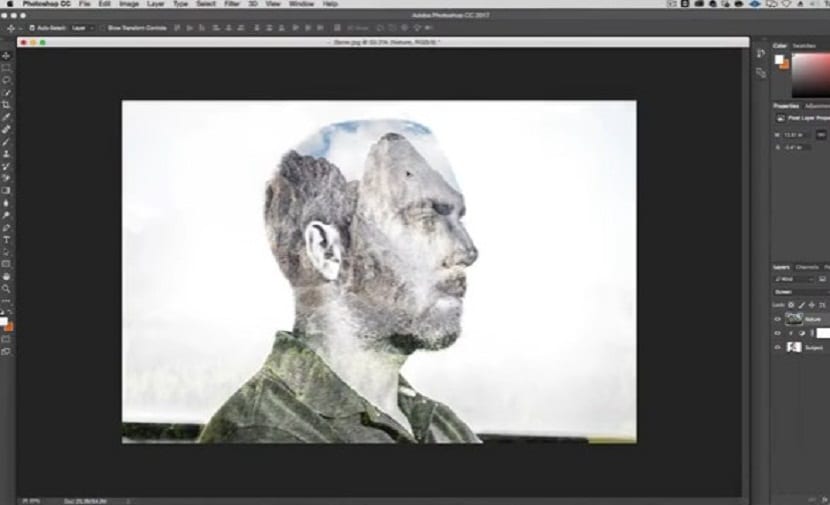
Then we open the second photo that we will use and we will drag it to our document.
We place the image dragged onto the image layer that we have been working. With the layer of the image that we dragged to the document selected, we press control and click on layer mask in our first image. If all this is done correctly, we can see the silhouette of our object to harmonize with a selected background on the bottom that we have dragged to it.
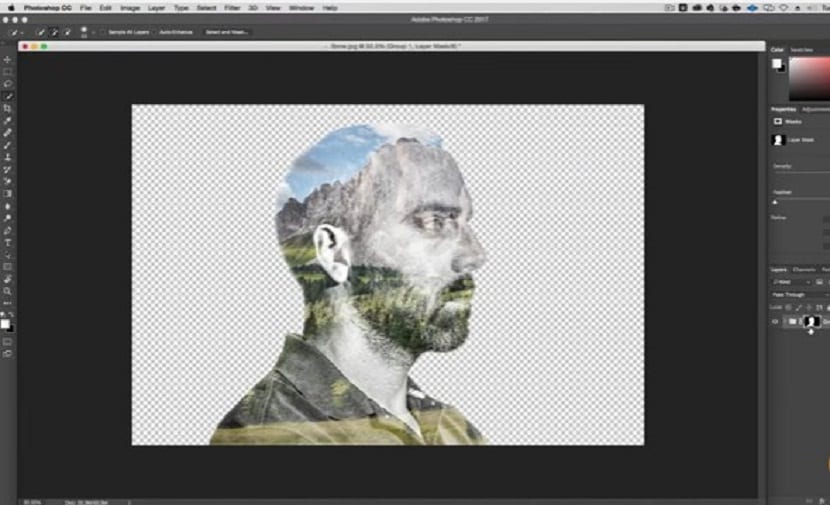
We select the image that we drag (that we will use as the background) and select the option add mask in order to save the image and use only the parts of it that interest us.
If we get to do click on the option icon of a chain between the image thumbnails and the mask thumbnail in the layers panel, we can see how the layer is separated from its mask and we can move or rotate the image within the mask itself without having to move the entire cap.
We duplicate our main image and drag it to the image layer that we will use as the background.
We proceed to make portrait monochrome, so that it can be adapted to the landscape image color palette. With this retraction layer already selected, we use the Image command> Adjustments> Desaturate in order to convert our image into a grayscale.
We go to the menu and using the command Image> Adjustment> hue / saturation. We check the box color in the lower right corner of the panel so that we can change all that range of colors that our image has. Next, we will adjust the tone value to 18 and the saturation level to a value greater than 10 and select the Okey option.

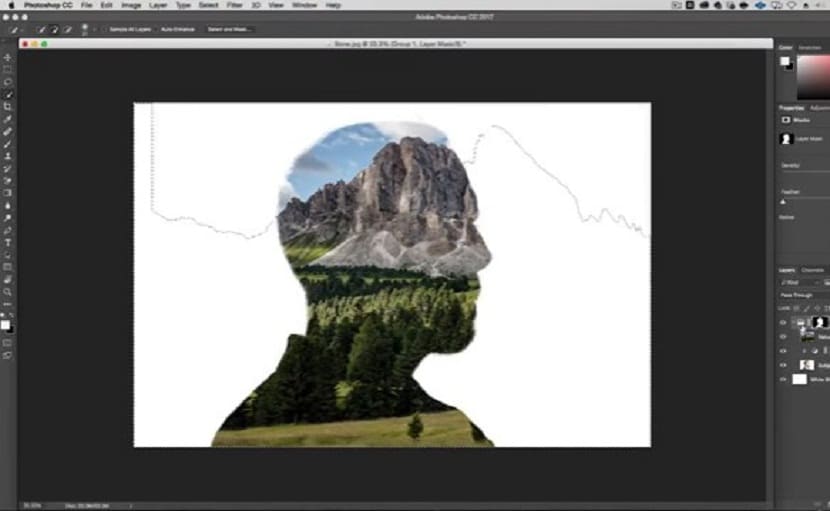
We right click on the mask of our layer of our main image and in the drop-down menu we select apply layer mask.
After and in the layers panel we change the blending mode from the layer of our main image to raster.
If we have carried out all these steps effectively, we should already be faced with this effect, therefore, this should be our end point.