
Surely many times you have found or even taken a photograph that you love, but for sharpness issues You have not been able to work with it because when adapting it to your design or when printing it, you have seen how it lost its sharpness and took away professionalism. Sometimes (not always, it all depends on the source document), these problems can be solved or smoothed out, largely recovering the professional look we need for our projects.
This is a very common problem, so I imagine it will be helpful to discover these five methods to correct these deficiencies and achieve a much more aesthetic appearance. Enjoy them!
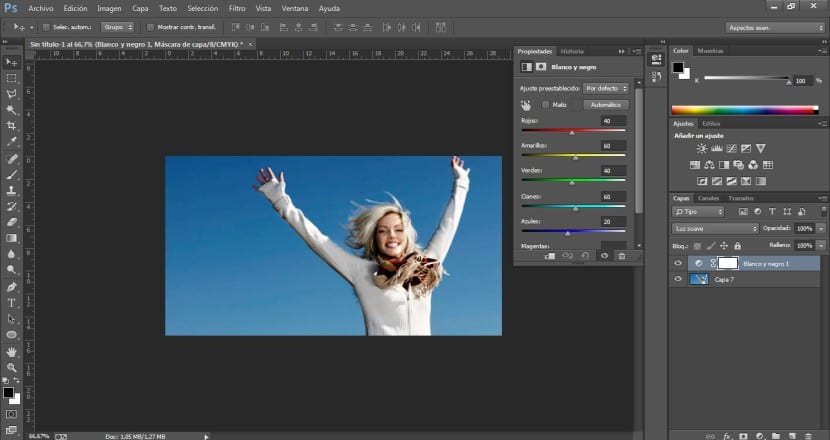
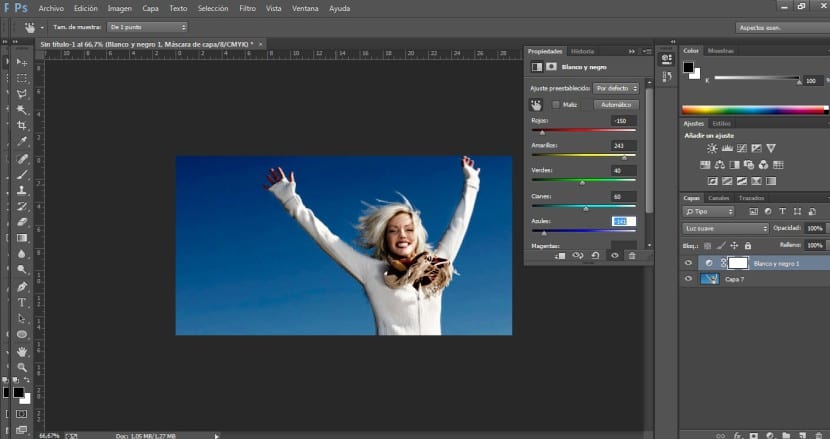
Influencing colors with adjustment layers
This method will help us to provide our photographs with higher quality and professionalism, and it is also very effective in getting rid of fogs or very little contrasting surfaces. First we will create a black and white adjustment layer. To this adjustment layer we will apply a blend mode in Soft Light. Next we will return to the settings of our adjustment layer and begin to modify the colors giving it greater depth. As you can see, this effect is divided into six fields: Reds, Yellows, Green, Cyan, Blue and Magenta. We will alter the degree of power of each of them in the image although there is a tool that can make the process much easier. Above all these regulators that we have listed there is a small button in the shape of a hand, if you press it you will discover that the dropper appears. This tool will allow us to carry out the process in a manual and faster way. To work with it, we will only have to select a color by clicking on it in the photograph and dragging our mouse to the right or left to modify its intensity and temperature. We will repeat the process with each of the colors that make up the image, trying to maintain realism and achieve a good combination.
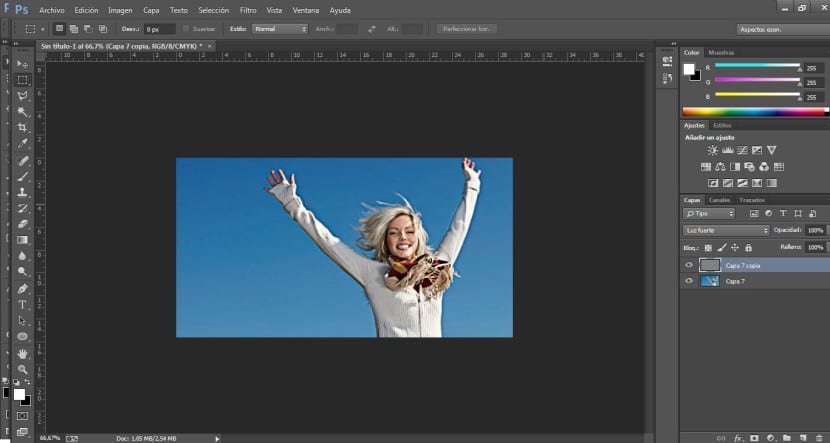
High pass effect
We have already used this setting in previous posts, (remember that it comes in handy to create sculptures or stone textures) and we can put it to good use to multiply the details that our photography will reflect. First we will import the photograph we are going to work on and duplicate it to give it a blending mode to superimpose. Next we will apply the high pass filter in the Filter menu> Others> High Pass. Although the value that we apply will vary depending on our source document, in general it is advisable to apply an amount of between 3 and 5 pixels, although you already know that this may vary, in any case I recommend that you go testing until you find the most appropriate one . As for the blending modes we could play with several alternatives, I usually use the strong light and soft light blending modes. Also, if we need to edit the power of this sharpening effect, we can do it by modifying the opacity of the upper layer or by repeating the entire process on a new layer. As you know, it will depend on you. There are images that require more treatment and others that need a much lighter effect.

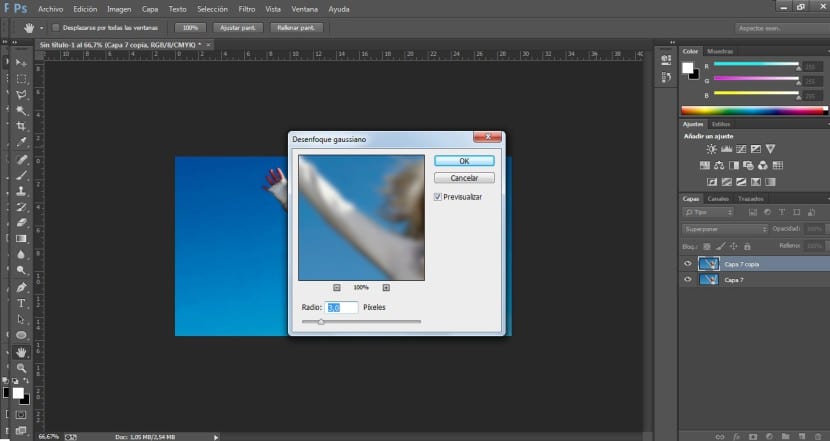
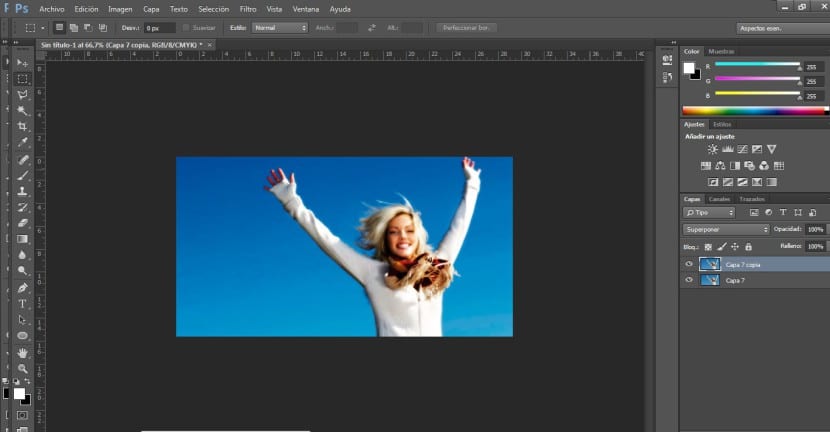
Gaussian blur
Gaussian blur for sharpness? Yes. As you know, it depends on the photography we work with and the result we are looking for. This simple method serves mainly to act on the brightness of the image to give it greater power and clarity in a softened and realistic way. To apply it we will start by importing the image on which we will work. We will duplicate this layer and go to Filter> Blur> Gaussian Blur. We will apply an amount of 2 or 3 pixels to it and finally we will apply a blending mode to it in overlay. The result is a greater definition in the highlights in a very smooth and effective way.
Focus mask
We will import our photograph and duplicate it. Next, we will apply a filter to this copy. We will go to the menu Filter> Focus> Unsharp Mask. We will configure a quantity of 65, a radius of 4 and a threshold of 1. We give the ok and we will have perceived a great improvement. If we want to improve this image even more, we will repeat the effect again in Filter> Sharpen> Unsharp Mask. We can apply the process as many times as necessary, but I also warn you that it is very easy to burn the image and remove it realsimo, so I recommend that you never delete the original layer in order to compare and know to what extent we are improving the image or making it worse.


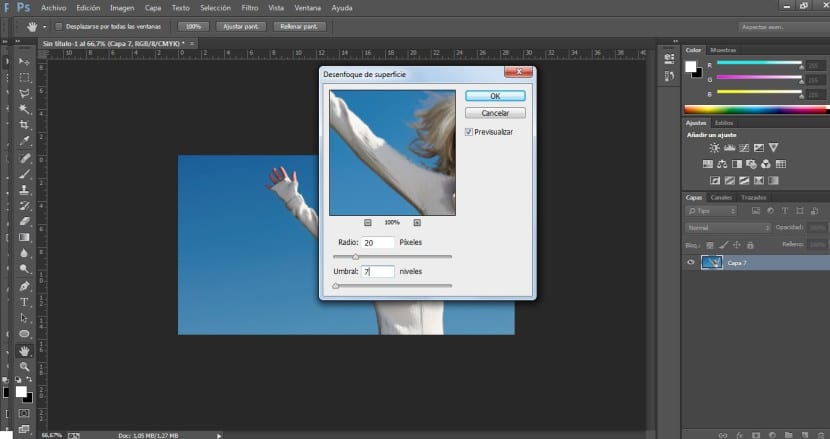
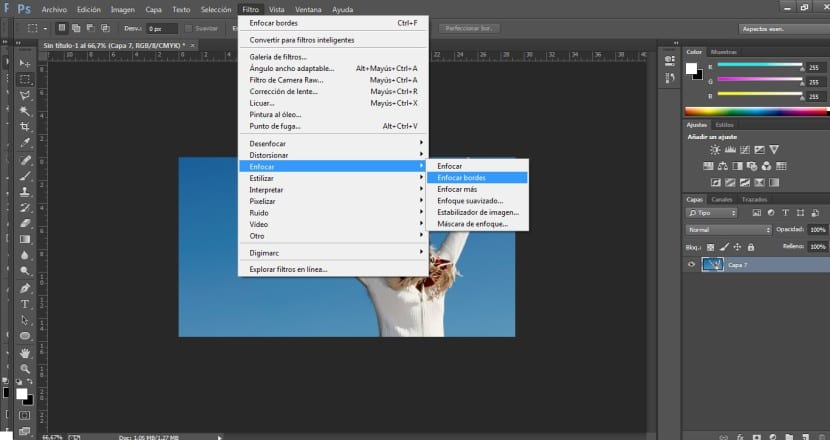
Sharpen edges
Working around the edges of a highly pixelated image can greatly improve the clarity of the image. Once we zoom, we lose sharpness and this is mostly reflected at the edges. To avoid this in the first place is to apply a surface blur in Filter> Blur> Surface Blur. We will give you a radius of 20 and a threshold of 7 although this will depend on the image. Thanks to this, the image improves considerably, but we can improve it by adding a filter for the edges. We will go to the menu Filter> Sharpen> Sharpen Edges.
Excellent, for me the most optimal among all is the one you use Paso Alto.