
We all know what is a comic or at least we've heard of this one. We know well that fans of this genre can spend hours and hours collecting each of these episodes taken to the image.
Maybe long before television comics were the main source of entertainment, an issue that today has stopped working in such a way. However, it is possible to realize that this market is far from disappearingWell, there are still many trends in this genre of entertainment backed by a large guild of fans.
Tutorial to achieve a comic effect easily
So perhaps a large part of these fans could be made up of those design buffs And it is not for less, since the world of comics has been for many the transformation of the normal into the epic and the amazing. The comic allows us to turn a scene as simple as the appearance of a butterfly into something full of suspense and intrigue.
Thus, in order to generate the comic effect, it is necessary:
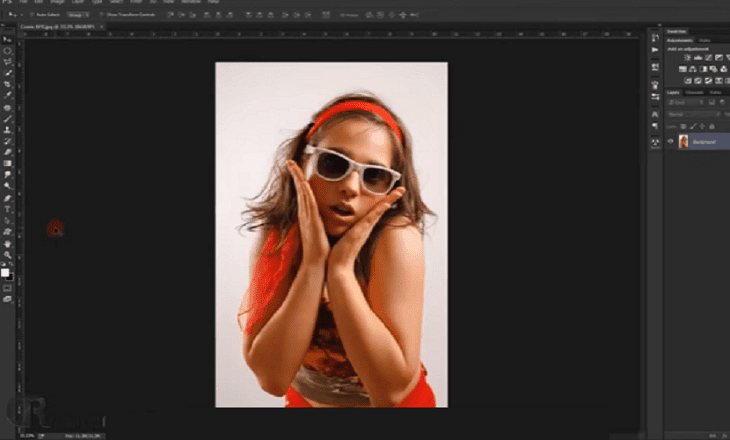
Once Photoshop is open, we select the image to edit
We do this through the command (File> Open), in the same way, it is possible to adjust the levels of the image if we want to add a different touch to our photography.
We can do this through the command (Image> Adjustments> Levels).
Smoothed out of focus filter
Next, we will have to apply an effect of the type "Not realistic”To our image, which will allow us to give the final touch at the last moment of our conversion of the comic effect of it.
For this, we proceed to the following command (Filter> Blur> Smooth Blur) and once this is done, we apply the values that are presented below: Radio: 50 / Threshold: 50 / Quality: Low / Mode: Normal.
We will create the layers for border and contrast
For this step, we will proceed to duplicate the layerFor that we apply the command (Ctrl + j) which we will call edges.
Followed by this, we will remove the color through the command (Image> Adjustments> Desaturate). When we have done this, we will duplicate again, for which, we will call that new layer contrast.
Filler for our comic
For this step, we will proceed to create our latest cap. For this, we will proceed to select each edge of our layer panel, then we go to the Channels panel.
Make two filters for the comic
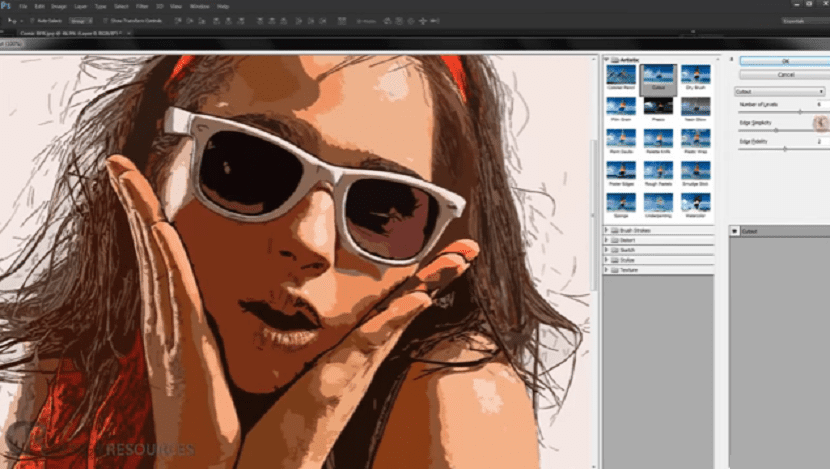
A few steps from finishing our project, we proceed here to make a selection of layer 1, to apply two filters, with which we will simulate a tracing effect to generate our comic color.
We access the command (Filter> Filter Gallery) and in the artistic block we will select spots, then we will apply the following values:
Stroke length: 10 / Highlight area: 15 / Intensity: 10.
We press the okey option and proceed to apply the second filter, with the following command (Filter> Filter Gallery) and we are located in the block of brush strokes to select the option dark strokes with the values:
Balance: 4 / Black intensity: 0 / White intensity: 6.
Filters, contrast and border
We will select the edges layer, and then proceed with the following command, Filters> Filter Gallery and then, in the artistic group we will select added borders under the values:
Edge Thickness: 10 / Edge Strength: 10 / Posterization:
Once the above is done and using the command (Ctlr + L), we will change the input levels and as we have been doing previously, we now proceed to the following command: we select the contrast layer and we go to (Filter> Stylize> Find Edges).
Finally, we will proceed to join the effects
We will proceed to color fill layer 1 and for this, we right click on it and choose the option convert smart object. Now, we press the right click again and choose rasterize layer.
Then and while we hold down Ctrl. we click on the thumbnail of our layer, where we will be able to observe that we have made a selection.
With this, we create a layer mask, which we will create through the layer mask option which we can place in the layers panel. It will be possible to observe the changes in our layers through the union of them.
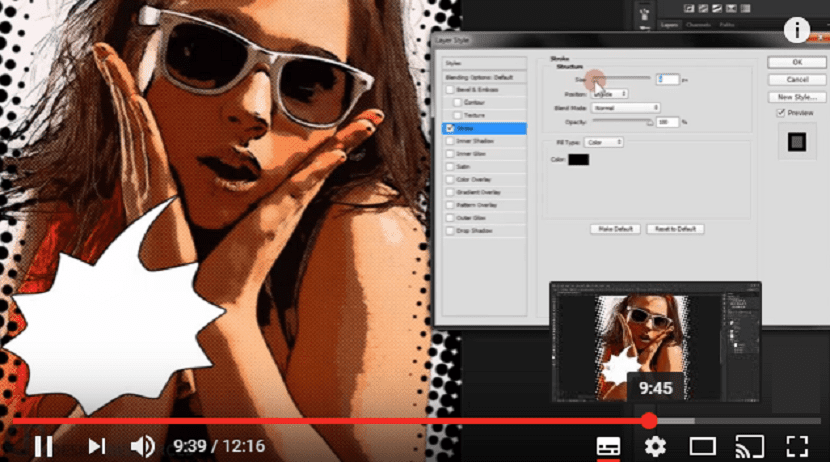
We will now select the mask
Once we have selected it, we proceed to the command (Filter> Pixelate> Color Halftone) to change the radius only. We carry out the command (Ctrl + I) to invert the colors of our mask, then we change its mode (from Normal to Overlay), for which, we should have a comic image before our eyes.
Interesting! thank you very much…
Hi. In principle the tutorial looks very good but I have stayed in this part that I do not understand:
Filler for our comic
«For this step, we will proceed to create our last layer. For this, we will proceed to select each edge of our layer panel, then we go to the Channels panel. »
I don't understand «we will proceed to select each edge of our layers panel….»
Thanks for clearing
It looks interesting, but it is poorly explained. They skip many steps.
Unfortunately, there are writing errors in the text. And it cannot continue well ... If you could review and correct it, I would be very grateful.
THE SAME HAPPENS TO ME AS TO OTHERS.
Filler for our comic
For this step, we will proceed to create our last layer. For this, we will proceed to select each edge of our layers panel, then we go to the Channels panel.
It's not understood.
Luckily it was at the beginning of the tutorial