
Among the tools that we can use for the graphic design, GIMP has always been in the background. This is because generally people are used to another program, they have a hard time getting used to another interface and a way of using its functions in a completely different way, so it may seem like using GIMP it is much more difficult than other editing or design programs.
Although it seems somewhat complicated and requires a little more time to learn to use this tool, we can consider that this program is indicated for any simple image editing job and also to do more advanced work for graphic design once we have mastered the program.
For this reason, this article brings you a basic tutorial to learn how to use GIMP

Installation
GIMP is a tool that is available for operating systems Windows, Linux and MacWe can also download it directly from its official website, by using BitTorrent, the installation process being the same as any other Windows program.
If we choose the option to perform custom installation, we can change the location of where we are going to save the program, but in addition to this, I would recommend remove absolutely nothing in order to fully enjoy the program. Another point that we can highlight when installing the program is that we can associate GIMP with the main types of image files.
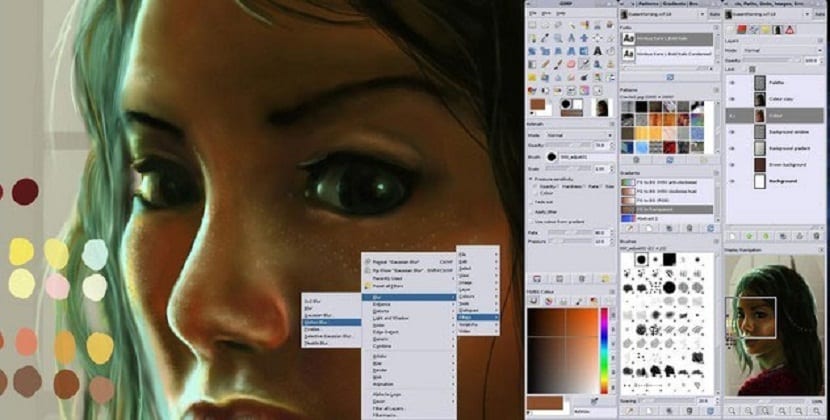
If we start the program for the first time, we find that GIMP does not have a single usage window, like the other Windows programs, but it has three. Of course this can be confusing, and to solve it we go to the menu "windows”In the main window and we switch to single window mode.
Since we have done this we can have a much more familiar appearance and we observe in detail the different areas of the interface, among which we can mention three main areas.
We find a sidebar on the left that shows us the GIMP tools and the options of the tools that we have selected at any time.
We have one sidebar on the right side, in which we can access all the menus of layers, routes and channels, the history of the changes and at the bottom we have, the panels of brushes, patterns and gradients.
The central area is where we can see the image or images we are working on at the moment. Of course these panels can be customizedWe can also place the different elements in the order that we like the most, just by dragging and dropping said elements in front of or behind any other.
Basic tasks
There are basic operations that we generally need to always perform in GIMP and for this we open an image from the file menu, where it will appear in full size in the central area of the program. Most likely it will appear occupying the entire central area, but we can reduce its size from the view menu, application or also from the tool to enlarge in the sidebar on the left side.
To resize image, we go to the image menu, image scale. In the open window we can enter the new dimensions that we like the most that said image has, using the unit of measurement that appears next to it.
Right next to where the height and width measurements We will see an icon in the shape of a chain, which will indicate that when changing the width of the image it will be proportionally, avoiding that it is deformed and if the value does not adapt automatically, we press the tab key.
To crop an image we just have to select the cropping tool in the left sidebar and we draw above the image that we want to keep and if we want to save the image, we usually do it in save as, but it would be in format GIMP.
As you have seen, nothing is easier than using this incredible tool.