![]()
Hi all! In this post I come to explain in a simple and fast way what are the functions of CameraRaw, a development option that Photoshop has and which is very powerful if we know how to use it. In this way, the first step will be to have Adobe Photoshop installed on our device.
To be able to edit in Raw, we must shoot the images with our camera in said format, i.e. Raw. To do this, we will look for the shooting format in our camera options and change it.
If your camera is more basic and does not have Raw format, but you still want to play with Camera Raw, there are online converters that will help you to pass the format of your photos to Raw or even with Photoshop itself. There is also the possibility to edit in formats other than Raw, since once inside Photoshop we can open the Raw Camera Filter option, but it is recommended that the format be the one commented to be able to reveal it as such with the maximum capacity.
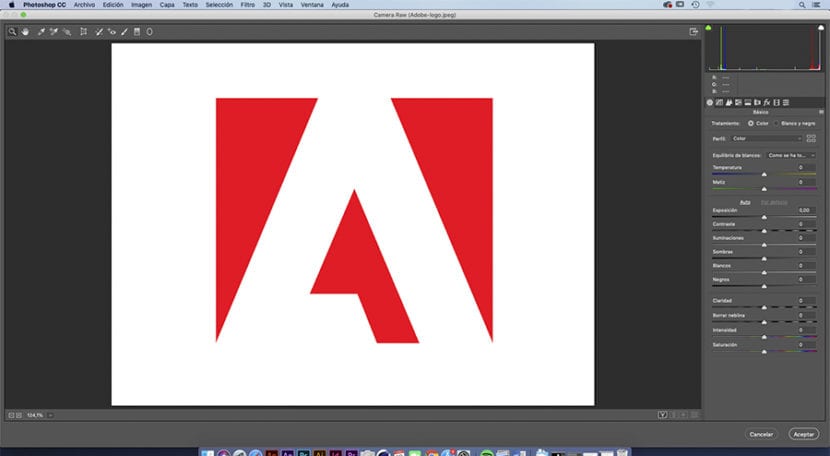
Once we have our photographs in the desired format, we will transfer them to the computer and select those that we want to develop. We drag them to the Photoshop icon. Camera Raw will automatically open, and your images will be positioned on the left side of the interface as a strip.
BASIC PHASES TO FOLLOW TO START:
- Below the image window on the right, we must choose color space that we want to use, for which I recommend Adobe RGB for being the most powerful.
- Cut out : We have a superior menu in which we will also find the clipping tool. If you press it for more than a second, a mini menu with options will open. the first step to takeIf necessary, cropping to cropping wouldn't make much sense.
- Transform tool, to correct the image if necessary due to aberrations or similar, although Photoshop could also be used.
- Level : This tool is used so that the program level the horizon of automatically, clicking on the tool and dragging it towards a straight line that contains our photograph.
- Lens correction: Within the profile tab, we will select for Profile the automatic one so that correct the distortion of the lentea. Within the same tab in the Color option, we will also select automatic. To avoid any color mismatch that the camera or the environment may have produced. Finally, within the manual tab, we can correct the distortions as we see.
- White Balance: This tool will allow us remove color casts of our photography and neutralize it. This tool is really useful and super easy to use, as well as fast. We click on some gray or white that has our photo or another of the strip, to neutralize the image, and thus we can dispense with the gray chart that professionals have to neutralize your photos. You will know that you are getting results if your photo had, for example, a pink cast and disappears instantly.
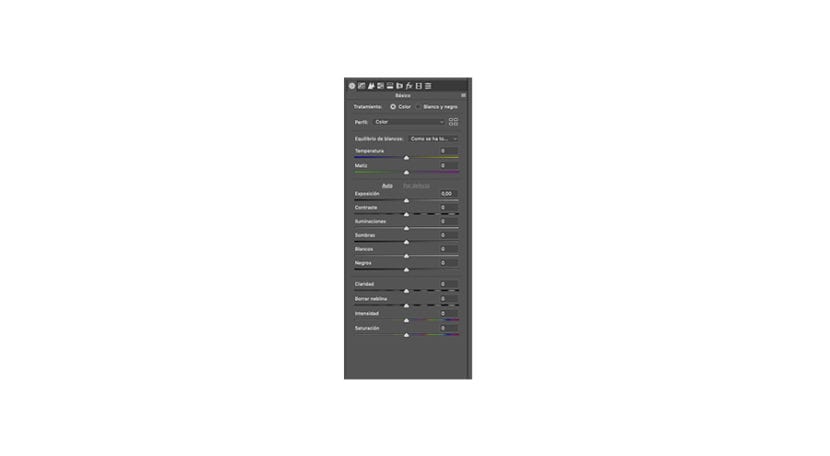
- El basic development main panel has: Color temperature. Exposure, shadows, highlights, whites, blacks, clarity, contrast, intensity, and saturation. These levels are editable with your cursor, so that you can see by eye how you want your photograph to be. However, a little trick to avoid going overboard with these effects is press alt while moving the option cursor, for example, the exhibition. This will let you know if your photo is being overexposed, or on the contrary, if it lacks light.
- Within the HSL panel, a menu appears with the options of Hue, Saturation and Luminance. They work the same as the basic development panel, with a cursor. Very useful for change image colors without using Photoshop directly.
- Adjustment brush : This brush create a mask wherever I paints in our photograph. Once said said mask, we have the option of altering the values that we have commented before, such as exposure, contrast, etc. It's great since it will only be applied to the area that you have painted with said brush, and this saves a lot of time from selections in Photoshop.
- Panel effects, which contain the option to erase haze, vignettes, or simulate noise / grain with marbling.
- Filters: Graduated and Radial. They work like the commented adjustment brush but set a gradient. It is a very powerful tool.
- Tool for Spot ink removal. As its name suggests, this tool is lossless. However, its use is not recommended for this program, the results are not very good.
- Camera calibration: With this panel we can choose a camera profile and also a type of development process. My advice is not to touch these profiles and to keep the current default settings of the program.
- Detail panel: Here we can add focus to photography, but it is not advisable to abuse or exceed the radius, since grain appears and the photograph is damaged. Within this panel we will also have the noise reduction option, which works quite well, but as we have said we cannot overdo it as it could be noticed and the photograph would be spoiled.
I hope the post is helpful for those of you who don't know Camera Raw and have doubts about what each tool is for! It is very easy to use and the results can be very good, so I encourage you to play with it.