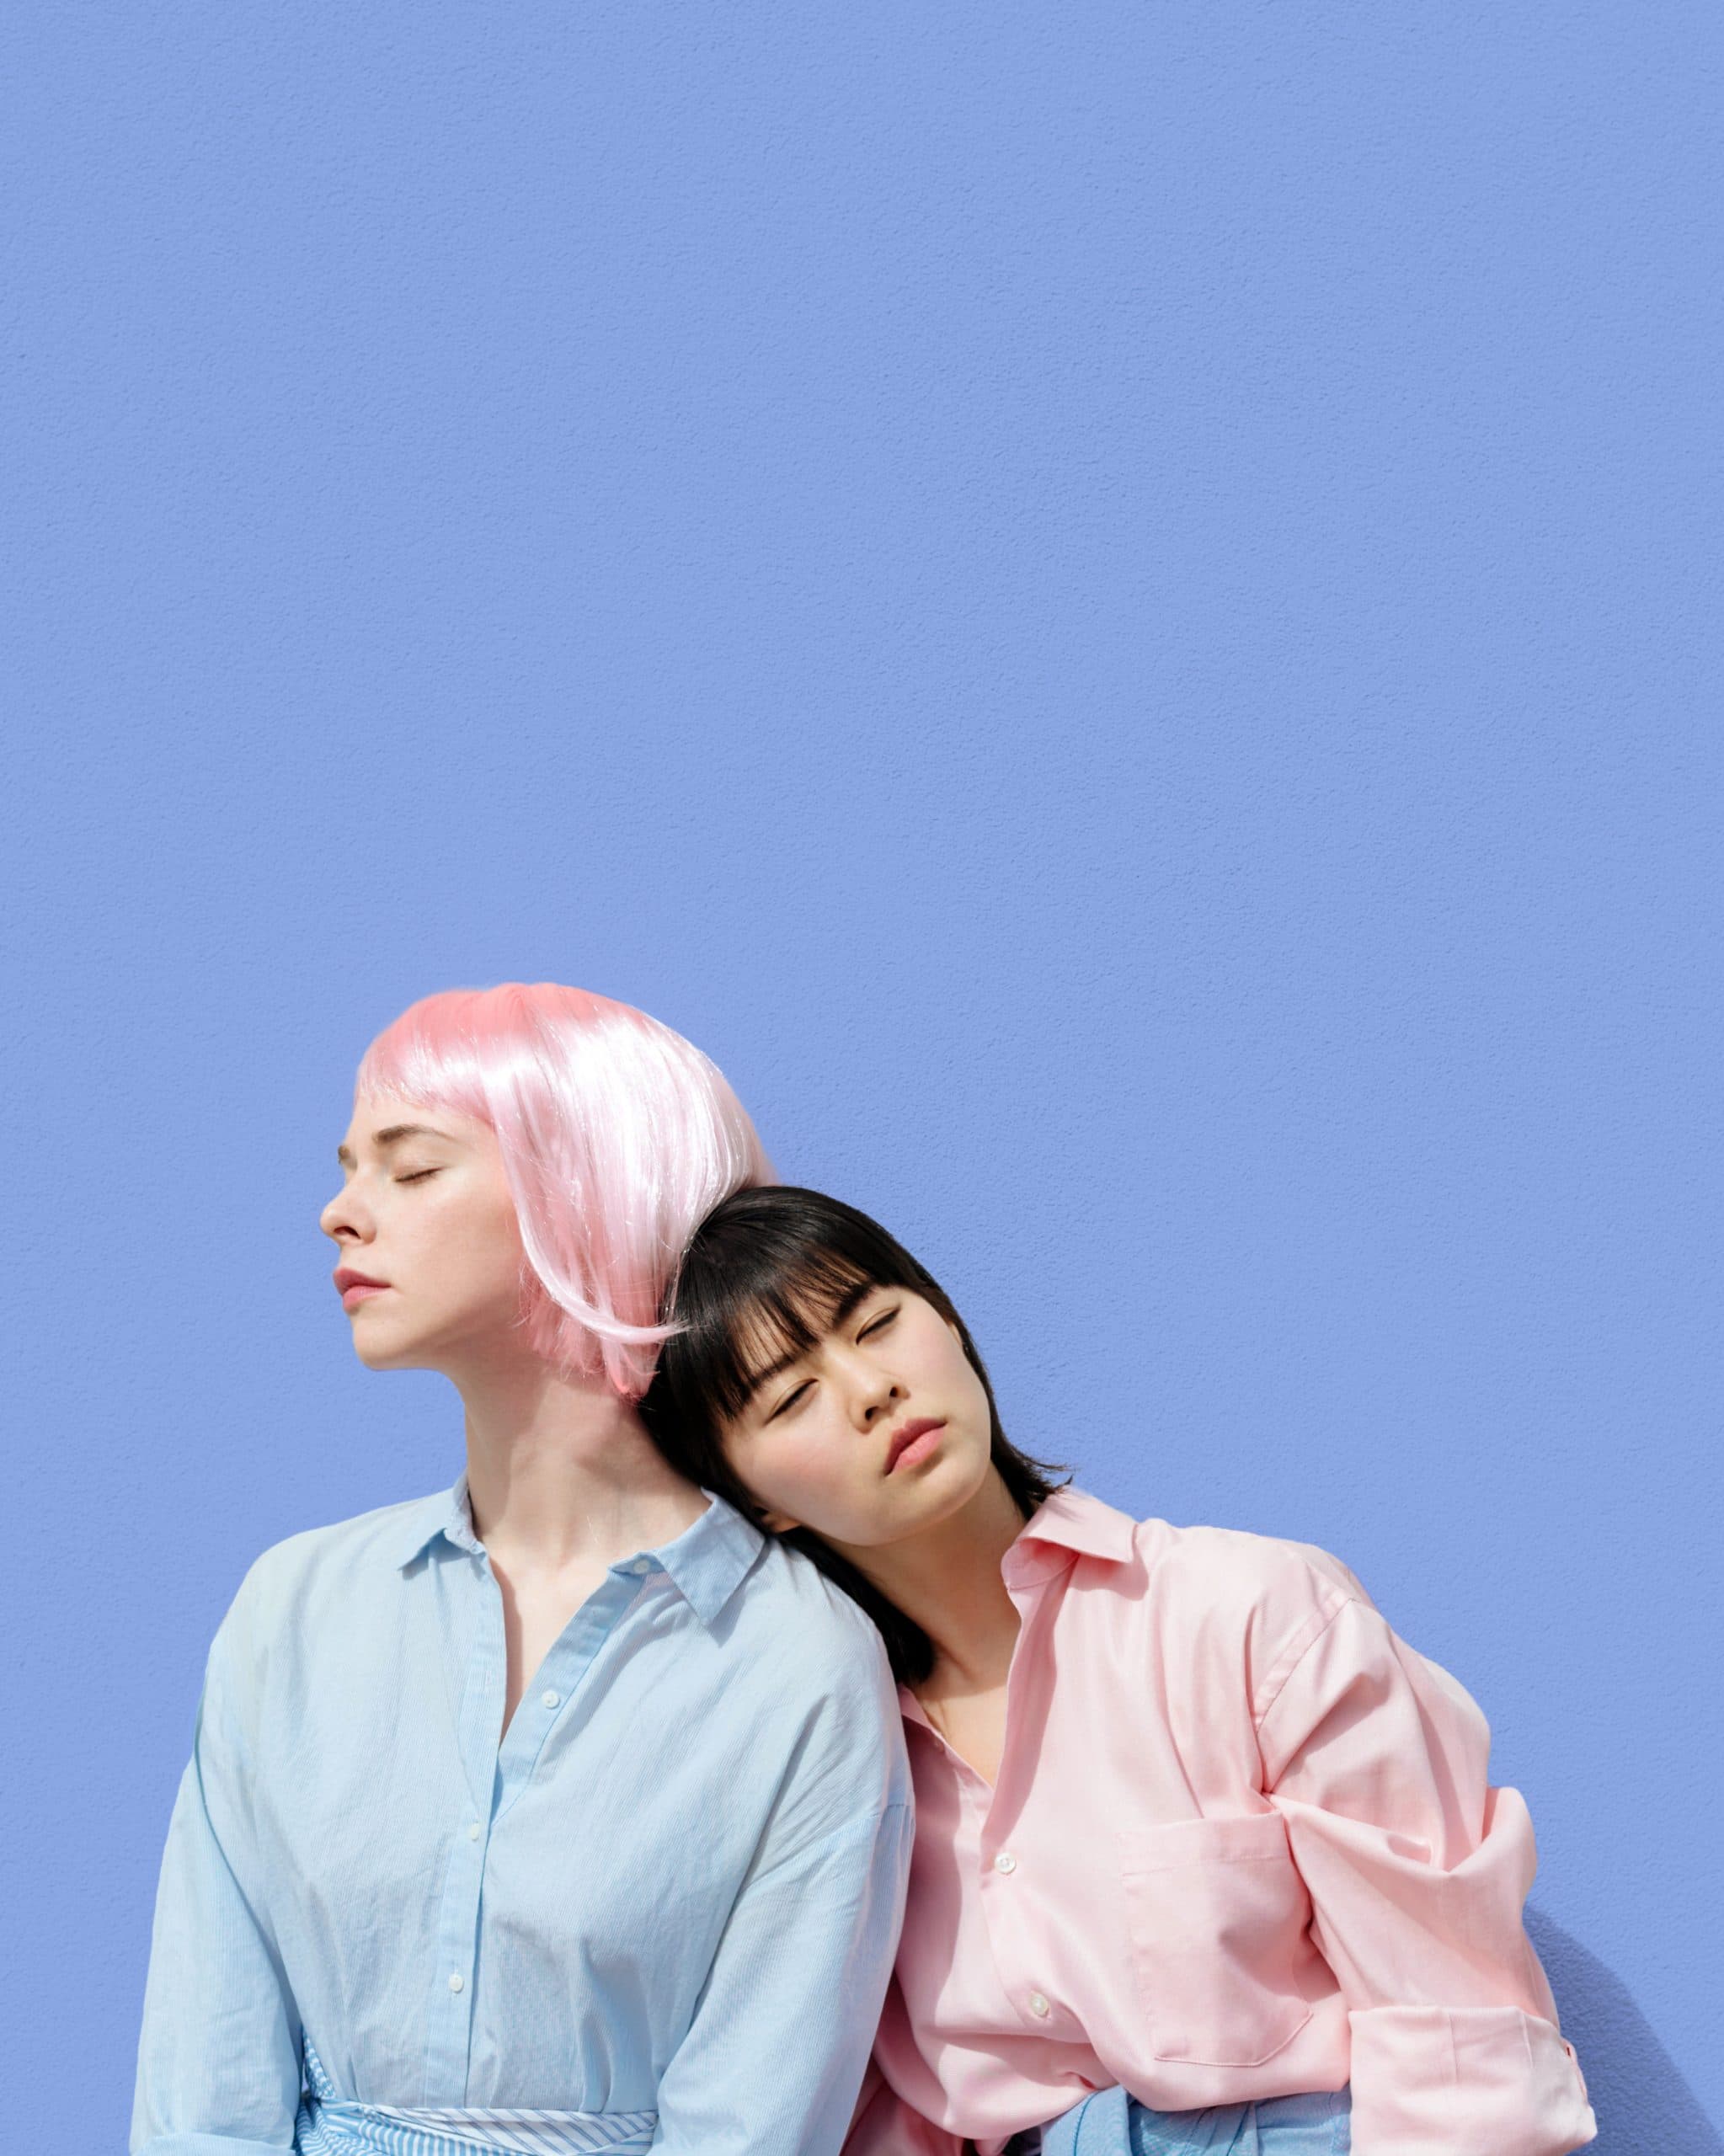
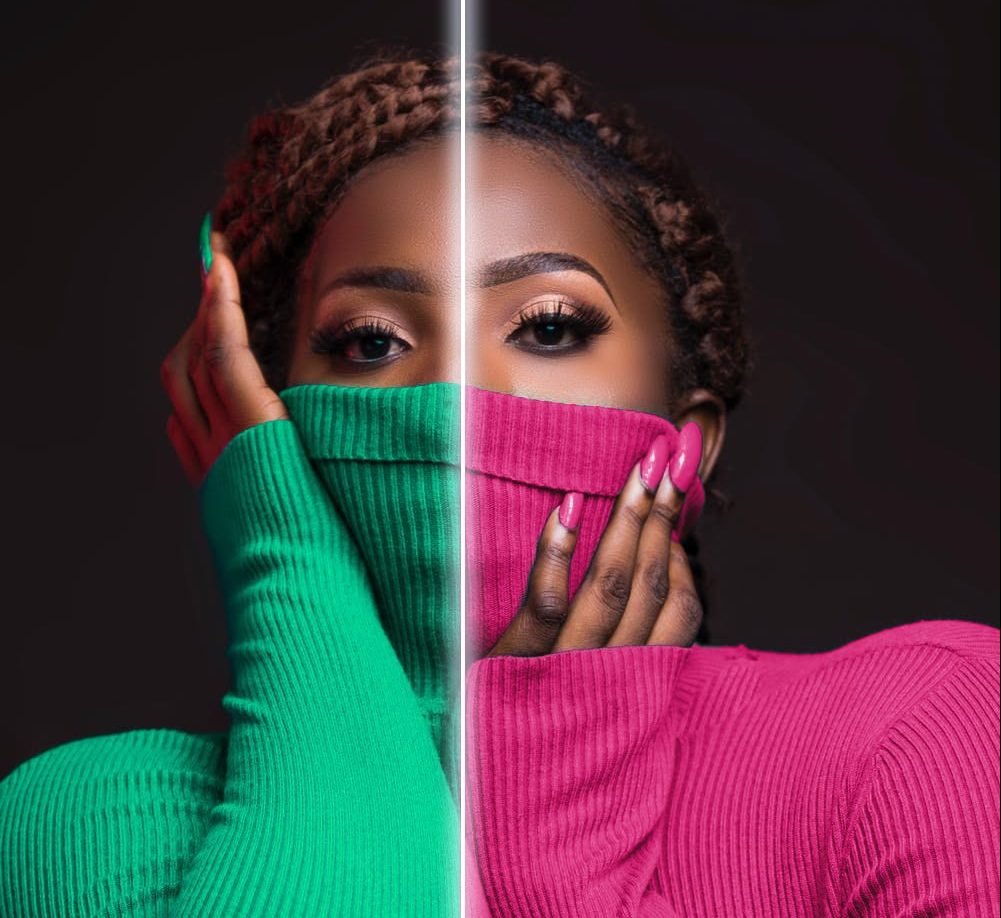
In this tutorial we tell you how to change the background color of an image in Adobe Photoshop, fast, easy and preserving the shadows and textures.
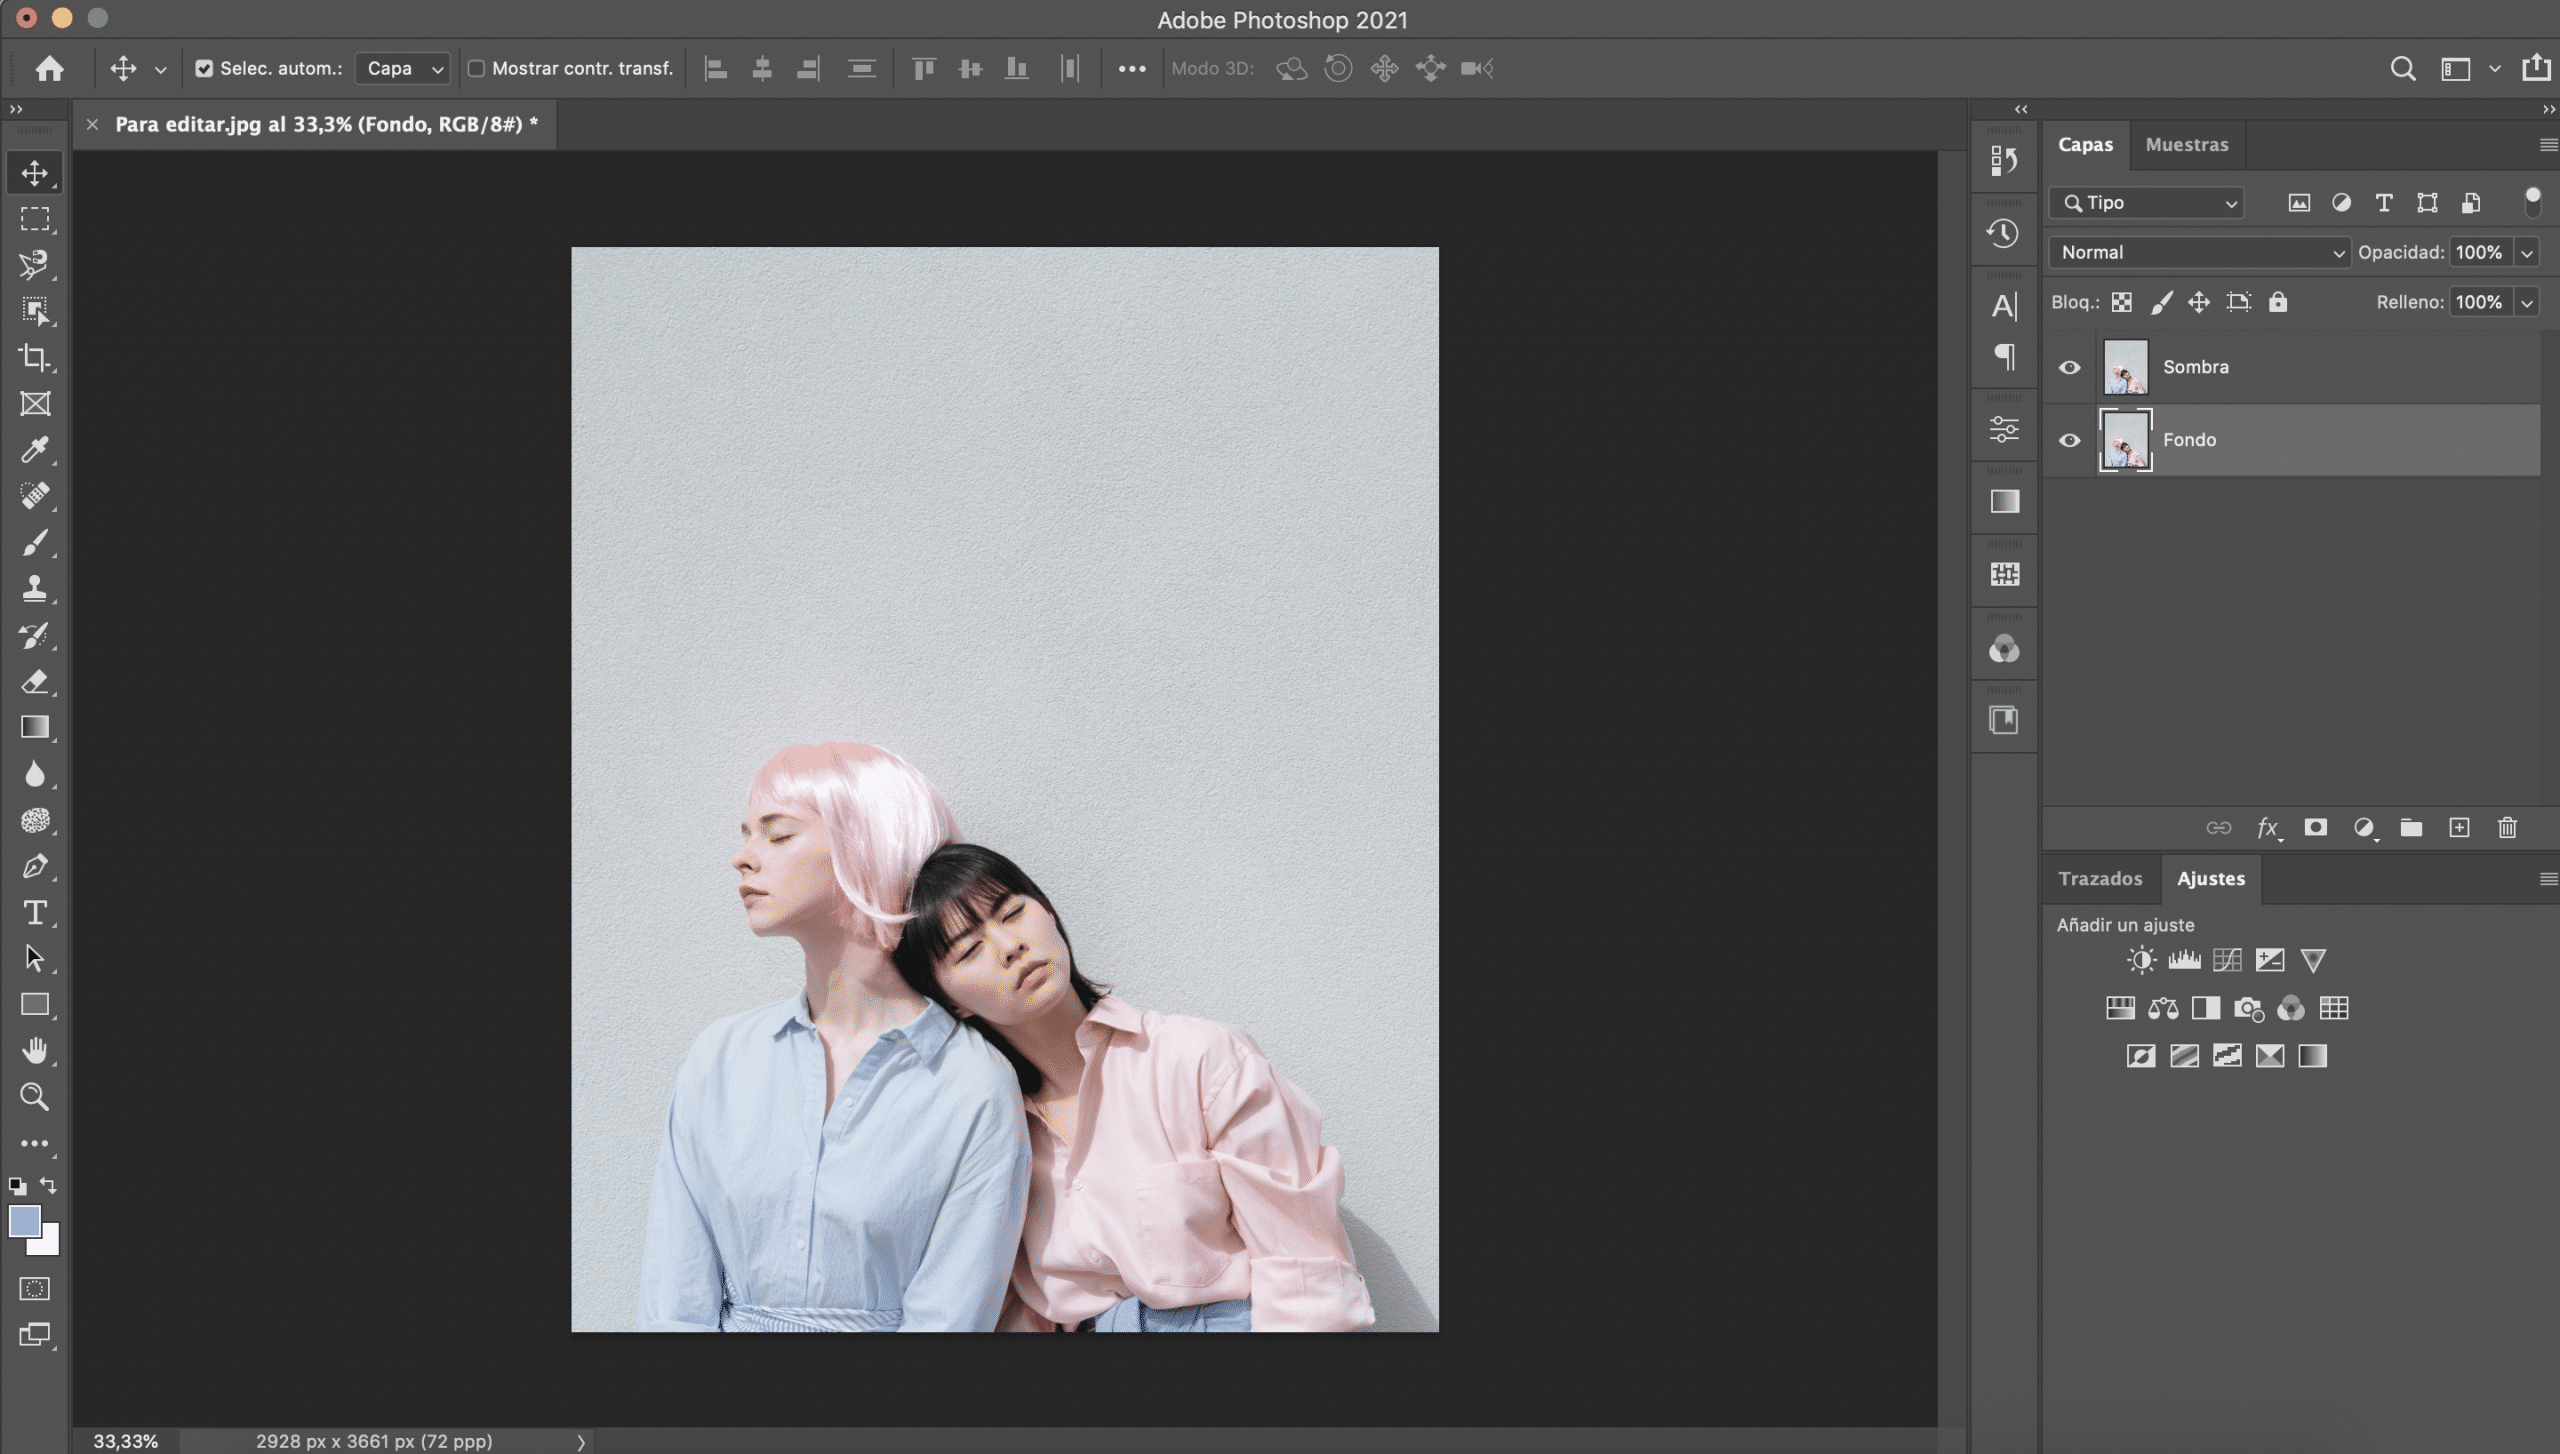
Open image and duplicate layer
The first thing we will do is open the image in Photoshop to which we want to change the background and we will duplicate it. You can do it easily by selecting the background layer and pressing control + c and then control + v, or command if you work with Mac. Another option would be opening the "layer" menu and clicking on "duplicate layer". Name it "shadow."
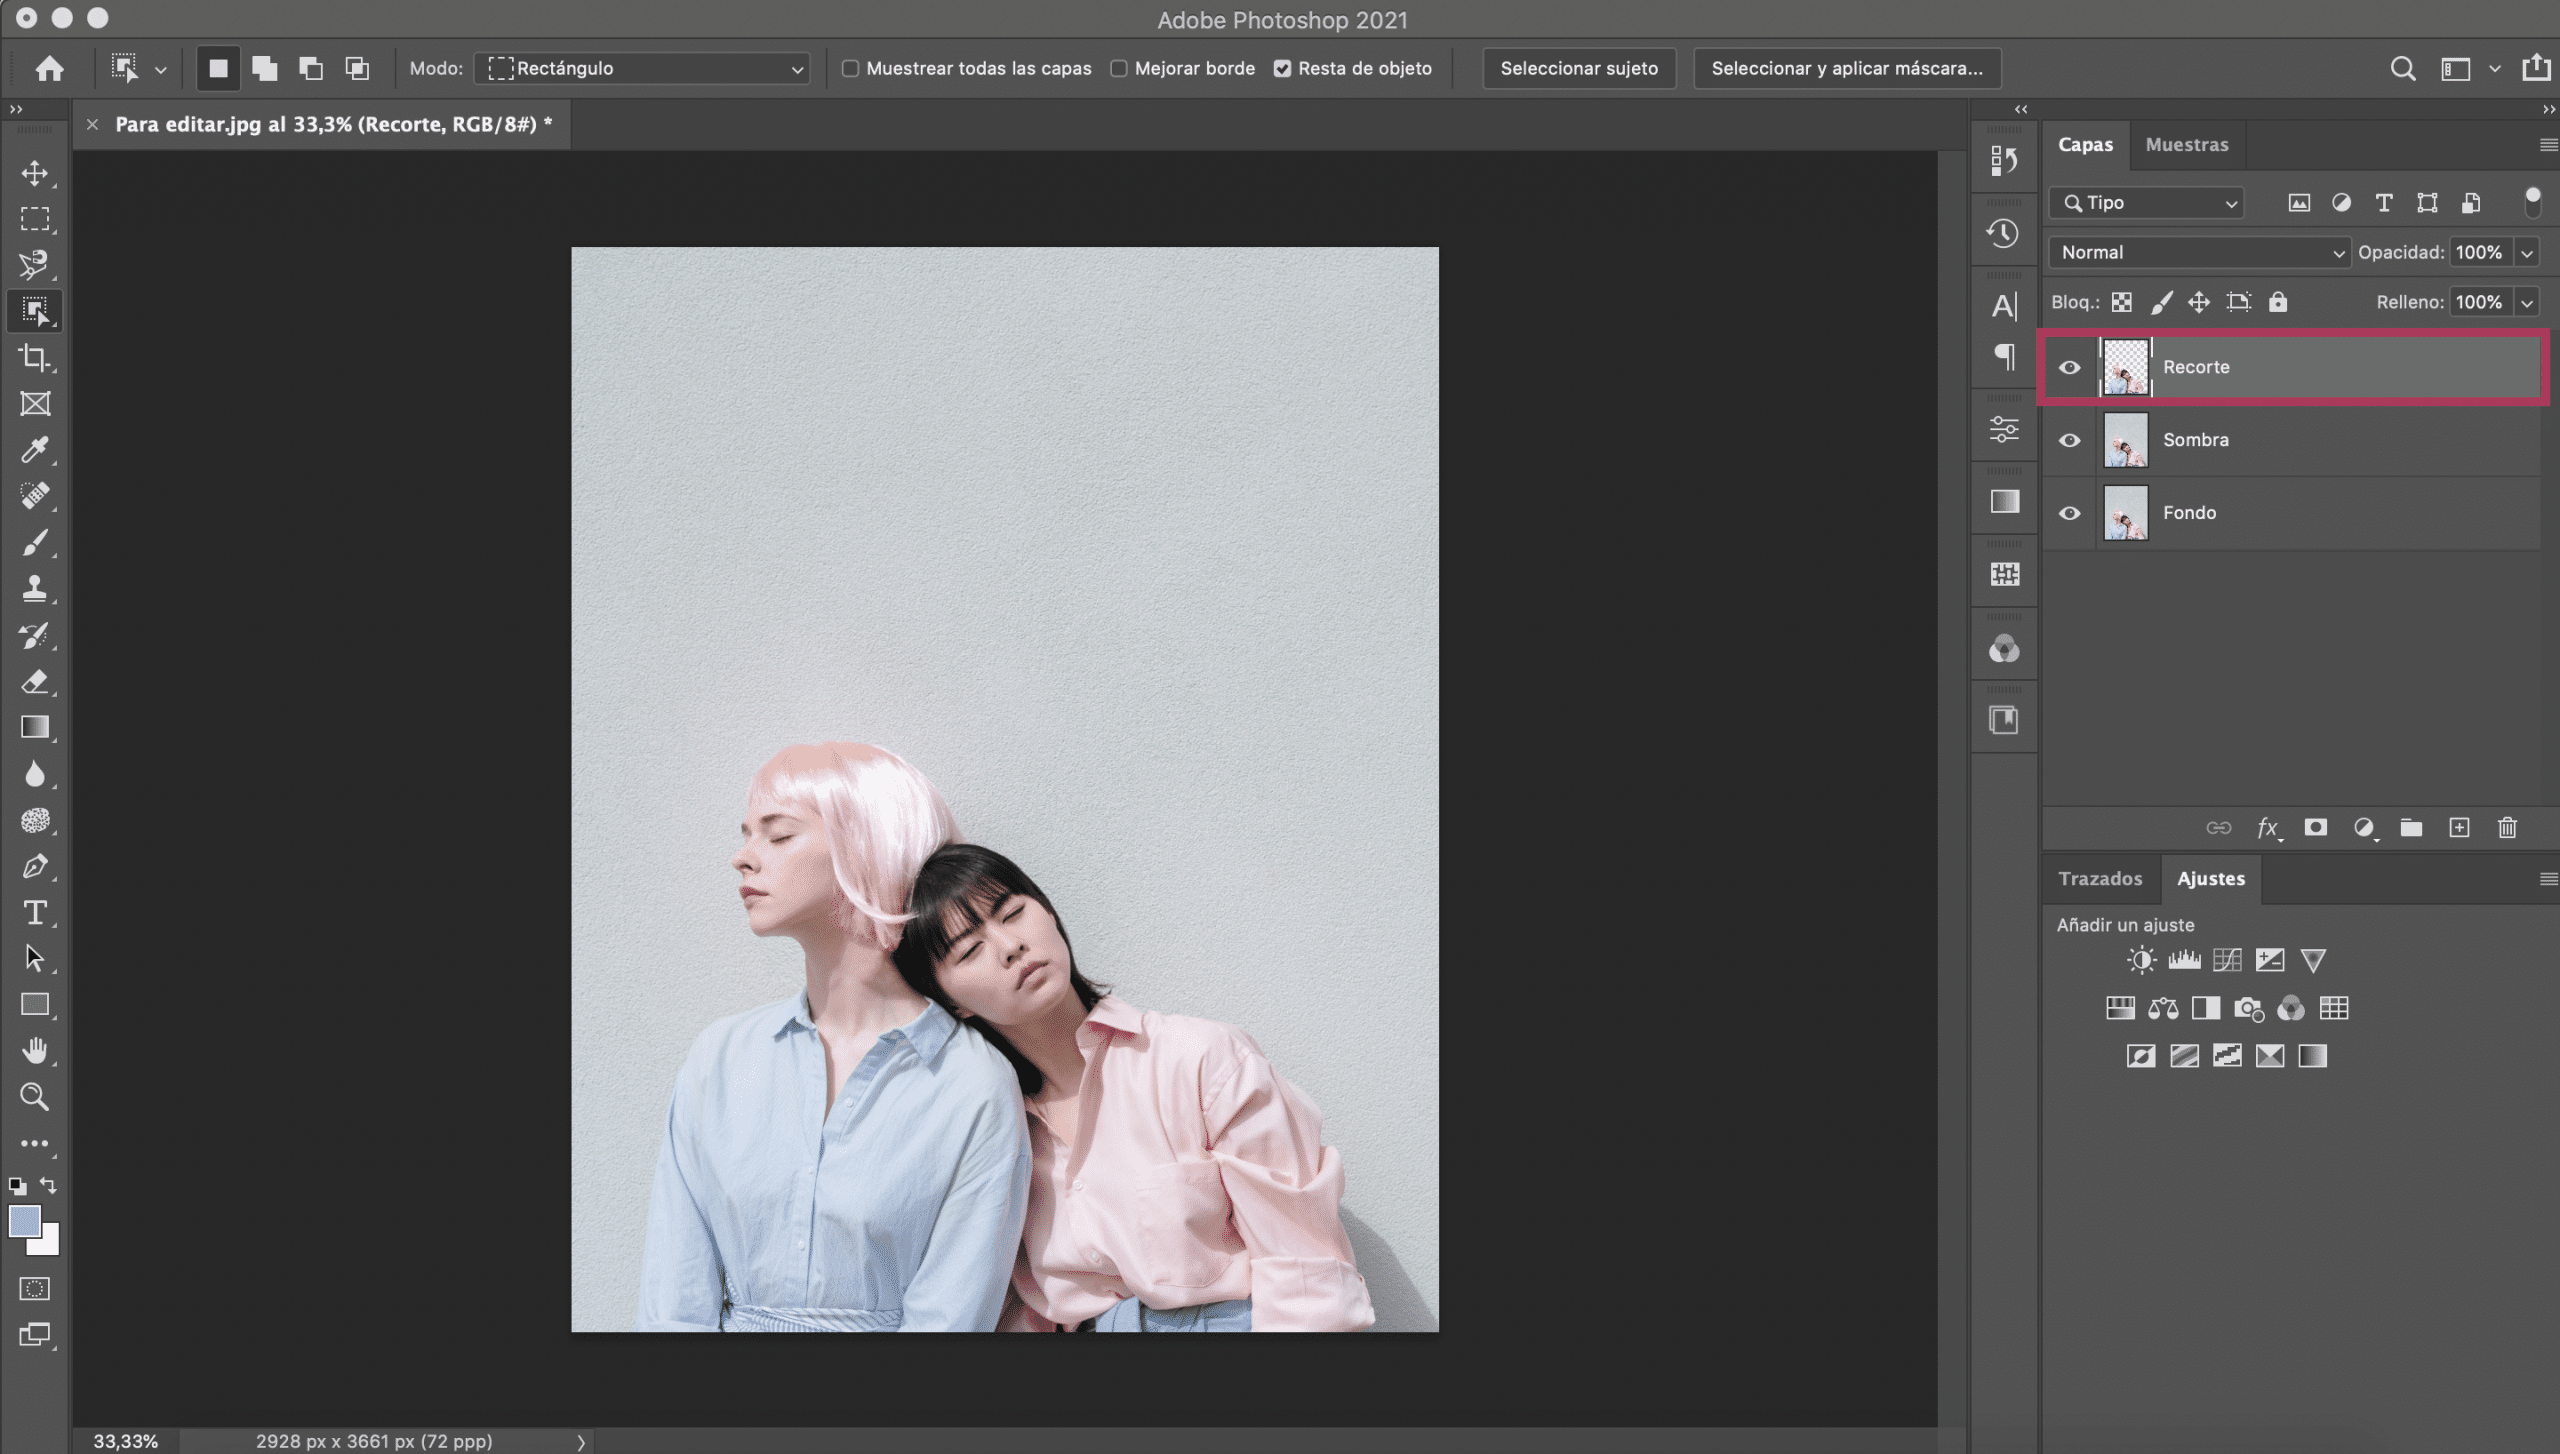
Select and create new layer with clipping
On that new layer we will selects in this case the two girls in the image. To make the selection you can use any of the tools available in the program, although I recommend using the quick selection tool and further refining it by applying the selection mask. If there are not too many elements in the background, you can also use Photoshop's automatic selection option "select subject", always cleaning the selection with the mask afterwards, it usually gives very good results.
If the background is a solid color, it can be very easy for you to select it with the magic wand and then invert the selection (command / control + shift + I). Choose the method you choose, the important thing is that the selection is as clean as possibleespecially the edges, avoid that in this area remains of the previous background, because although they seem not to be noticed, when you change the color of the background, it will stand out.

Once the selection is complete, we will press command or control + c and command or control + v, we will see that a new layer containing that clipping. We will place it on top of all the layers.
Create the new background
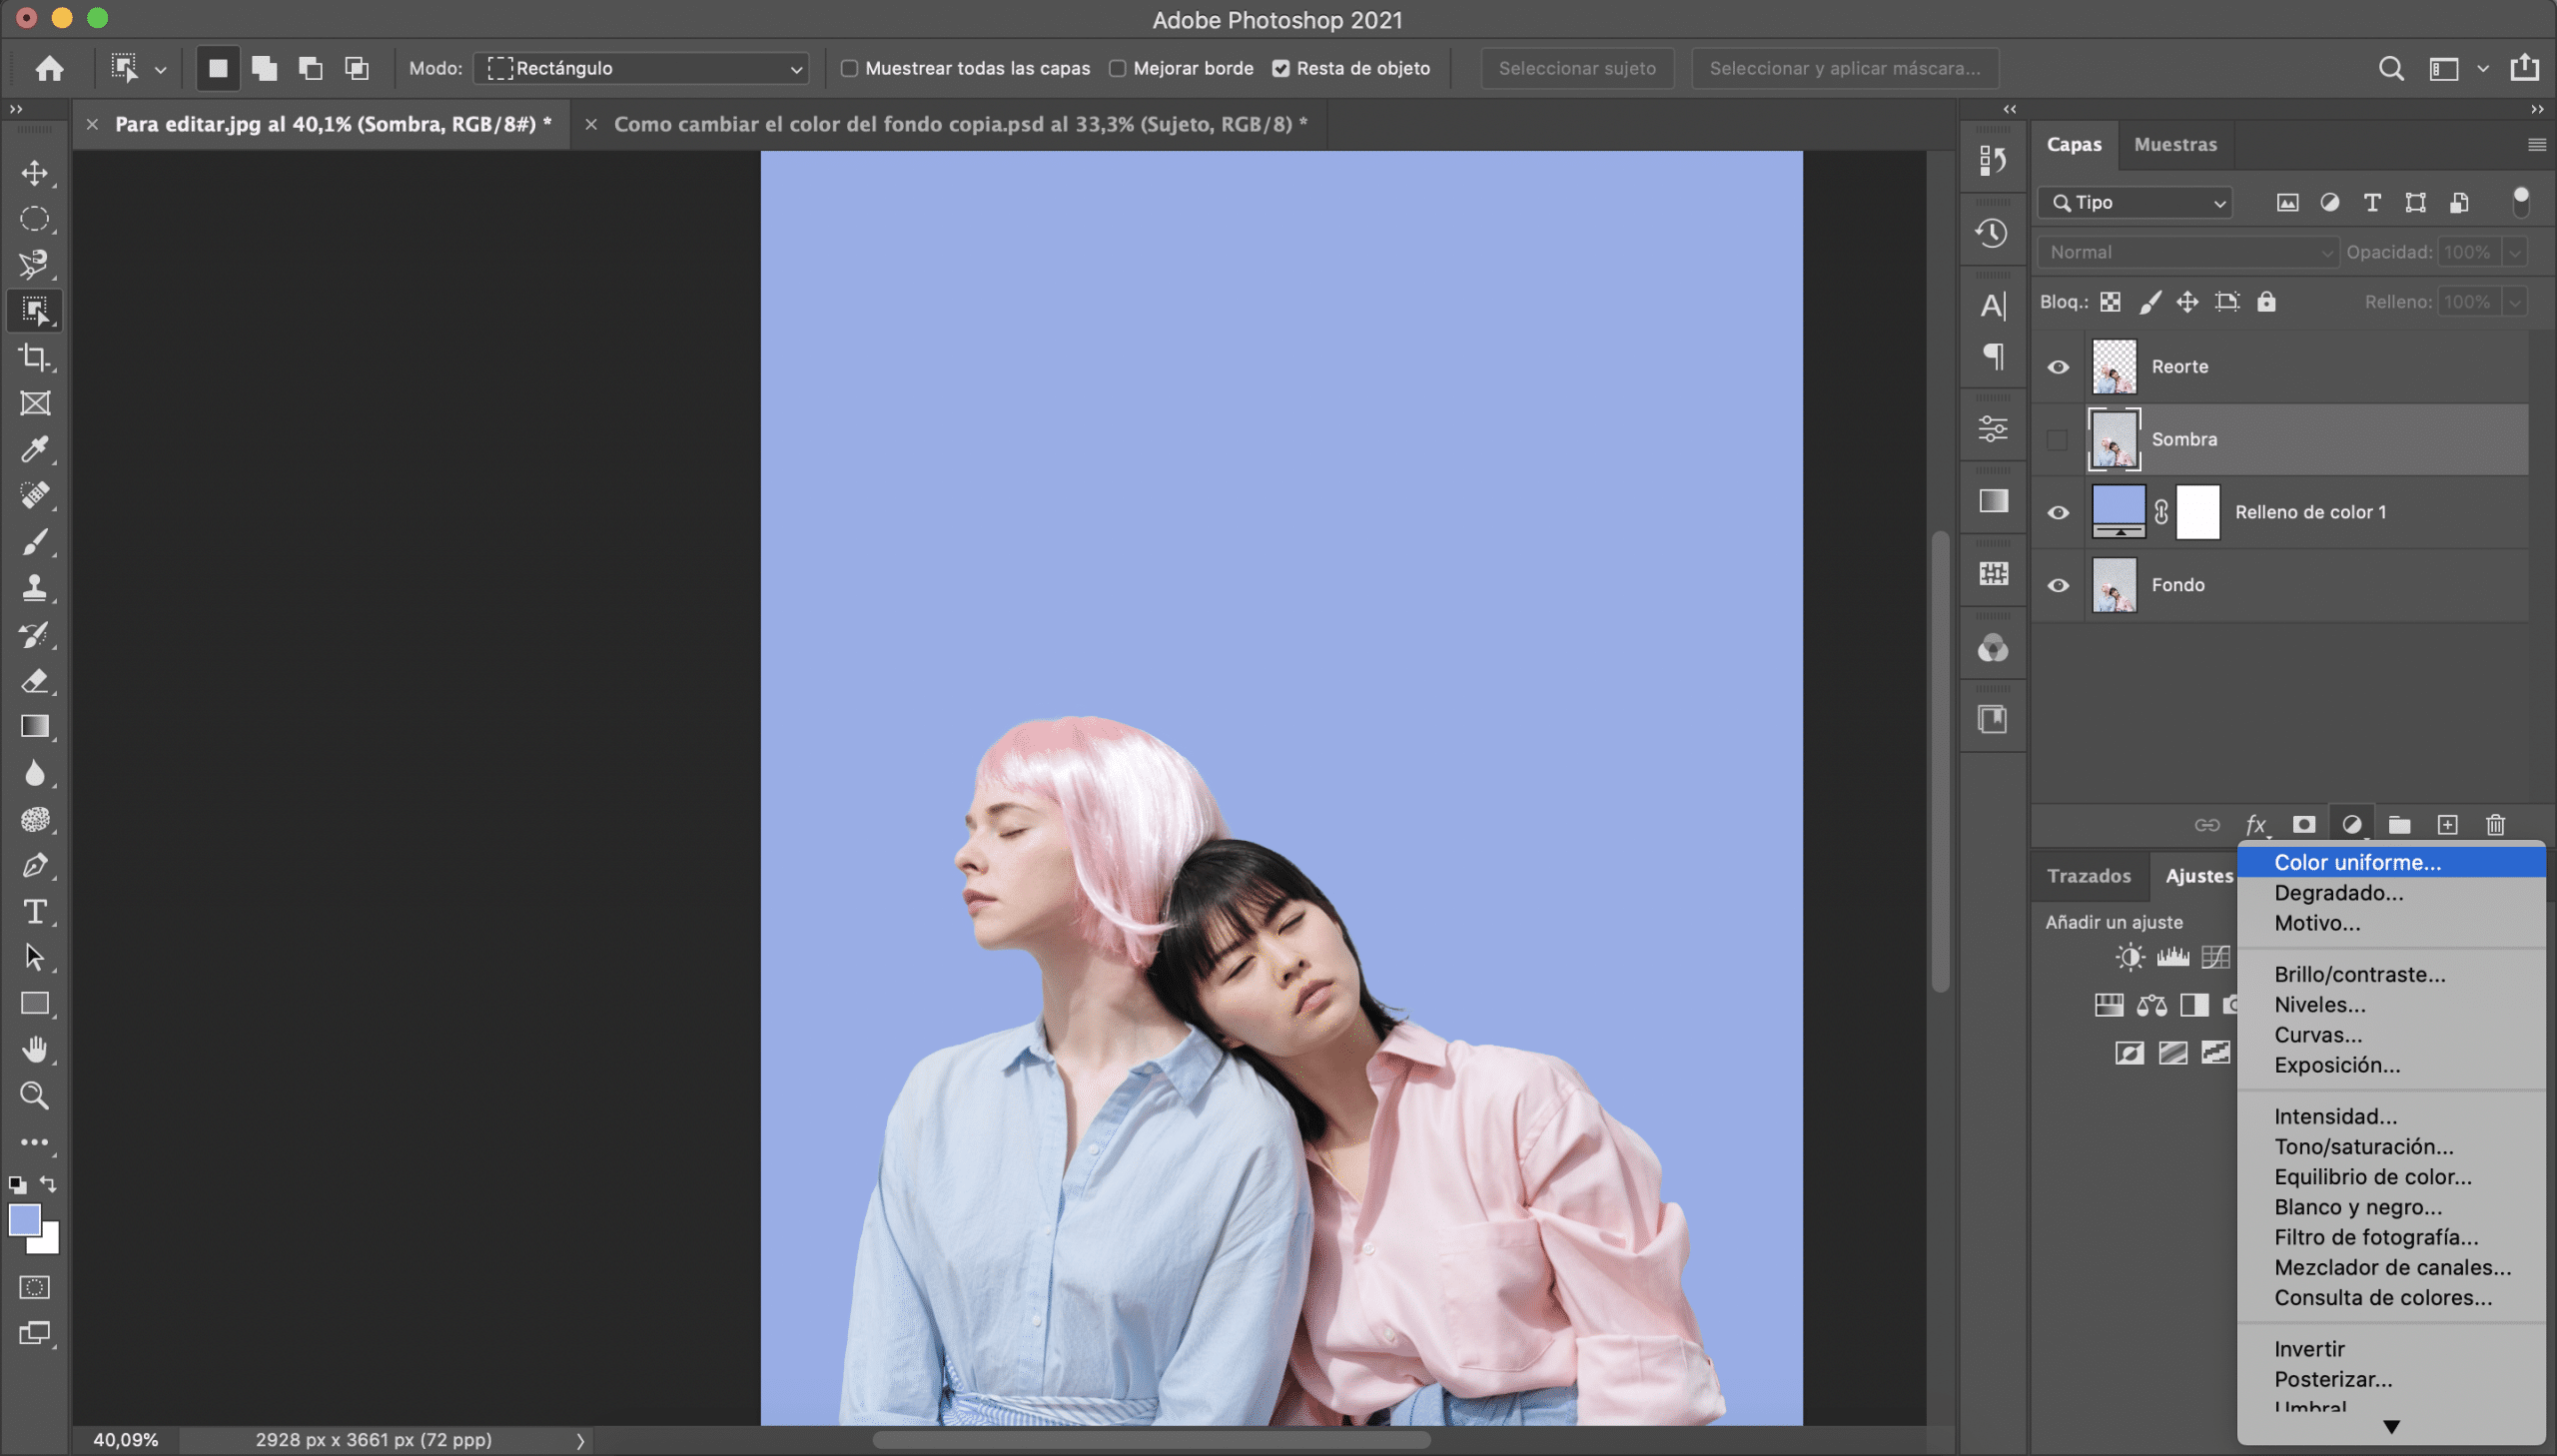
Now play create the new background, for this we will click on the symbol "Create new fill or adjustment layer", located at the bottom of the layer menu, and we will create a new layer of uniform color. You can give it the color you want, I have opted for a lilac. Place this layer above the "background" layer and below the "leftover" layer.
If we leave only the clipping layer and the new background that we have created visible, you will see that you have indeed already changed the color of the background to your image. Nevertheless, textures and shadows have been lost, reducing realism to the montage. We will fix it now very quickly.
Recover the shadow and texture
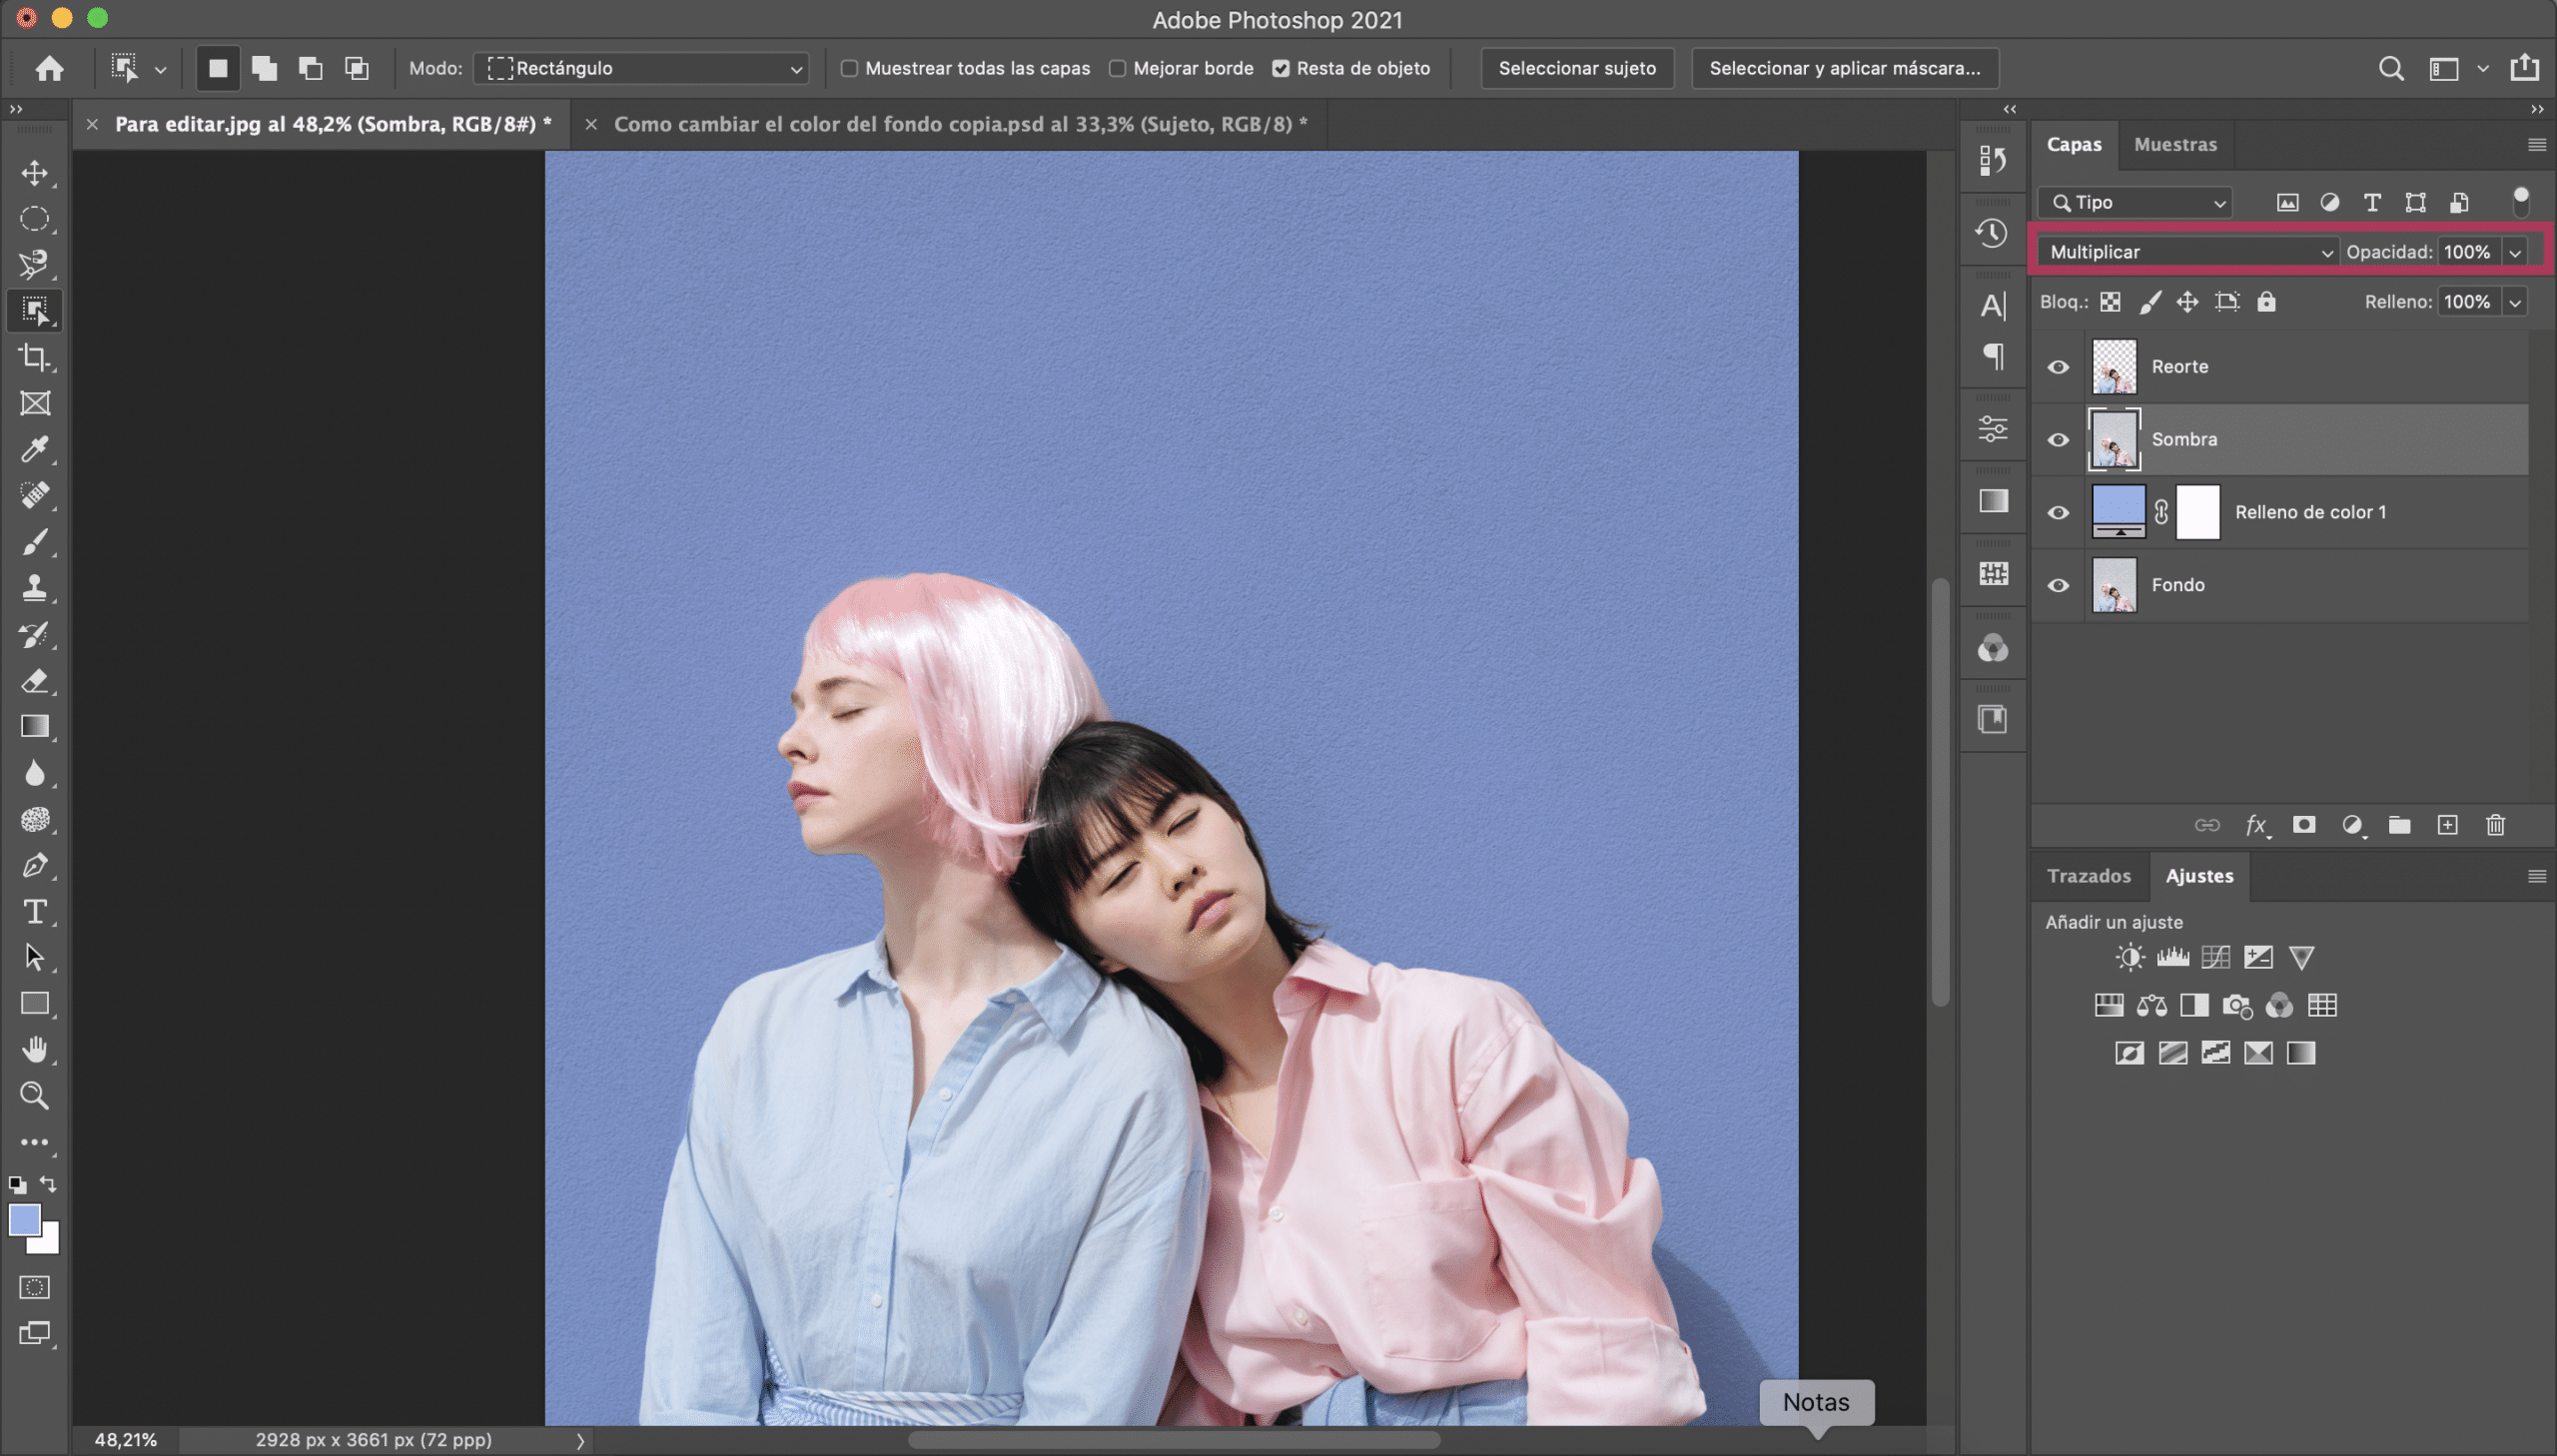
Do you remember that at the beginning we created a new layer which we named "shadow"? Well now is when it will come into play. We will place it on top of the colored background and we will modify the blending mode, we will select multiply (You can find this option at the top of the layer menu).
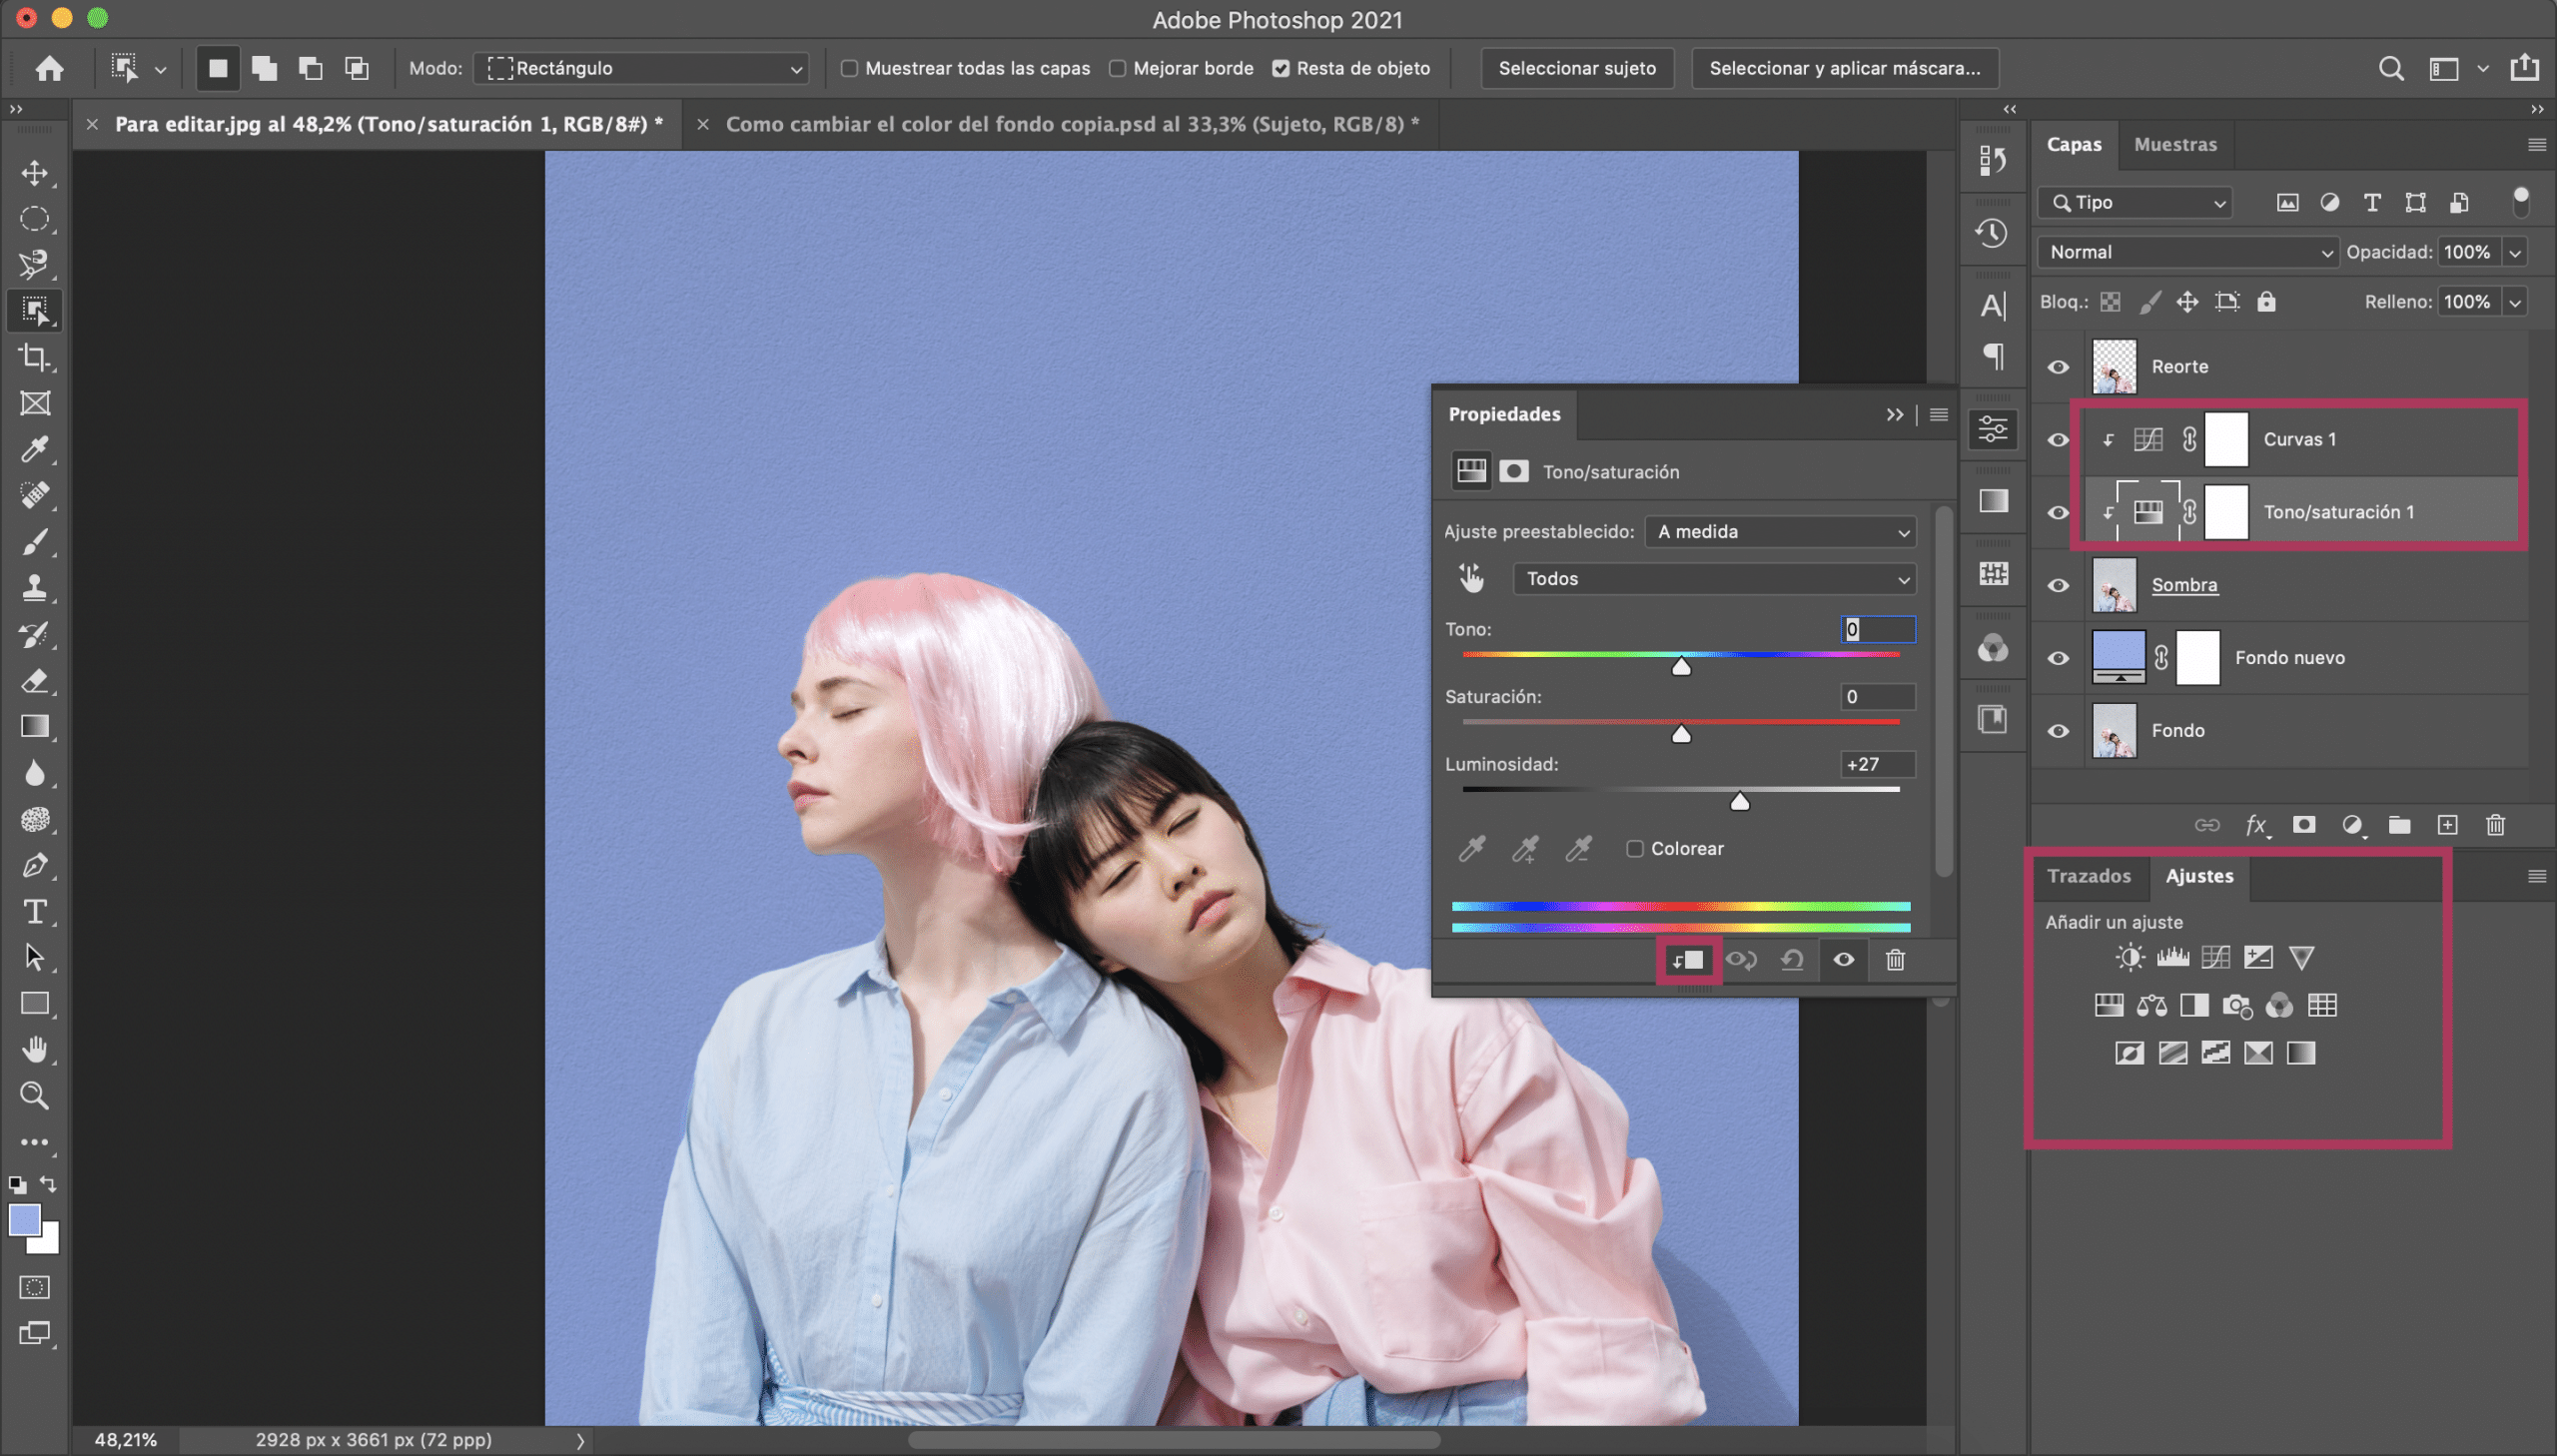
This way we will recover the shadow and the texture, although as you will see the chosen color will look darker. To solve this new change, we will create two new adjustment layers: curves and hue / saturation (You can do it by selecting these options in the new fill or adjustment layer menu, which we already displayed to add the uniform color layer).
Increase the lighting and adjust the curve to regain the tone you gave the new background. Of course, keep in mind that if you raise the lighting too much you will lose the shadow and texture again, play with the values of both adjustment layers so that does not happen.
A plus of perfection when it comes to changing the color to your image

When editing an image, the montage is sometimes noticeable by the lights and the tone. When we change the background, even if we do it to a solid color, this can also happen. There is a solution that, although it is not perfect, since there are better ways to soften those contrasts, it does give very good results in these cases and is very fast.

When you finish the whole process, in the layer menu look for «combine visible» and click. As you will see, what used to be a lot of layers, are now part of one. By last, In the picture menu, look for the auto tone option. The program will automatically modify the tone of the image and by applying the same adjustments to what were previously separate layers, you will get a much better result. If you prefer, you can do it manually, modifying the intensity and saturation, selecting "intensity" in the "image" menu.