
There are different techniques for coloring an illustration in Photoshop To give life to our illustrations, by using digital color we can color our images in an easy and comfortable way thanks to this program from the house of Adobe. Transfer your sketches to the computer and start coloring them using a professional tool that will allow you to create all kinds of compositions and color combinations.
If you are passionate about drawing and want to start illustrate professionally you can start doing it with Photoshop, this program will allow you to combine photographic retouching with illustration and any other technique you can think of. Fast, simple, very intuitive and ideal to be used with multiple techniques.
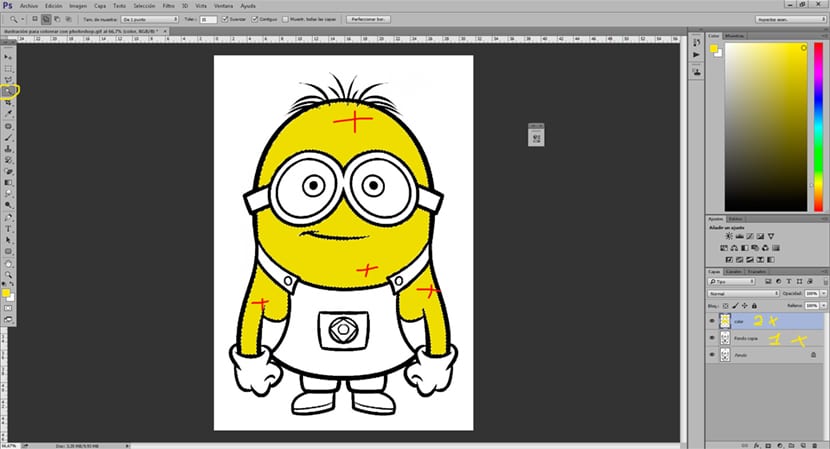
Photoshop allows us illustrate in several different ways depending on the needs, we can illustrate using pen, brush, photographs (collage) and a whole assortment of possible techniques where the only limitation is our own imagination. In this case we will apply color to a line drawing by using various internal tools in the program: magic wand and brush.
The first thing we have to do is find a line drawing (sketch) that has well marked lines to be able to color it more comfortably, these lines can be erased later if we are looking for a line-free result.
Once we have our drawing open in Photoshop the next thing we do is duplicate the main layer of our drawing to have a backup. We choose the tool Magic wand from the sidebar of Photoshop and we are creating selections of the areas that we want to paint, we will select the areas that we want to have the same color. After this when we have our selection finished, we will create a new layer and apply the color on it. To apply the color we can do it either by using the brush and painting over it or filling in the areas being edited / filled. This way allows us to work in a cleaner and more orderly way.
La second way to apply color with Photoshop is coloring the image with the brush. In order to do this we have to put the layer of our drawing in multiply mode, This option is found above the layers (change normal by multiplying) it will allow us apply color without losing the drawing line. We can change the hardness of the brush and the opacity if we are looking for a softer and more degraded result in the stroke.
As if it were a drawing by hand Photoshopp allows us to use special brushes that imitate plastic drawing techniques (charcoal, pencil, marker ... etc) this is a great help for all those illustration lovers who are looking for tools to work in a more professional and comfortable way.