
How color a picture with Photoshop quickly and simply achieving the purest result child style without the need to go into very technical aspects within Photoshop but simply giving life to our illustrations of very simple way.
Learn basic concepts to illustrate in Photoshop quickly achieving very striking results that will highlight all those illustrations that you have drawn by hand and want to give them color in Photoshop.
In this post we will learn to color our drawings easily and simple imitating a little children's drawing for its simplicity and absence of highly advanced technical details.
Let color in Photoshop to our drawings in two ways:
- Giving color without erasing the background hand painting
- Giving color by erasing the background and selecting the parts of the drawing
We will learn two ways to color our drawings from Photoshop, these two styles can be very useful when we are working with more advanced illustrations in Photoshop.
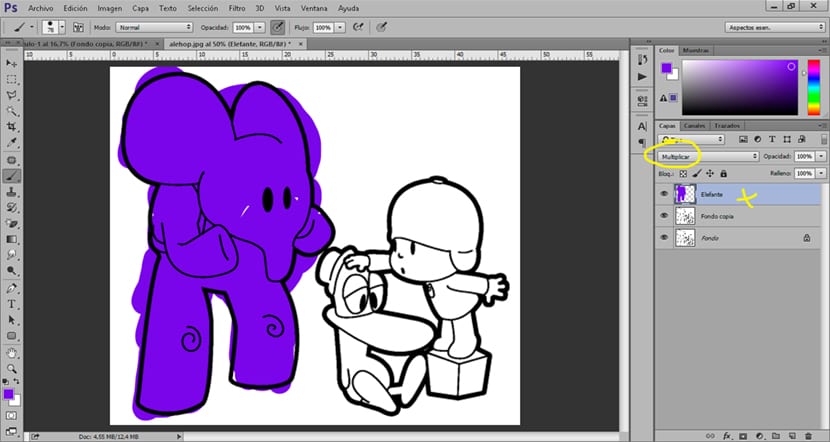
The first thing we have to do is create a new layer en Photoshop and change the layer mode from normal to multiply. We put the color layer on top and begin to paint on it, we will see how even though our drawing has a black line the color stays below the line.
We continue to color the entire illustration by creating different layers for each character (if we have more than one) for tthus work in a more comfortable and orderly way.
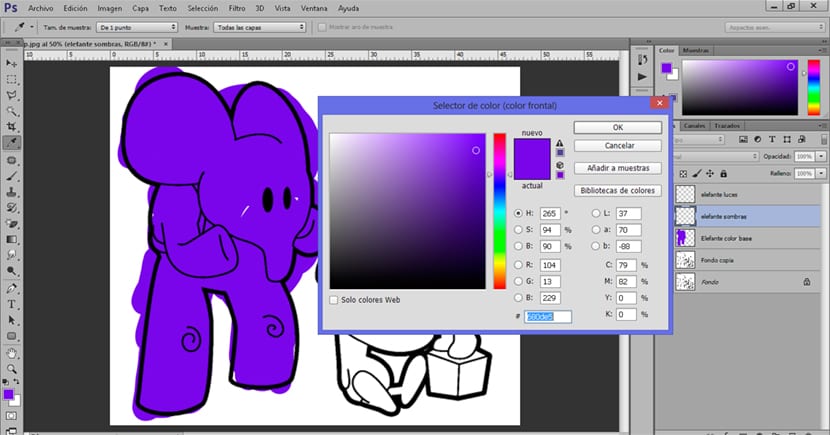
We can give shadows and lights to our drawing if we create new layers and select lighter and darker colors. To do this we just have to take a sample of our color base by pressing the alt key with the brush tool selected.
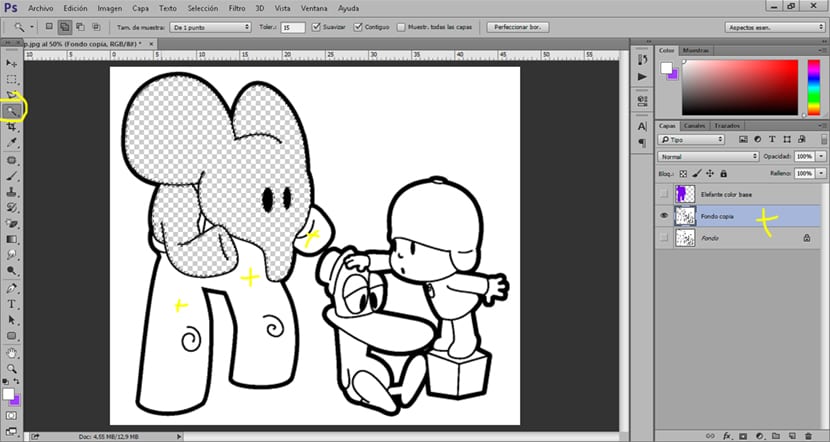
The next way to color a drawing is to erase the white background to later select the parts of the drawing separately.
The first thing we have to do is select the magic wand tool and start create selections in drawing, we must have selected the original layer of the drawing.
- we select the white background with the magic wand tool
- We are erasing the background slowly
- We select parts of the drawing and we started to color them
To color the drawing we must select parts separately and then with the brush tool we will give color manually to our drawing.
Poco a poco we are selecting each of the parts of our drawing, we can create a new layer for work separately all parts of the illustration. If our drawing has many elements it is ideal to work it separately in neat layers and with names that help us position ourselves.
This ends here post very basic on how to color our drawings with Photoshop. Little by little we will see more advanced techniques to start learning and improving our digital illustrations.