
To combine typography with images inside with Photoshop he is curious effect widely used and easy to do with very good results attractive at a visual level. Many times we have come across designs where the typography is used as a frame with images inside, it is an effect that achieves enhance a text and make it more graphic and attractive.
Use a good typography, combined with this type of technique offers strong enough results to draw the eye to this artistic typography that combines the emission of the message through the use of typography and the addition of the use of images. It has always been said that an image is worth a thousand words, but with this simple effect we will be able to combine both: words and pictures.
The first thing we have to do is write some text en Photoshop, We go to the text tool, select a font and write something. It is recommended that a big body typography (quite thick) to make the effect more visible. We can download fonts on the web Dafont.

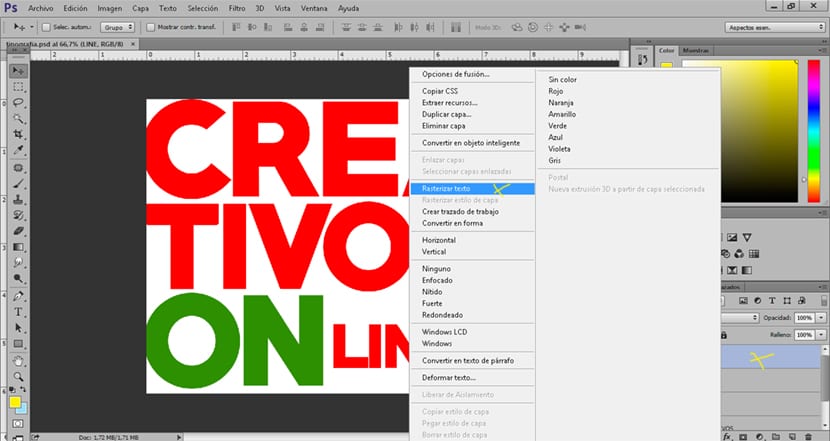
The second step is rasterize the text layer (or layers) and turn them into a normal layer. Click with the right mouse button on the text layer and select the option of rasterize text.
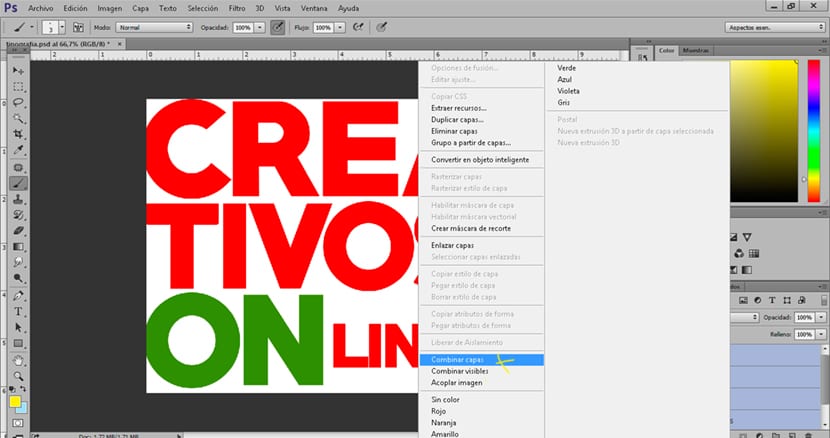
If we have used more than one text, it is necessary rasterize all layers and merge the text layers in a single layer. To do this we select all the layers (control pressed + click on each layer) press the right mouse button and select the tab combine layers.
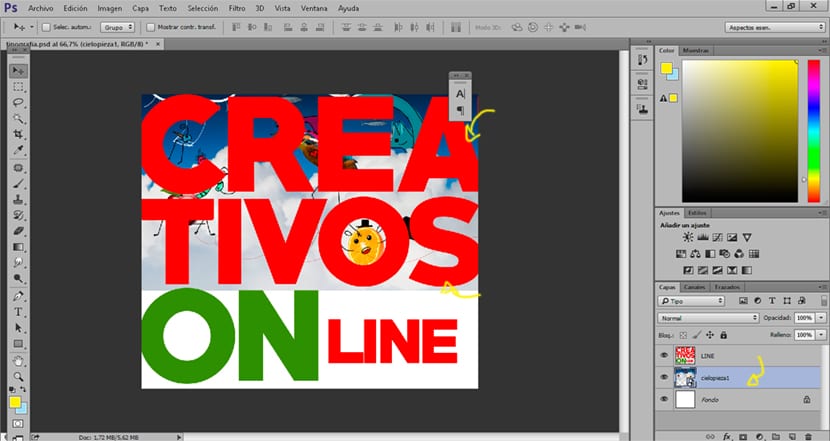
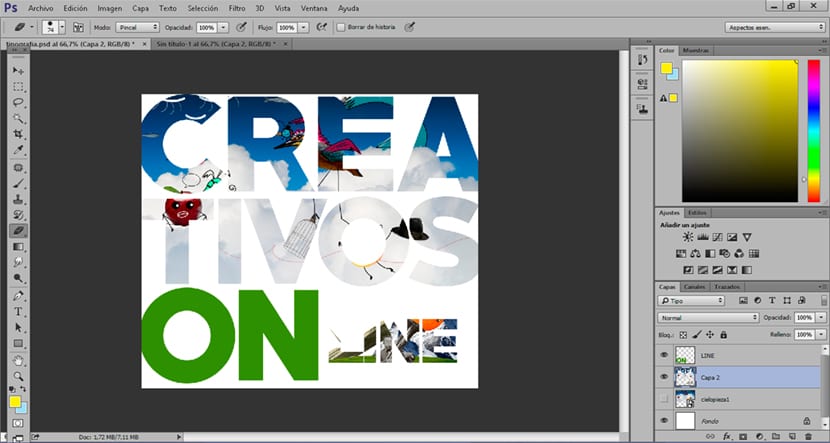
We need open some images in Photshop for apply them inside the typeface. We open our images and we adjust the text in such a way that it is placed where we want it to be seen in the typography. It is advisable to place the typography layer above the image layer, in this way we can better see the composition.
The next step is the most important because it is in charge of achieving the effect we are looking for, we have to follow these points:
- Click on the text layeror until you see the outline of the typography (control + click on the layer)
- Choose (without clicking) the image layer.
- Go to option new layer via copy.
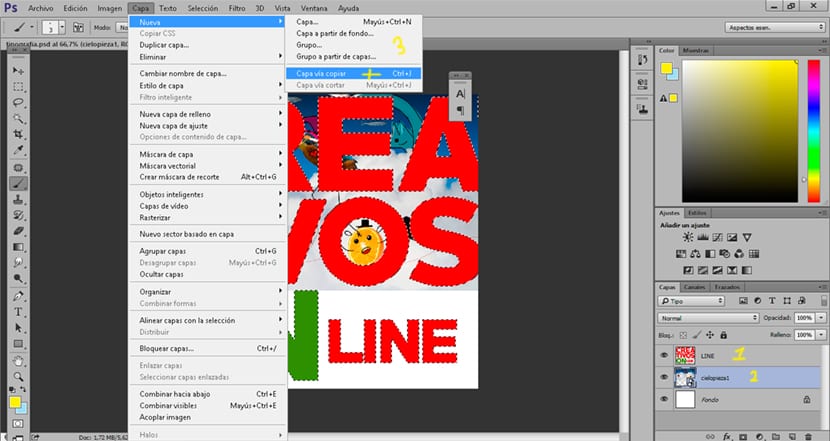
What we have achieved with these steps is to tell Photoshop we want to create a layer with selection typography but copying the layer that we have selected, I mean to copy only the image. When selecting the font, Photoshop has created a selection for us with the letterpress form.
After this we would have to have our amazing effect finished.
We erase the entire text layer or simply (as in my case) we erase those texts that we do not want. We can use the rubber of Photoshop or remove the layer entirely.
All the Possibilities for this type of effects are infinite and they only depend on our creativity when working.