
If you want to learn how to turn a photo into a cartoon using Adobe Photoshop, this post is especially for you.. You cannot imagine the endless possibilities that you will be able to achieve with the tools that this program offers you. Without any doubt, you will achieve the most creative results to add to your portfolio or to make personalized gifts.
With this little tutorial that we are going to see in this publication, by using Photoshop you will be able to carry out different creativities and image editions. With the simple steps that we are going to give you, it will not be necessary to have advanced knowledge about the program.
How to turn a photo into a cartoon
Today, we are going to learn how to turn any photo into a cartoon. We hope that this tutorial will be easy for you to follow and above all to perform and get a result really according to what you are looking for.
Step 1. We will open a new file
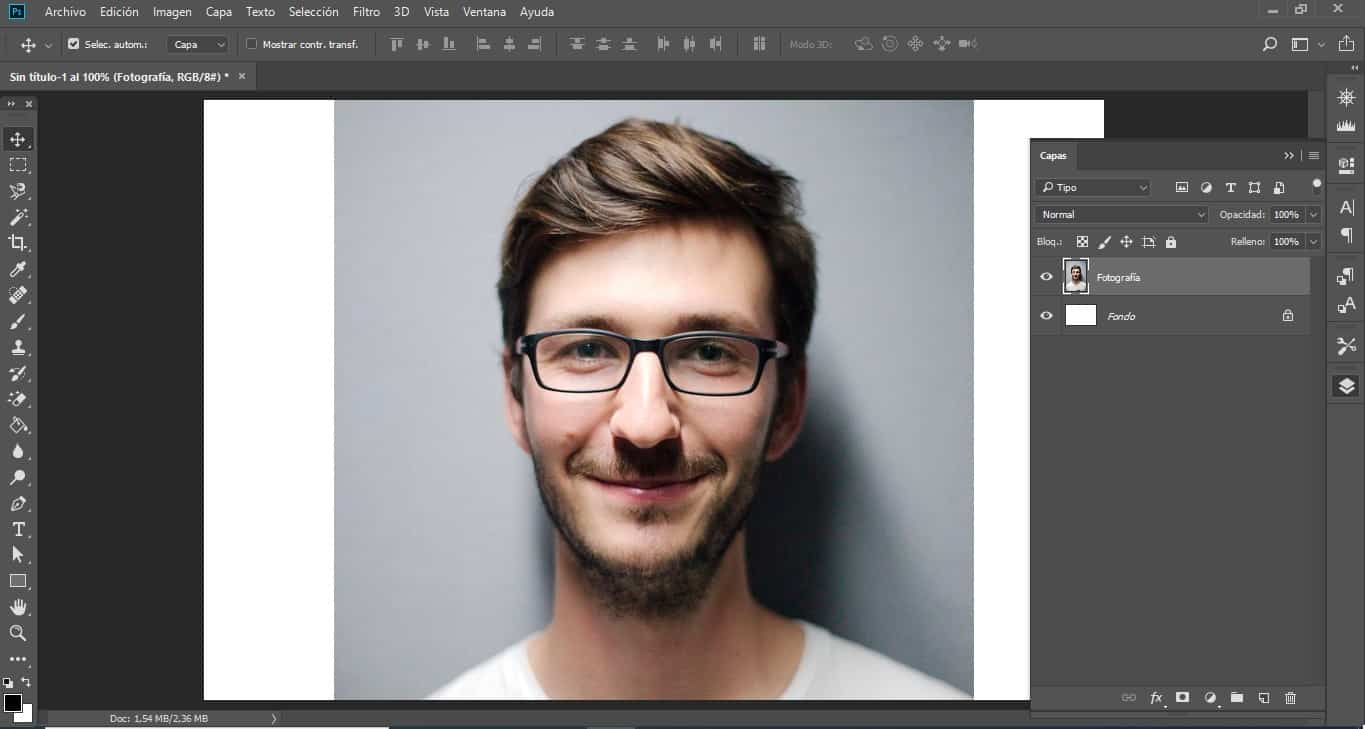
As we always indicate in all the tutorials we make, The first thing is to open the program. And then, the file that contains the photograph with which we are going to workr. In our case, it is a photograph of a face that we have downloaded from a free image bank.
Step 2. Preparing the artboard
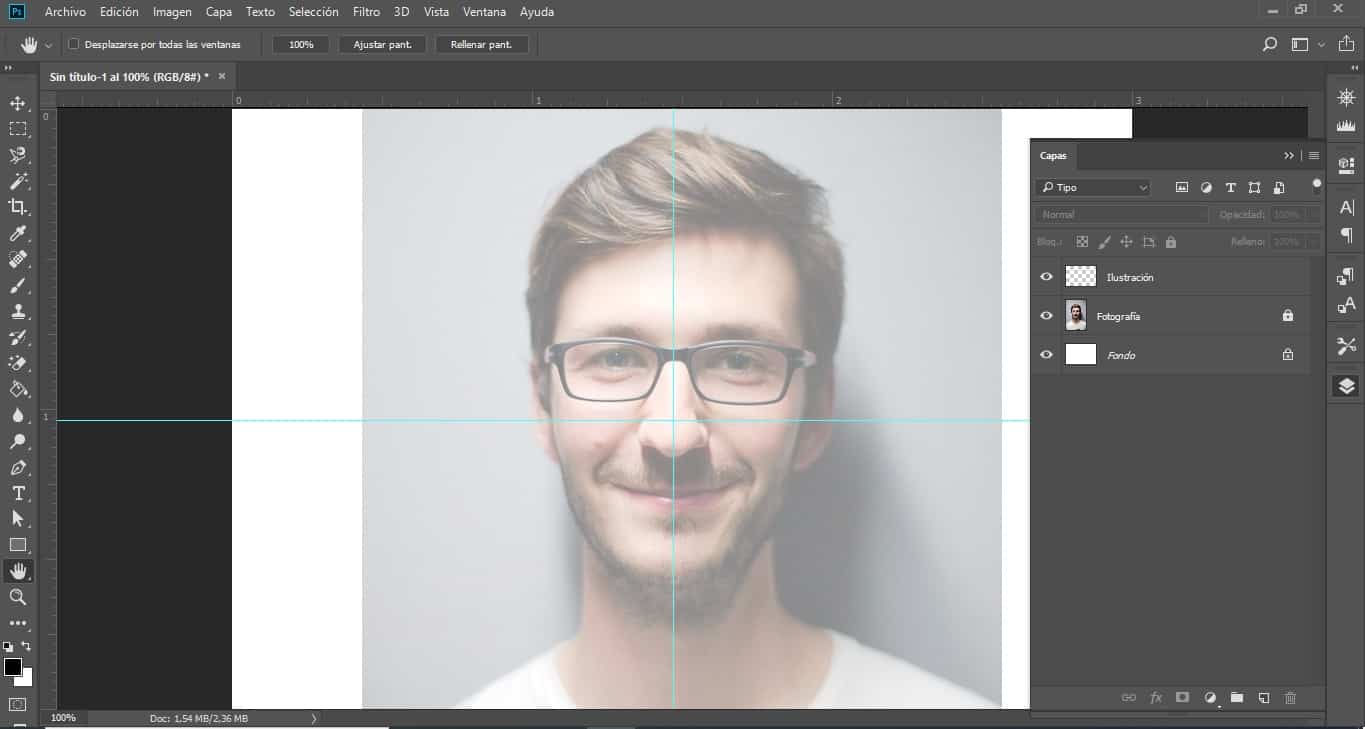
Once your image file is open, what you have to do is lower the opacity of said photograph to half the value. That is, at 50% or at a percentage where you feel comfortable working.
When you already have the perfect opacity to start working, the next thing you should do is block this layer with the image and you will create a new one. This new layer, it is convenient that you change the name, in our case we have called it “Illustration”.
This process of converting an image to a photograph, you can do it with the help of a graphic tablet. Although also using your mouse, as always with a lot of patience without any problem.
Then you will get the Photoshop guides, you can do it through the upper toolbar in the “window” option or by using the shortcut Ctrl R. When these appear, you must drag them to your work table, one vertical and one horizontal in the central parts of the photograph. It is very important that when you have the guides placed you block them. You can do this by going to the top view option, and clicking on lock guides.
This, we do it because so that you can better see the final result of the illustration, we are going to make only half of the photograph in illustration. You can follow this same design or make the image completely.
Step 3. Brush Tool
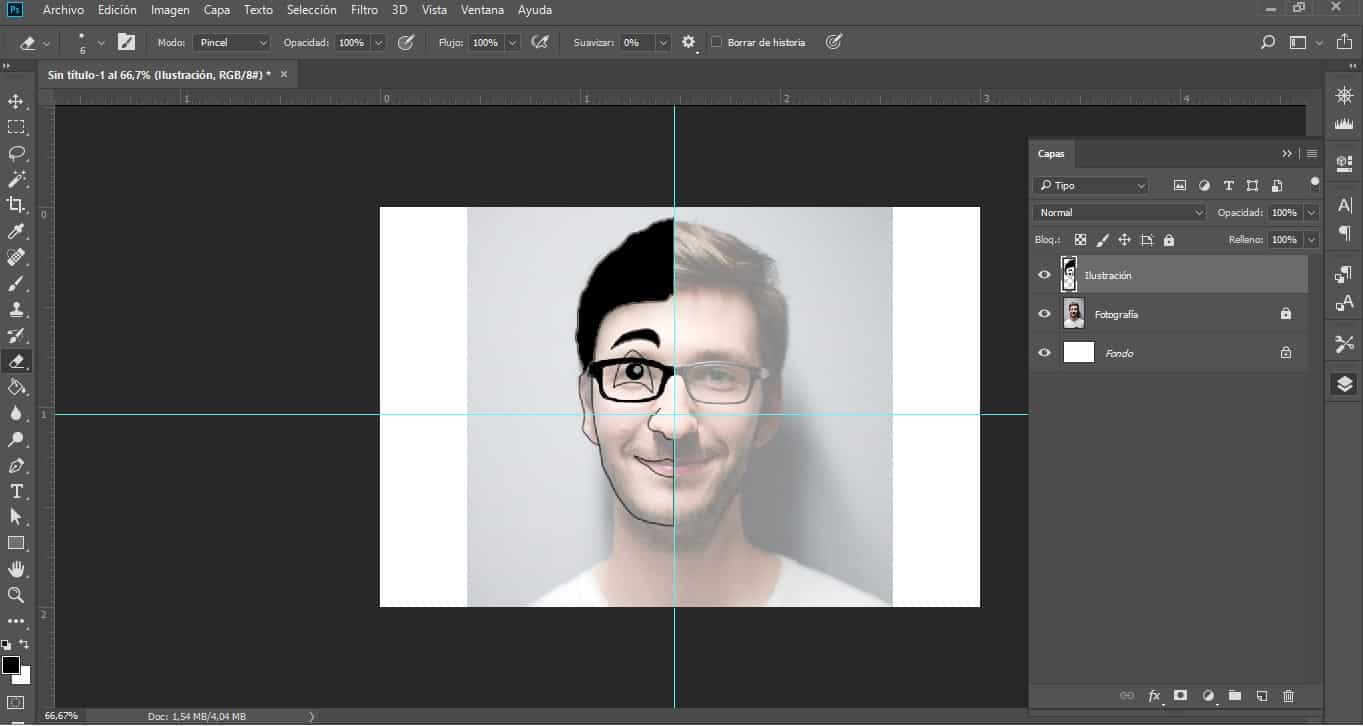
After all of the above, it is necessary to select the brush tool, which can be found in the toolbar on the left side of the screen or by using the shortcut B. The brush with which we are going to work has a value of 100% hardness and a size with which each of you is really comfortable working.
In the event that you are working with a graphic tablet, you already know that depending on the pressure with which you make the traces, they will appear more or less thick. on your work table. If this is not the case and you are drawing with the mouse, you can change the size of the brush manually as required by your image.
We will begin to carry out the caricature process little by little and achieving the best result with the help of the brush tool. In addition to, with the different sizes that it offers us. As you already know, it is not a simple process, but it takes some time, so work and patience are required. It is not necessary that the lines are perfect, since it is a manual drawing.
Step 4. Colorize and retouch
As we have indicated, it is an illustration by hand, so once the drawing is finished, the following steps will be those of add color and retouch adding different effects.
It's time, of retouch paths that are not entirely consistent with the result you were looking for. You can fill in areas where color density is needed, such as hair, eyebrows, eyes, etc.
Go over the paths of the different parts of the drawing with a thicker brush and more intense color than you have used. With this, you will achieve a more finished and realistic result. In the event that your image has details such as a beard, freckles, wrinkles, it is important that you also draw them.
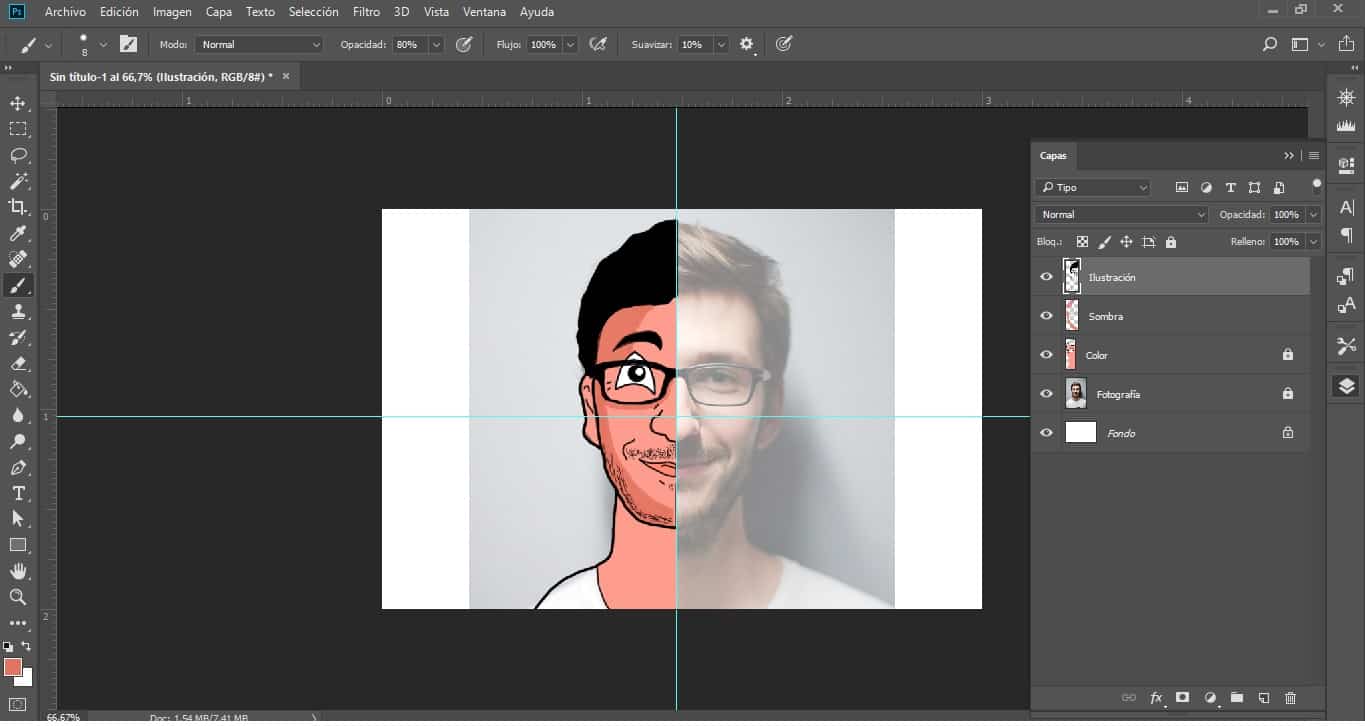
Once you have the illustration with the result you were looking for, it's time to go to the layers window and lock the one that contains the illustration. To start coloring your drawing, open a new layer and unleash the color palette, always using the original image as a reference.
In case you want to add a shadow effect, you must create a new layer on top of the one that contains the painting of your illustration. With the dropper tool, you will select the color that you have used to paint the face and in the color screen you will look for one a little darker than this to achieve a shadow effect.
Press the Alt key on your keyboard, and stand right in the middle of the color and shadow layer you just created and click to link both layers. Anything you draw on the shadow layer will show up on the color layer. Again with the brush, you will begin to make the different shadows that you think are necessary on your illustration.
To finish you will eliminate the guides that we have placed at the beginning. And next, we will create a line with a thick stroke and a white color so that it shows us the final result of our work in a more striking way.
There are effects in Adobe Photoshop that give you a direct result with a comic style drawing or different mobile or computer applications with the same objective. But we believe that it is necessary for those who love design and illustration to learn how to use this program and its different tools to achieve a truly personalized result to your liking.
Remember that this process takes time, so you should be relaxed and dedicate hours to achieve a truly professional result.