Adobe Photoshop has endless possibilities and it allows us to make all kinds of adjustments and modifications to both photographs and designs that we make our own and then want to sell. It is one of the best current tools and has served to change the world of design and photography to find with news as striking as this.
Today we are going to teach you how to turn a photo into a drawing with Adobe Photoshop. We are going to use different filters from the gallery and our own hand to give it an even more real finish, so that it seems that we have been with the pencil and the eraser drawing that photo of one of our family or friends.
Before starting the tutorial, you can serve from the video that we have published on our channel de Creativos Online to follow the steps as is and it is even easier than here.
Steps to convert photo to drawing with Photoshop
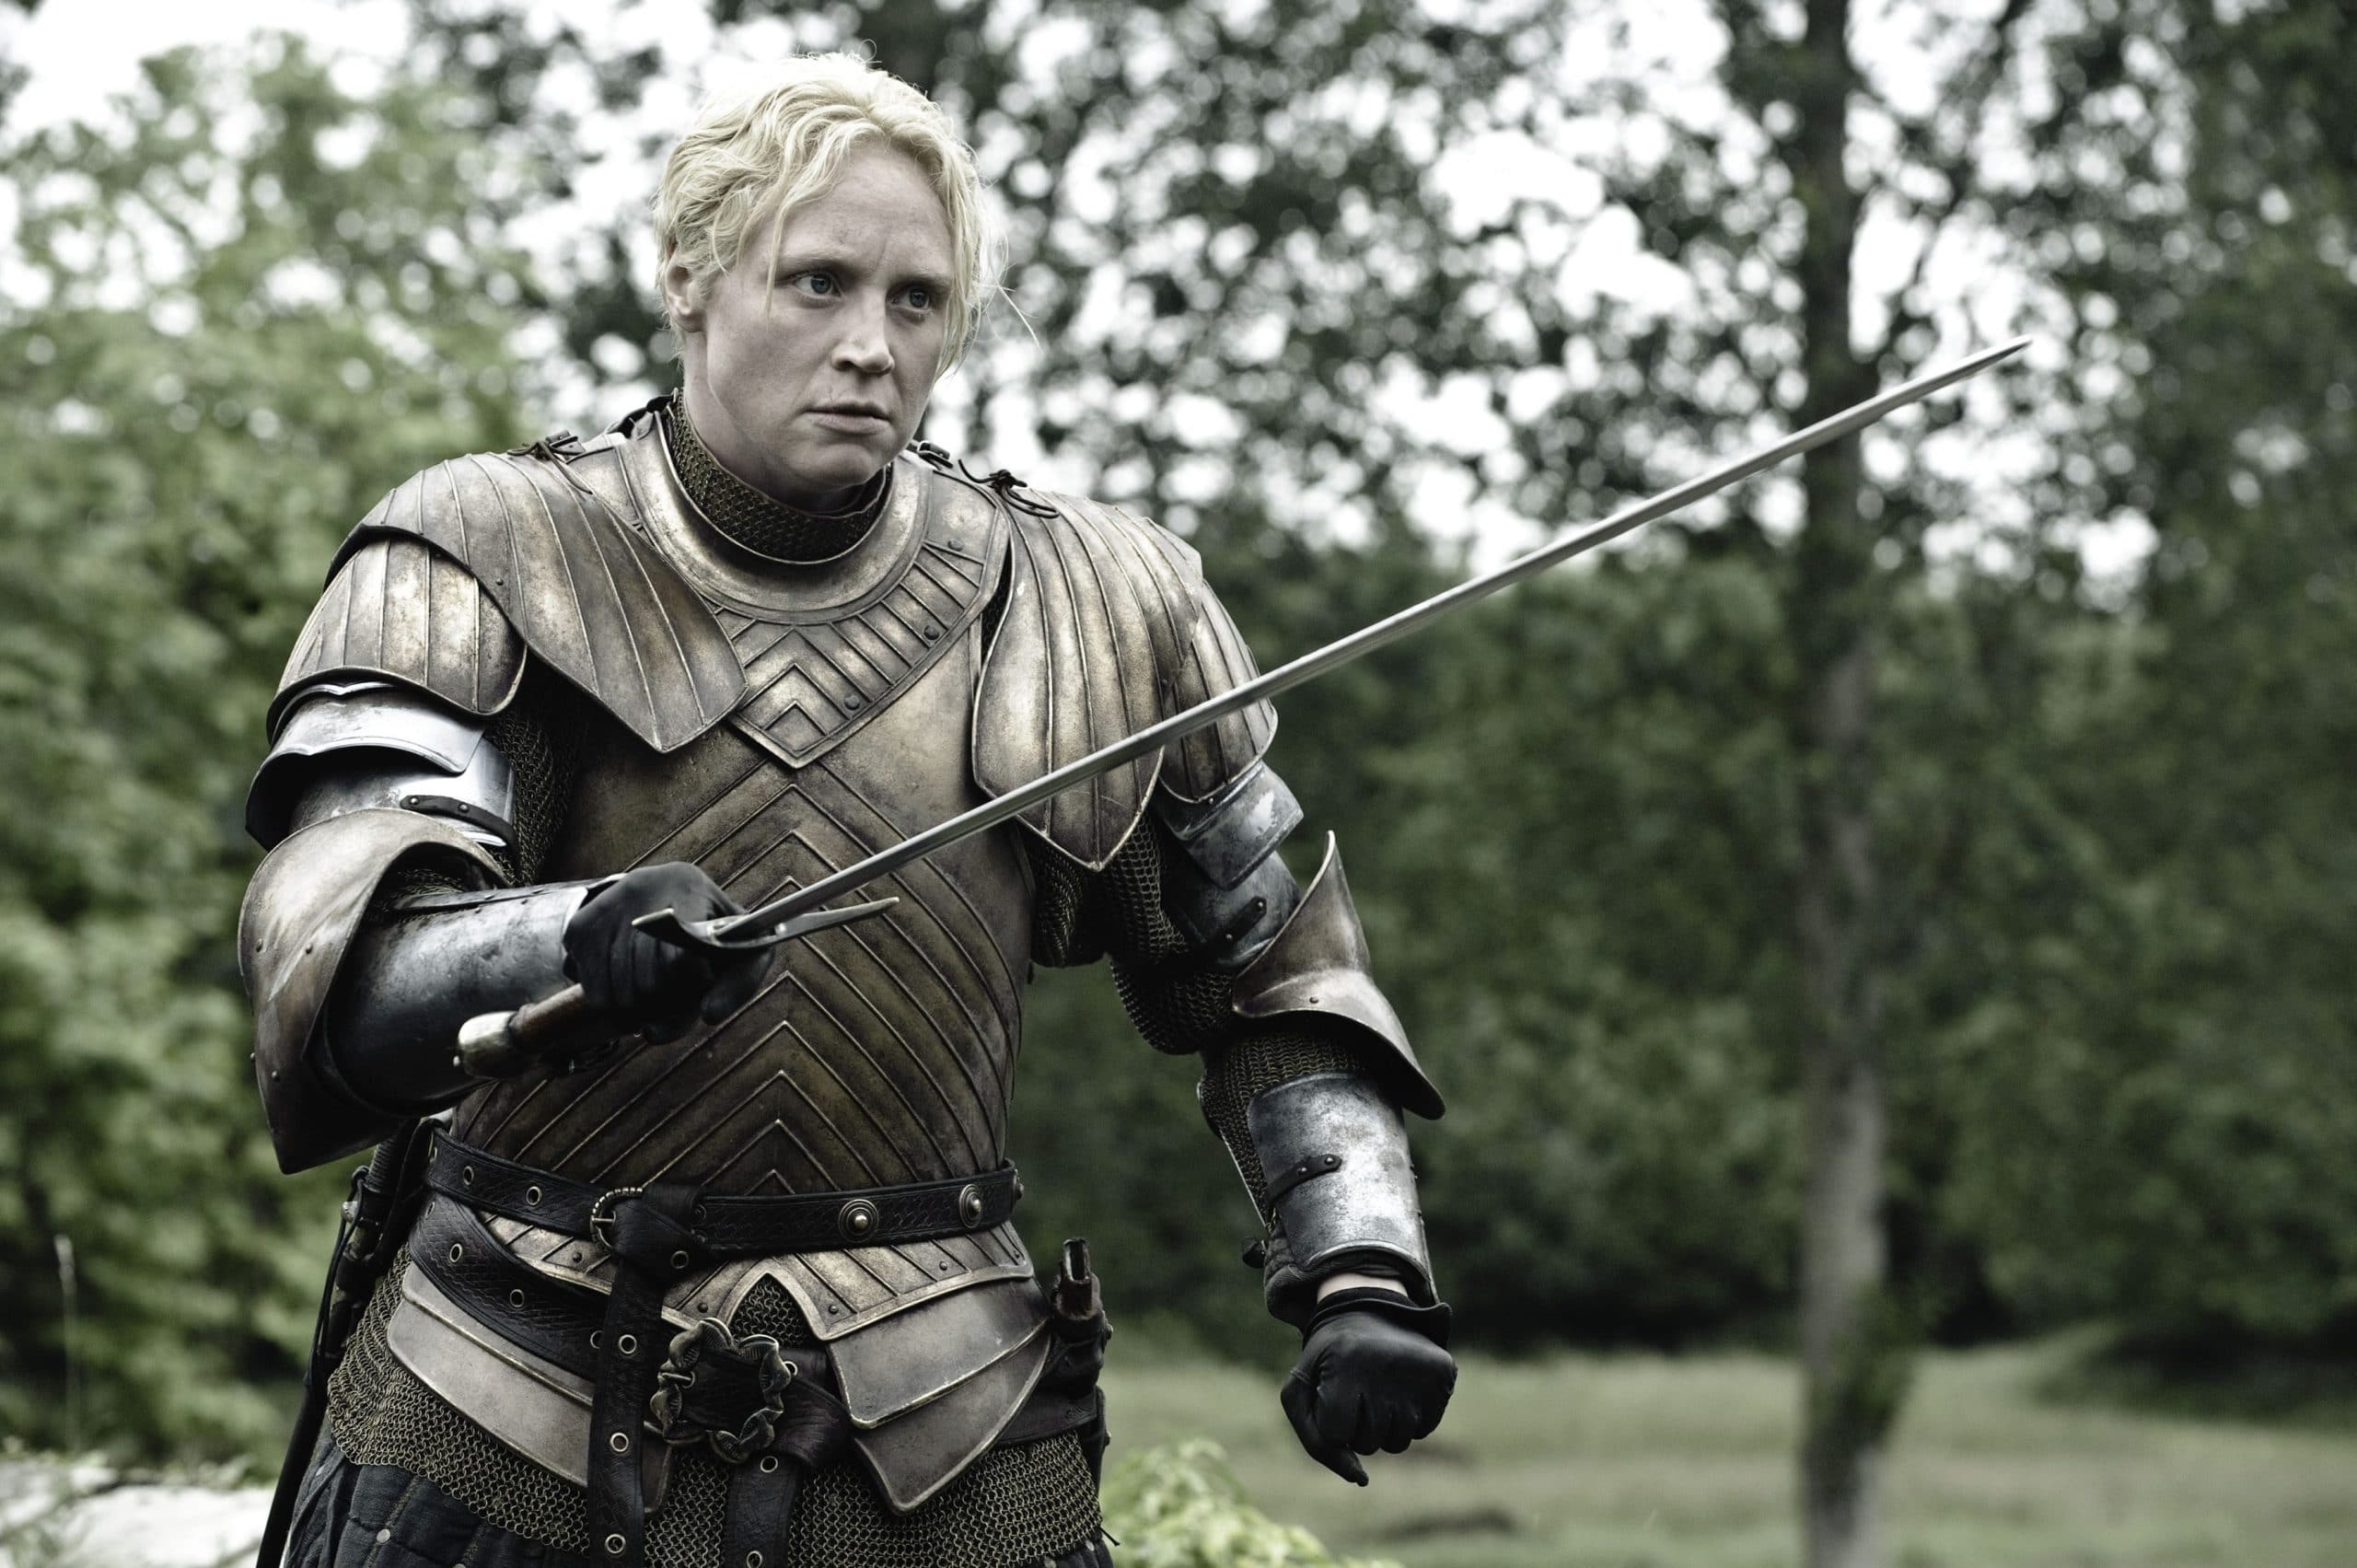
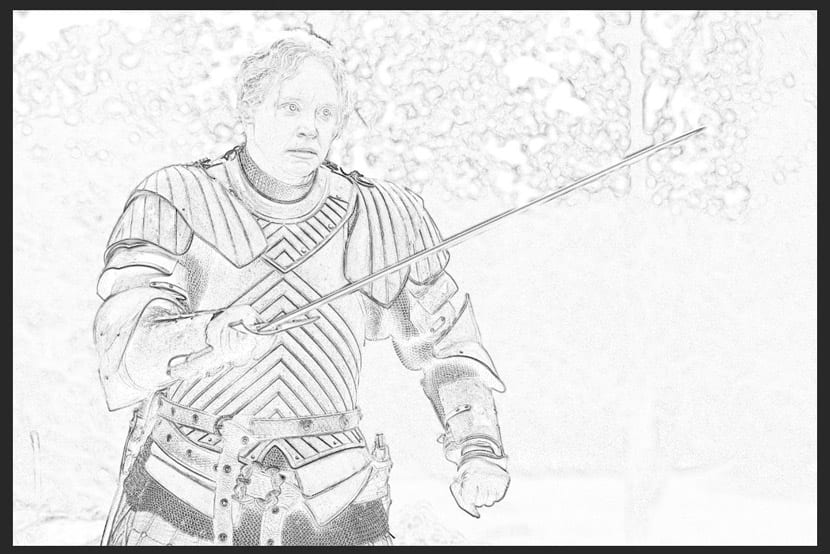
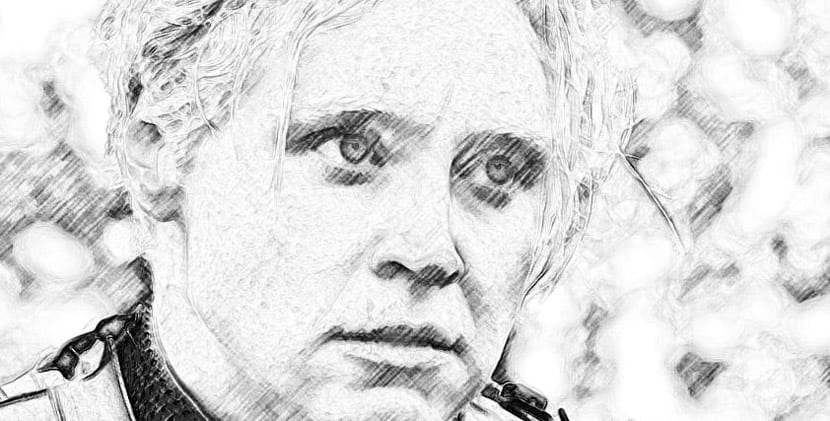
- We recommend that you use this image below to do the tutorial:
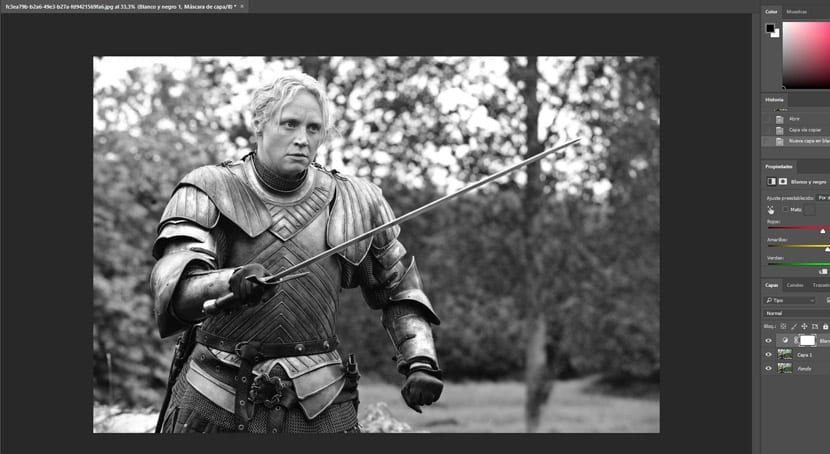
- Open the image in Photoshop, let's duplicate layer with control + J.

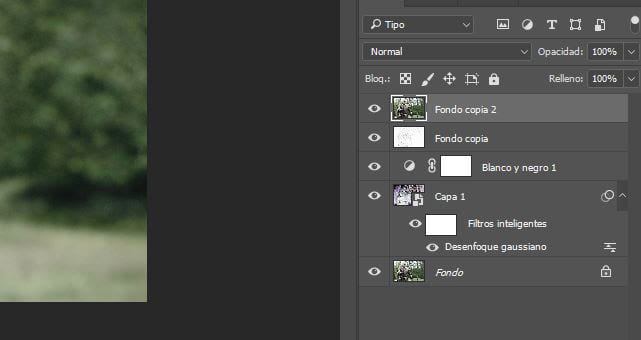
- Once the duplicated layer is selected, we go to "Create new fill or adjustment layer" in the Layers window controls.

- The image will become black and white.
- Now we apply blending mode "Dodge Color" on duplicate layer or layer 1.
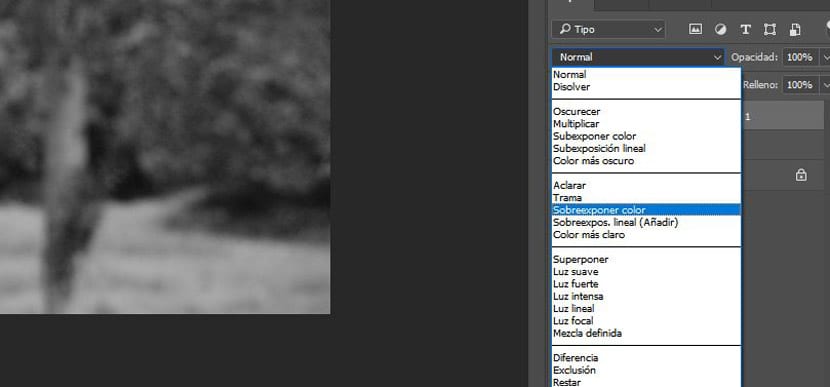
- The targets will appear as we left to move on to the next effect.
- We invert the colors with control + I and the image will appear completely blank.
- Now it's time to make Layer 1 a Smart Object by right clicking on the layer and selecting that option.
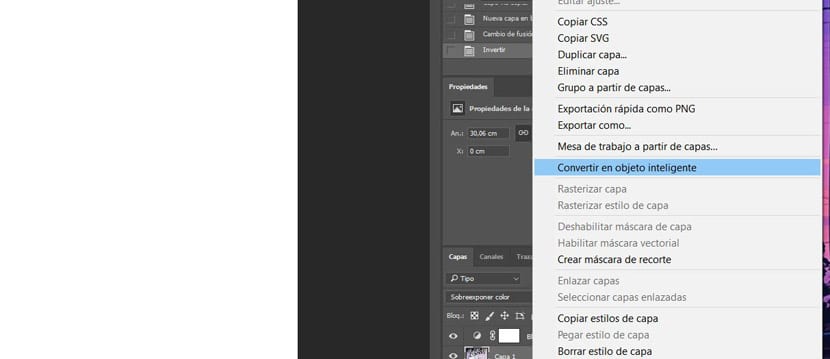
- We do this to be able to make changes to the filter and thus be able to modify it if our image needs it to produce a greater pencil effect.
- Although you do not have the option to convert to a smart object, with this step you can continue, since we have to go to Filters> Blur> Gaussian Blur.
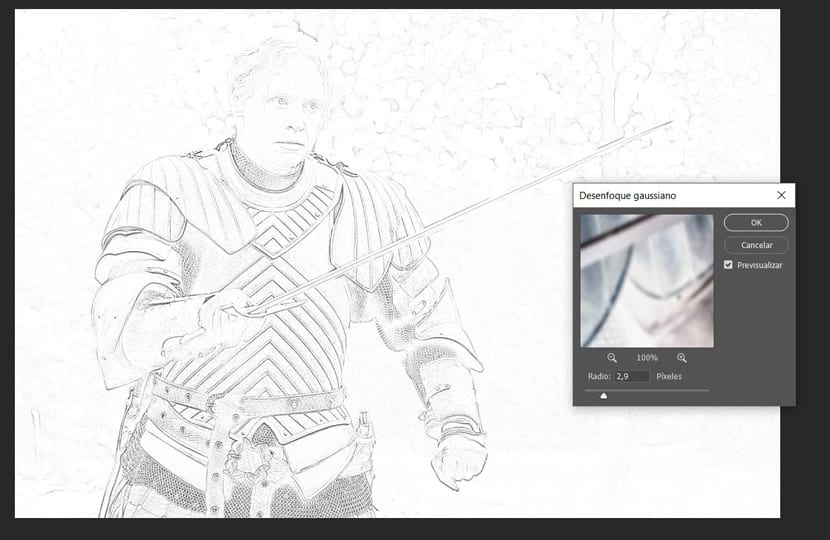
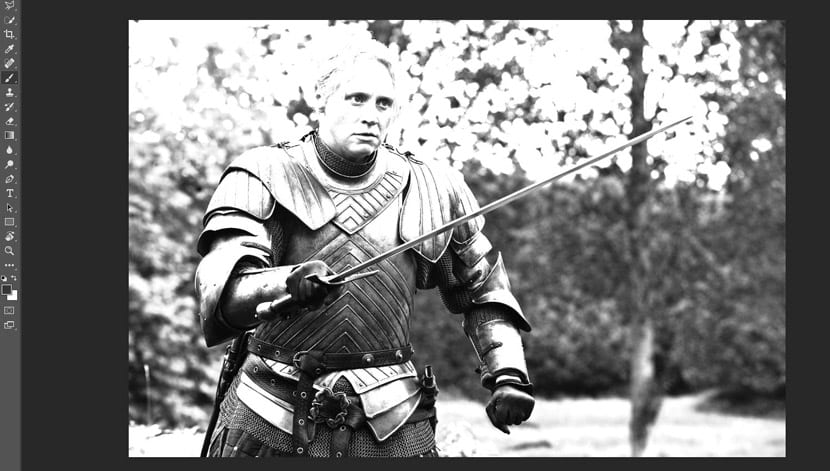
- In the Gaussian blur window we modify the radius by 2,7 pixels. In this way we will have the drawing and the face will have its proper shape. If we were looking at another image we can change the radius so that it fits better, since the one we have is quite bright.
- We give OK to apply it.
- Let duplicate the background image again with control + J and we raise it to the top of the layers.
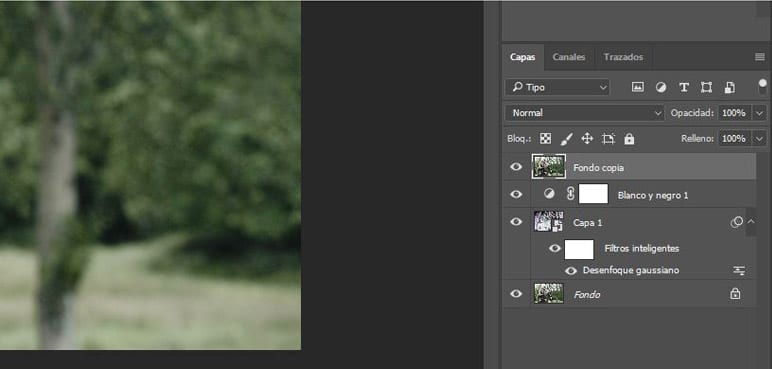
- Let desaturate image color with Control + Shift + U.
- Now we will use another filter from the Filter> Filter Gallery> Stylize> Glowing Edges.
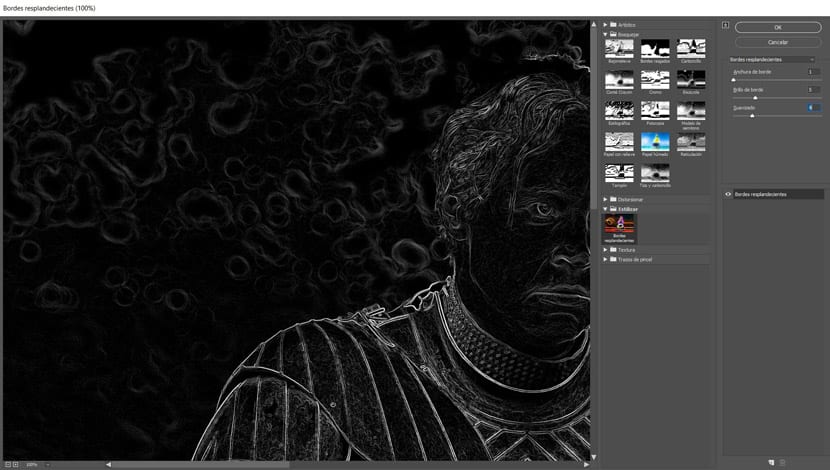
- The idea here is that we can see the outline drawn, so we apply Edge Width to 1, Brightness to 5, and Smooth to 4.
- We give OK, and now touch invert the colors with Control + I.
- It is time to apply the Multiply blending mode. We will make the white pixels invisible and the dark ones visible.
- It would look like this:
- The idea now is to grant the drawing of that charcoal touch for shadows. We duplicate the background layer with Control + J and bring it to the top of the layers.
- We desaturate the image with Control + Shift + U.
- And we head to Filter> Filter Gallery> Sketch> Charcoal. We apply 1 to Charcoal Width, 4 to detail and 49 to light and shadow balance.

- Every time we modify the filters it will always depend on the photograph we are using. It is not something fixed and with what you will have to play.
- It is time to use the blend mode "Multiply" in the layer that we have applied Charcoal.
- It looks like this:

- Now, if we have a better Wacom tablet to draw. But it is not necessary since with the mouse, and although we are not skilled at drawing, we can apply shadows when drawing crowd of lines.
- We select the brush with B and put a size of 31 pixels so that it almost covers the eye.
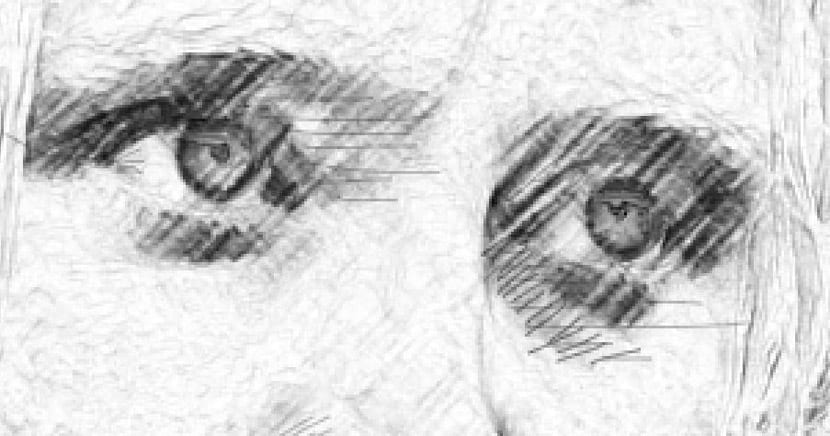
- We realize that when applying Charcoal the iris is barely visible, so we will use the brush to bring it out.
- We create a mask layer from the button at the bottom of the layers window:
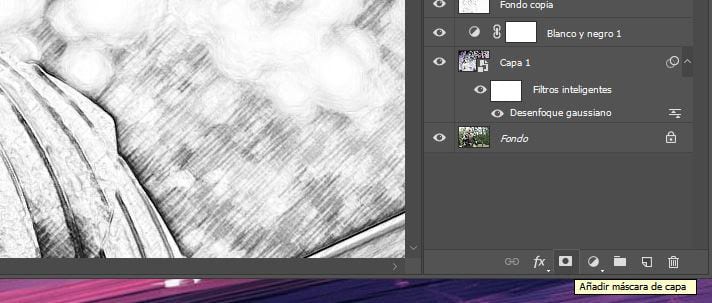
- We press X key to change foreground color by black if it was blank or other. In this way, when we paint in black, the pixels that are selected will be hidden.
- We paint with black and we will produce the desired effect. You see the difference with the previous image in the eyes:
- We can continue painting to brighten up those darker parts. Retouching until you find the desired drawing without forgetting to use control + capital letters + Z to erase if you don't like the effect caused.
- Now is the time to make the brush smaller with 1 or 2 pixels.
- CREATING a new layer with Control + Shift + N.
- We lowered the flow to 56% to make the black grayer and look like a pencil drawing.
- We enlarge the image and begin to draw on the image to produce pencil shadows.

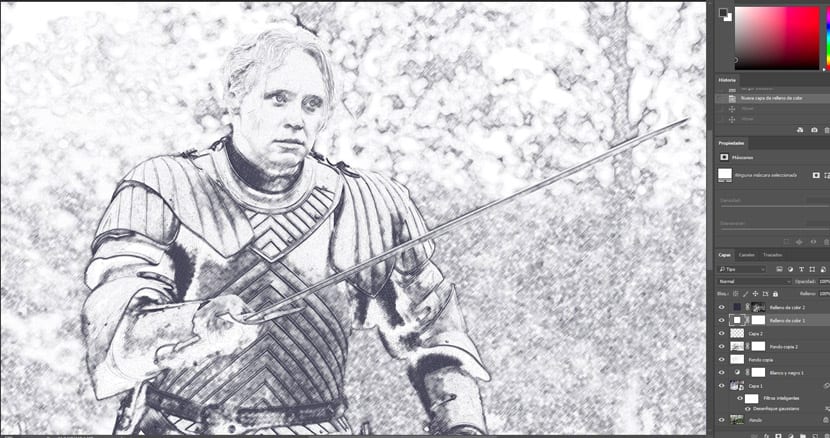
- It is a matter of spending time to apply those paths and use the dark ones to make it look like they are drawn by hand, as in the example image where we show roughly how it is done:
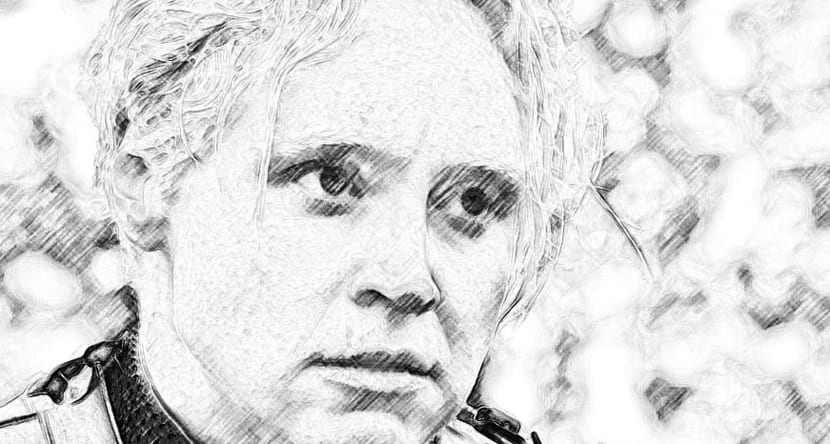
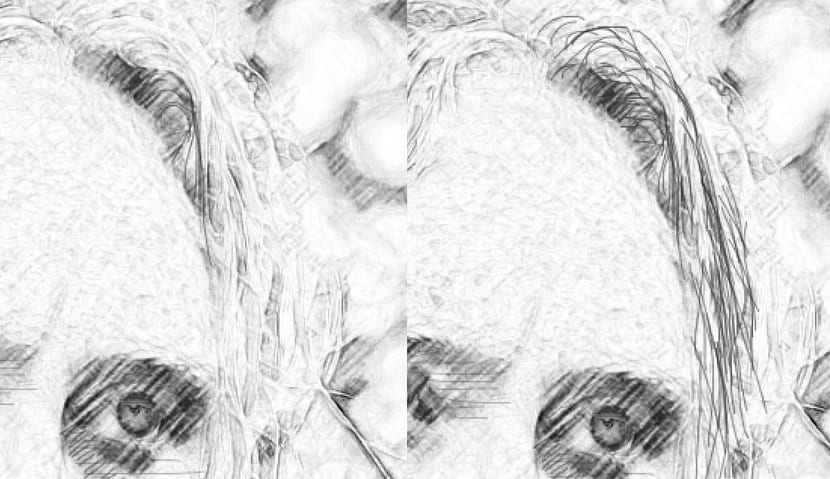
- That technique you can apply to hair, body and armor as seen in this before / after image:
- So it would be enlarged:

- Drawn all the photograph, we create a new solid fill layer in white:
- We deactivate that new layer created.
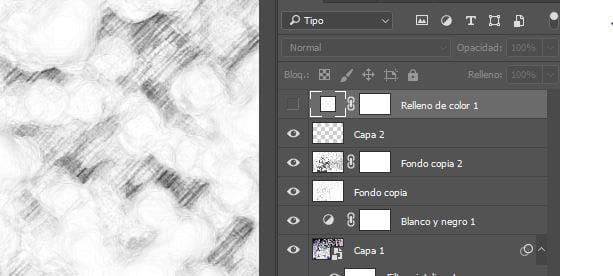
- We go to channels in the layer window and choose any of them. Same blue.

- We drag it to the icon located at the bottom to create a new channel.
- Lo we select and invert the colors with Control + I.
- The idea now is to create a selection of the light pixels in the image. We Control + click on the thumbnail of «Blue copy».
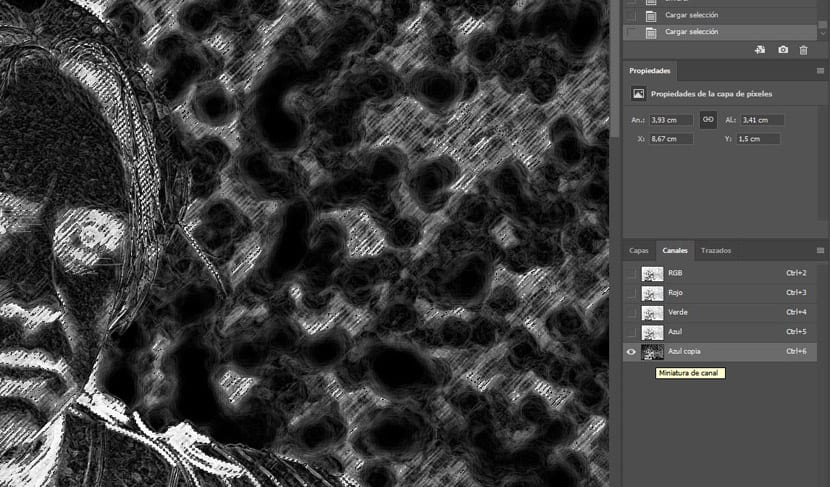
- We go to the layer channel and activate the fill layer.
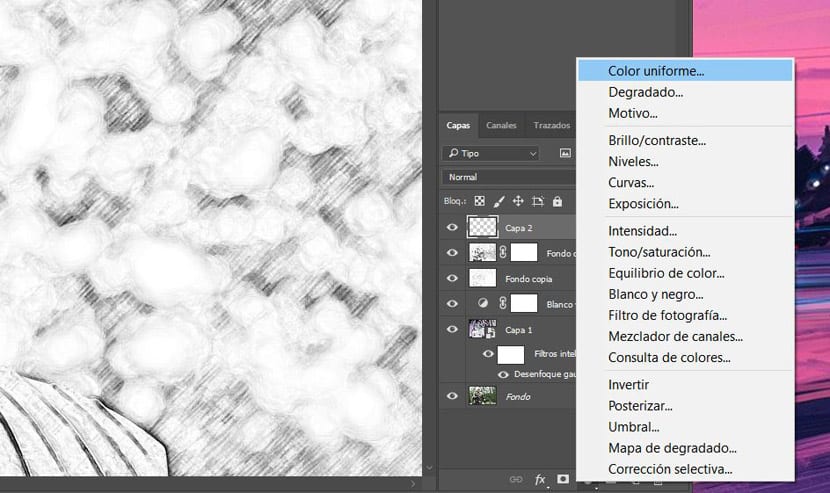
- CREATING a new solid color fill layer and by selecting the color we can see how a sepia effect is produced if we use an orange or brown tone or even go blue.
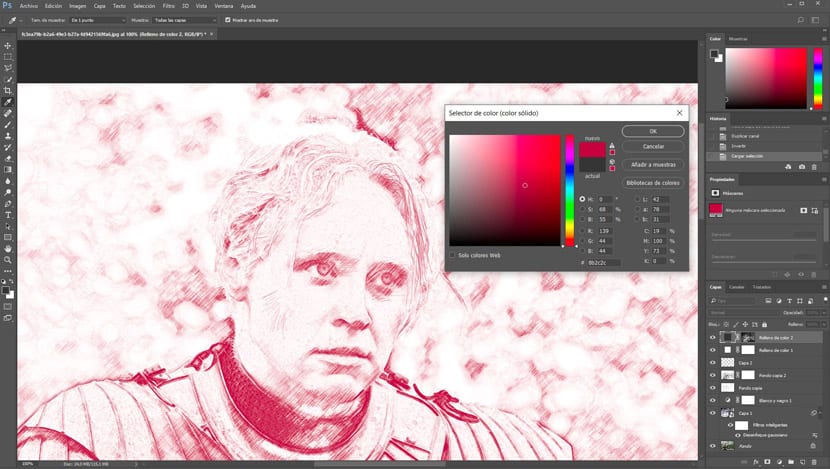
- In this case we will use one close to black and blue.
- Click OK and we will have our finished image.
How do I make it keep the initial color? that is, it looks like a drawing but not in black and white? thanks