
Correct skin imperfections with with Photoshop It has turned out to be the magic wand of the fashion and advertising industry, managing to create "perfect" human figures using these types of tools. Photoshop It is par excellence the best program for photographic retouching, it allows us to do everything we can imagine with professional results. In this post we will learn to handle some tools used for skin retouching and blemish removal (moles, wrinkles ...) with Photoshop time stands still as it allows us to rejuvenate.
First of all we need a photograph with some kind of imperfection on the skin to be able to work on Photshop. Once we have the photograph we open Photoshop and we started working.
First, we open the photograph en photoshop.
Once photoshop we have different tools for this type of work:
- Healing Brush / Spot Healing Brush Tool
- Patch tool
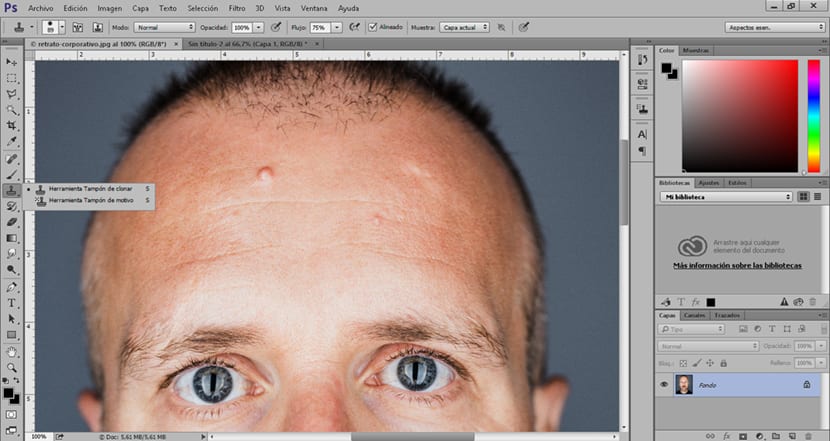
- Buffer tool
Each of these tools offer us a different way of working, the secret for an optimal result is to play with all of them when making a photo retouch.
La buffer tool clone It works by taking a sample that is activated by pressing the alt key, the sample must be on an area near the fault that we want to correct. We have to play with the opacity (top menu) the flow (top menu) and the hardness of the brush. Little by little we are taking samples and we are applying the buffer in the area that we want to correct.
Another option to correct skin flaws is the patch tool. This tool funite by selection, we make a selection of the fault we want to correct and then we move the cursor to an area near the skin that does not have any type of imperfection. It is advisable to take samples nearby to avoid changes in light and shadows.
The patch tool has two options: source and destination. The destination option, It allows us to copy the area that we have selected, in other words it allows us to copy a mole, a pimple, a wrinkle and other types of flaws in the skin. The source option, allows you to select and fix faulty zones.

The concealer brush works well similar to clone buffer. This tool allows us to fix areas by passing over the area to be corrected, it is also possible to collect samples just like the clone buffer.
To be able to correct all those flaws in the skin using these tools we only need to alternate their use because each one offers different possibilities. The recommendation at the time of work is play a lot with the opacity, flow and hardness of the brush.
Once we are clear about the operation of these tools, we will apply a series of filters for smoother, blemish-free skin. Must make a selection of the area that we want to smooth before applying these filters.
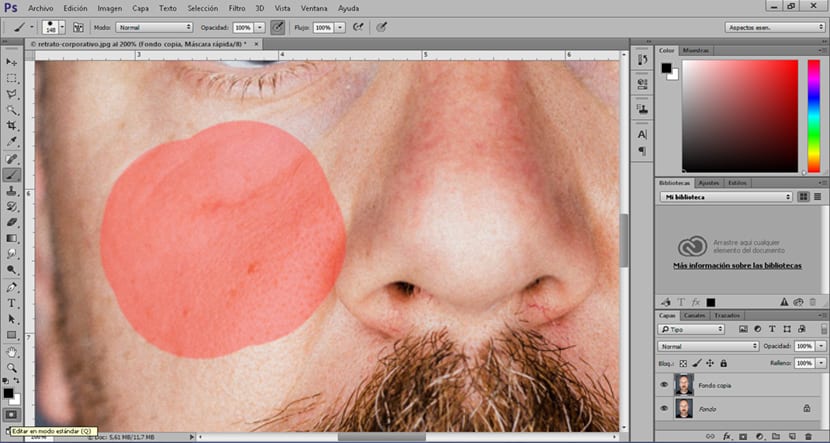
In order to apply these filters first we have to make a selection of the area we want to work on, in this case we select the skin using the Quick mask tool. This way of selecting allows us, as a brush, to make a more precise and comfortable selection. Its operation is very simple, first we click on the icon to activate it, then we select the brush tool and begin to make the selection. Once the selection is finished, we only have to give the mask icon again, then the painting will be changed for a selection. To finish we go to the upper menu (selection-invert) to invert the selection and be able to apply the changes only in that selected area.
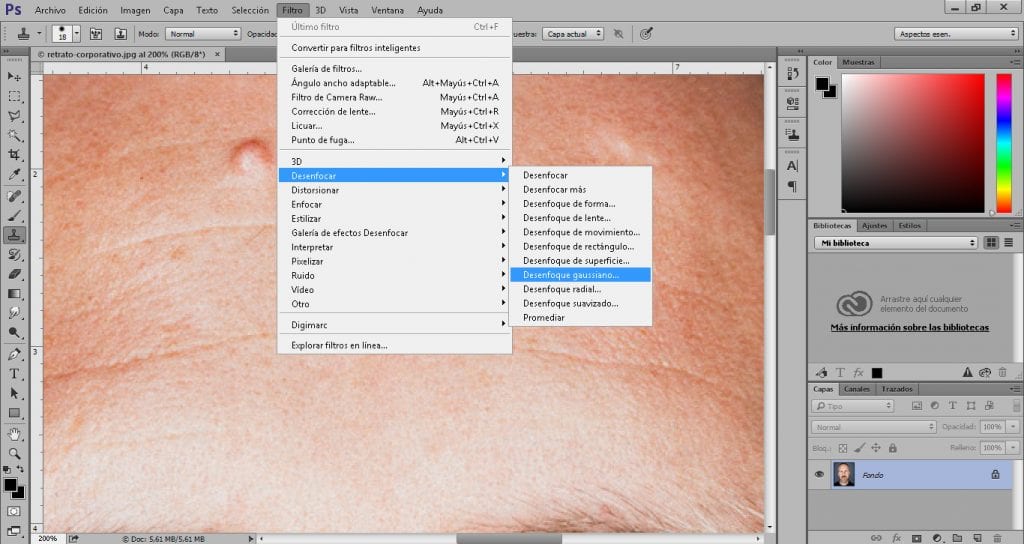
Let's go to superior menu (filter) and we look for the gaussian blur, We apply a soft blur until we get a cleaner skin.
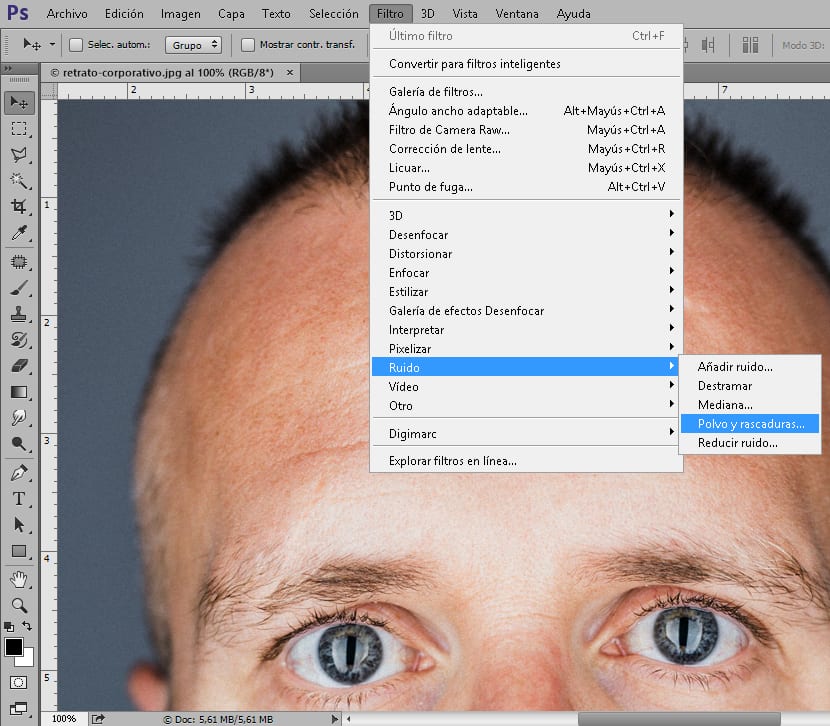
To finish, we apply another filter which aims to give the skin a little more realism but without showing those imperfections that we have just eliminated, for this we look in the top menu (filter) noise dust and scratches, We apply a very soft filter until we get a skin with some detail.
Depending on the photography, we will have to apply a series of different values in each of the tools we use, which is why it is essential to learn to control these tools and then perfect the technique.