Do you want to learn how to create and edit clipping masks? Next, we explain in a few steps how to do it.
What is a clipping mask? Una clipping mask is a vector path that allows you to mask an element (a path or an image), so that this element acquires the shape of the mask, hiding everything outside the path. It is a very practical tool and offers very interesting results.
There are multiple ways to create clipping masks. Knowing all the secrets of Adobe Illustrator is an arduous and complicated task. In this simple tutorial, we will explain a way to create clipping masks with text as a base.
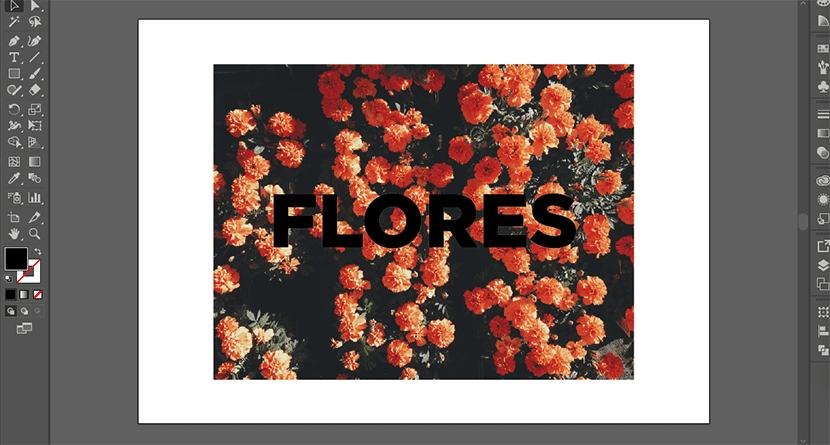
Choose the element you want to mask
First, you must choose the element that you are going to mask. For example, an image. This image must be of great quality and must be the same size or larger than the mask. You can find quality images in image banks such as Unsplash, Pixabay o Picography.

Image taken from Unsplash
Write the text
Then write your text.
Remember, that the text must be above the image. To send the image behind, you must right click on the image and give the option to organize -> send behind.
We recommend that you use a typeface with a fairly thick line. If you use a typeface with fine strokes, the image will not be appreciated. So before you start, analyze well how you want the design and look for the typeface that best suits it.
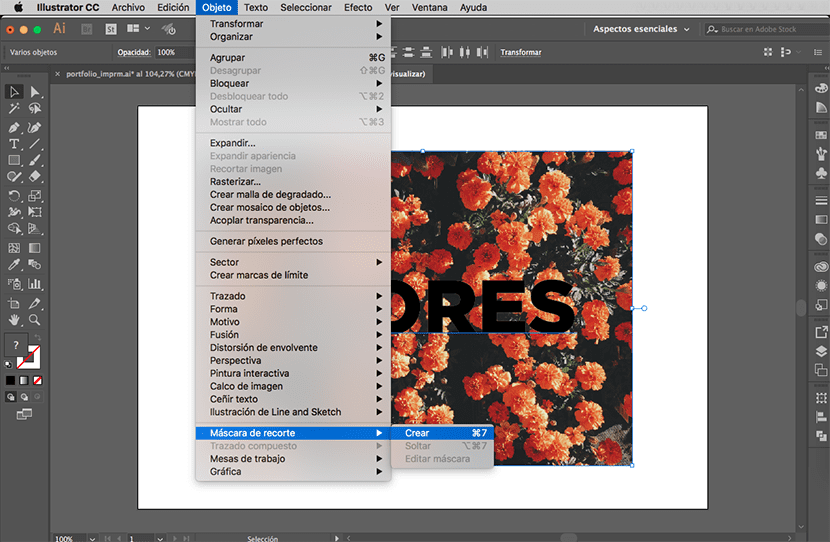
Create the mask
Once you have the image and the text on the artboard, all you have to do is create the clipping mask.
To do this, select Object -> Clipping Mask -> Make
Remember that both objects must be selected. To select, click on the Picker tool.
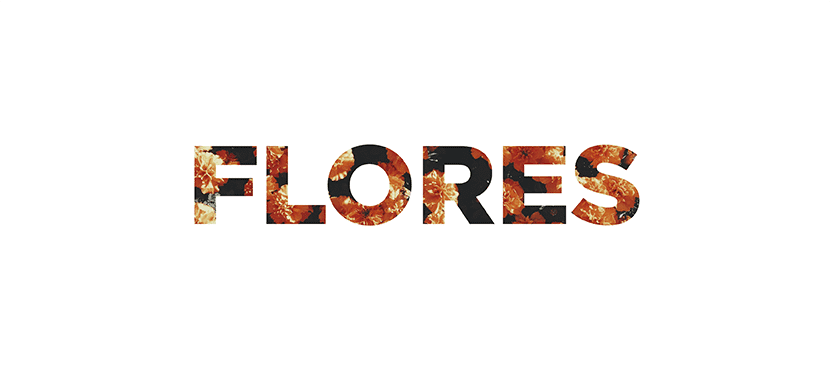
Enjoy your clipping mask
Ready! You already have the clipping mask with text created.