
Model shadows and highlights with Photoshop realistically is an essential process to achieve the greater realism in your images Regardless of whether you are a photographer or not, to get a photograph with personality you must play well with the lights and shadows of the image. Photoshop allows us to do practically everything in the process of digital retouching, modeling lights and shadows is one of the many things we can do easily.
Many times you will have an image with little contrast between the lights and shadows or a montage will lack realism due to the lack of that addition with the lights and shadows, this is why it is so important. know how to model an image in Photoshop. With this trick you will learn to do it as if you were painting the image with a brush.
For create shadows and lights the first thing we need is know our image and think how the light affects it to achieve greater realism (in the case of wanting realism) once we know how the lights and shadows affect our image, we will work on it in Photoshopand an trick to know how the lights and shadows are generated It consists of applying light to an object and seeing how shadows and lights are generated, if we want realism we must be very careful with this part.
Creating highlights and shadows is very easy but it takes a lot of retouching and planning time, in this case we will use only two tools of Photoshop:
- Adjustment Layer / Curve / Levels
- Brush

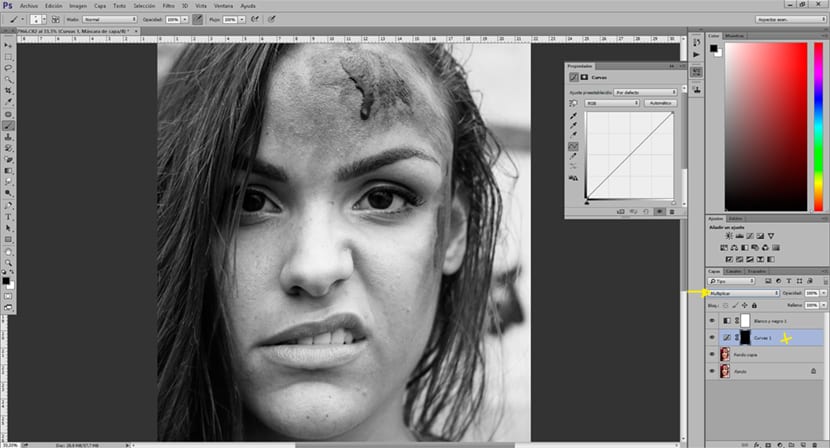
We start by selecting the layer of our photograph, then we create a adjustment layer / curve and we put this layer on multiply mode. When doing this first part, our image will go dark, for that reason we have to give control + i to reverse the effect and just darken those parts that we paint with the brush. Once we have the inverted layer, what we have to do is start painting with the brush on the photograph. To achieve greater realism in this process we will have to play with the values of: opacity, flow and hardness of our brush.
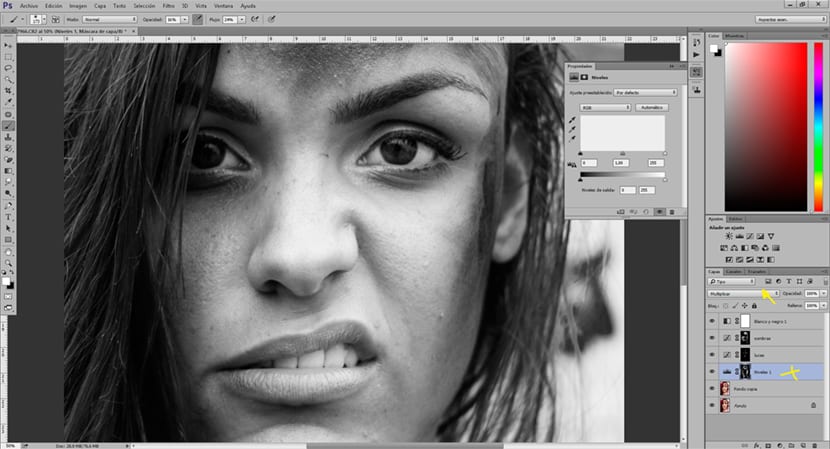
To create the lights in the image we have to do the same as before but creating a adjustment layer / curve en plot mode. We apply the lights and shadows little by little until we achieve the desired effect. If we want harder shadows we can create a adjustment layer / levels en multiply mode and we will get more darkness for our shadows.
As we see the process of modeling the shadows and lights of an image is something quite simple but requires planning, previous study of lights and practice to get the most realistic result possible. The secret of this lies in practicing, practicing, practicing ...