
Create credits with Adobe Premiere for your audiovisual projects it is something fundamental for every video editor. Credit titles are an essential element in any audiovisual project as it shows us all the team behind a project. From simple to more complex credits, credit titles have evolved over time, being able to combine multiple techniques, reaching very creative results. In this post we will learn to create credit titles quickly and very easily achieving the same result that they use in a large number of films in the cinema.
Adobe Premiere It is a powerful editing program that allows us to do countless things when editing video, in a very fast, almost automated way, in just a few minutes you will be able to create some professional credits. Learn to master this video editing program a bit more that offers fantastic results.
In this post we are going to learn how to create some titles moving credit (waterfall) using only typography.
The first thing we need is to have the list with all the data for the credits, once we have this data ready we can start working on Premiere.
We open the program with our audiovisual file ready and create a matte background color. This part is somewhat versatile depending on the needs of each person, we can use background video or put a flat color. Many times a small video with false shots is put on one side while the credits pass on the other side.
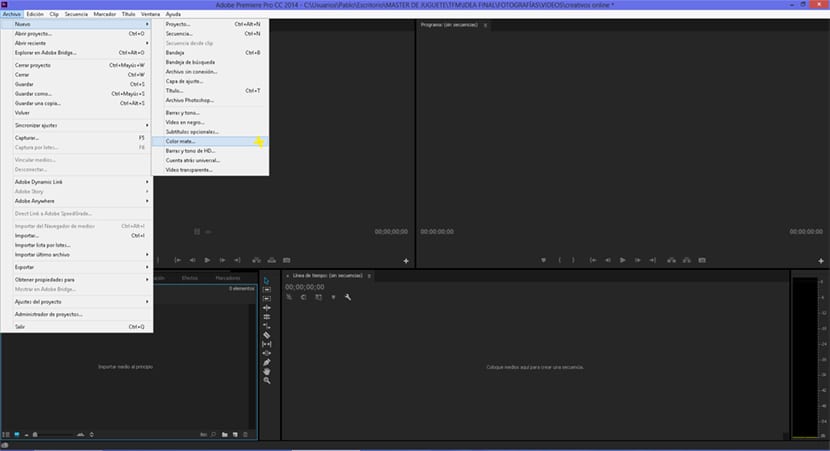
. After creating the matte color the next thing we have to do is create a default scroll title, for this we go to the top menu title / new title / default scroll. The text editor of Premiere It is similar to any Adobe editor, we can change the font, size, color, style ... etc. We retouch the typography parameters to our liking.
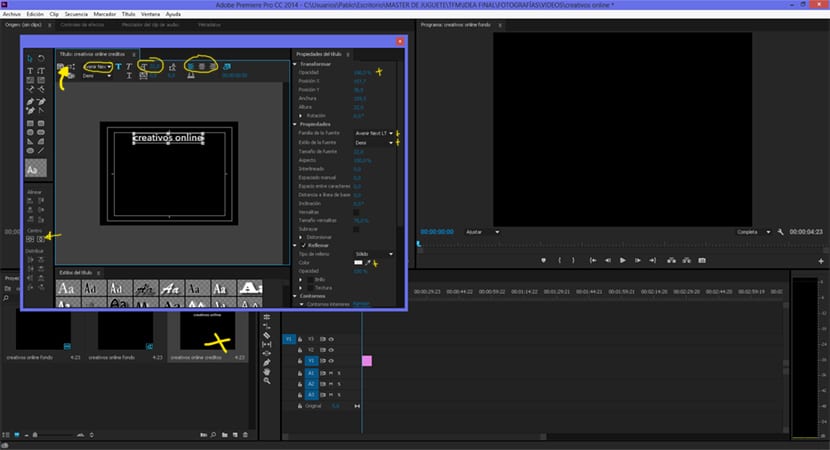
Once we have the texts ready, the next thing to do is give movement to the text, we select options from displacement within the text editing menu. In this box we must mark the displacement option so that the text has movement, we must also mark the option start on screen. We have other values that can be modified to smooth the image and other effects, we can try these options in case they are useful for what we are looking for.

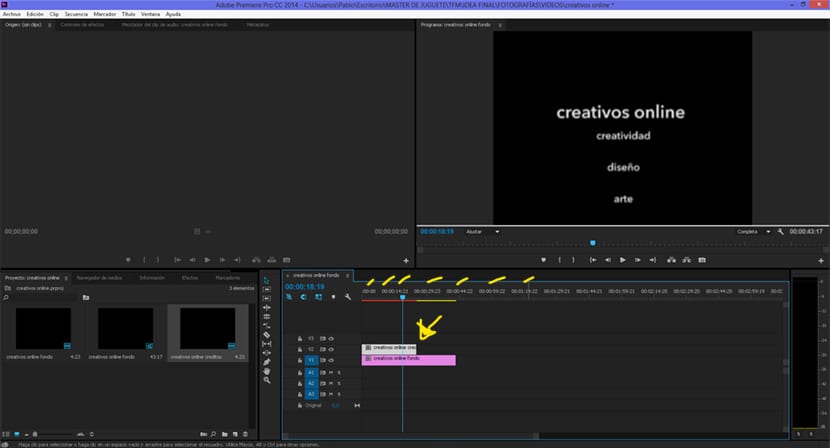
According to duration of time of our text title on the timeline, the credits They will be more or less long and will go at a higher or lower speed. If the credits last longer their speed will be lower, if they last less time their speed will be higher.
We already have our credit titles for any type of audiovisual project. The system is quite easy and fast, all we have to do now is practice and be creative to create different styles using this same system.