Graphic design is one of the knowledge areas more scattered around the world today.
This is due to the way in which people can access this discipline without the need to enter a university institute to be able to exercise the knowledge that is taught within them and is that today, anyone who is willing to dedicate hours to training and editing You can do amazing jobs, everything will depend largely on the dedication and commitment that each person wants to give to their jobs.

Graphic design includes two main aspects, design and art, a combination that has brought a large number of people interested in working with this kind of editing program. We can also talk about an inclusive cultural issue and it seems that there are areas of graphic design dedicated to the design of text models urban style, thus bringing a greater number of clients and designers interested in offering their services for the practice of this area.
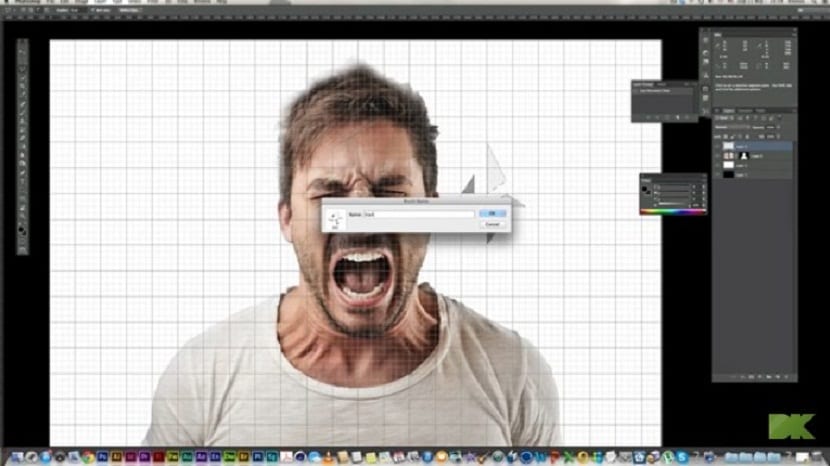
Adobe Photoshop is one of the most famous programsthey exist. In fact, many people usually come into contact with design for the first time through this software, so today we will show you the necessary steps to do apply the triangular pixelated effect.
Tutorial to create a triangular pixelated effect
- We choose the image that we want to edit.
- We open the image from Photoshop and we create 2 layers background.
- We are located on the "Background copy" layer and activate the free transformation tool with CTRL / Cmmm + T. In option 3, we configure the horizontal skew of the menu of the tool, we adjust the inclination to 45 degrees and finish the transformation with Enter.
- Without moving from the layer we have selected, we go to filter / Pixelate / Mosaic and we set the cell size to 40.
- We set the capacity of this layer to 50.
- We activate the layer "Copy Fund" and then repeat the same steps performed with the "Fondo Copia 2" but with the opposite inclination, that is, with an angle of about -45 degrees.
- We also apply the same mosaic filter.
- We use the transformation tool again on the layer and set the horizontal tilt at 45 degrees, lowering the opacity to 70%.
- We apply the same mosaic filter on the background layer and voila, our work will be under the triangular pixelation.
These are the steps to take to generate the triangular pixelated effect. The steps need patience, however and with practice, these will become easier and easier to carry out, which will allow us include this technique to our list of methods and applications on which we can edit and modify some images.