Graphic design is one of the most static disciplines that existIn other words, it is both a professional and a non-professional practice that, thanks to the structuring of its work, manages to attract a large number of people interested in putting this kind of tool into practice.
The multiplicity of fields in which graphic design manages to enter without much effort is perhaps another reason why people often get into this discipline. In this way, there are also other considerations that can be made about graphic design and the reasons why it is possible to observe a large number of people interested in entering this discipline.
With this, millions of companies around the world usually have experts in graphic design, which are dedicated to shaping the company's seal, as well as carrying out all the work related to the element creation for advertising them, among other functions.
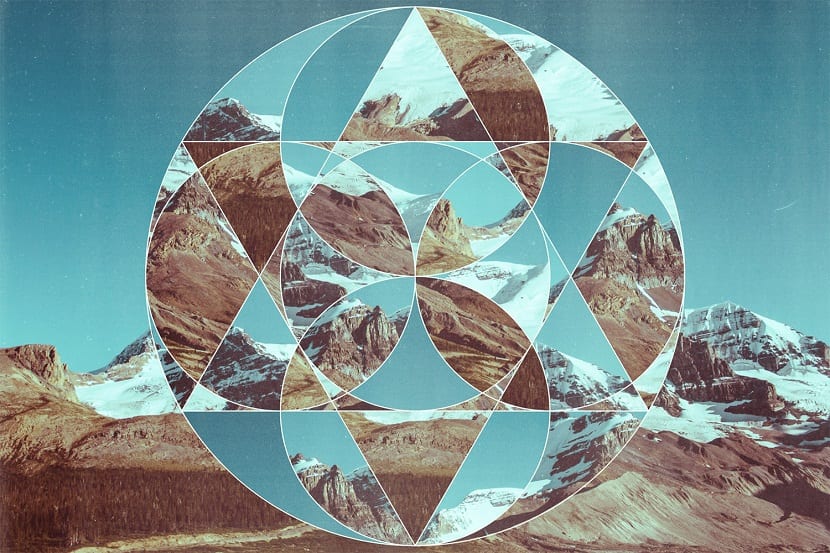
Among so many functions, we bring here one of the most thought out by design novices and that is the creation of geometric figures, perhaps being a good way to start this discipline.
Tutorial for creating a trochoid
Step 1:
We open Photoshop and proceed to create an image with the following parameters:
Width: 800 / Height: 800
Resolution: 72
Color mode: RGB / 8 bit color
Background content: White
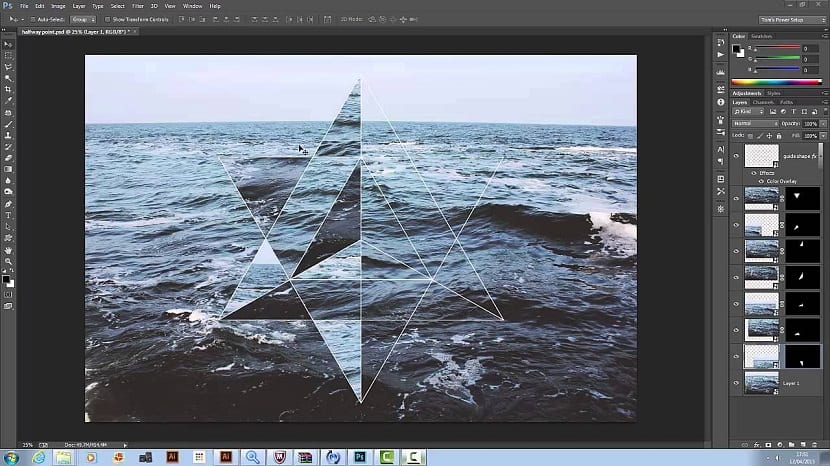
We draw a circle of about 300 pixels high, filled in blue and without any trace. On that layer (in conjunction with the tool), we change the options menu of the “tracing operations” tool from “new layer” to “Intersect with areas of shapes” and then draw another proportional circle until obtaining a result similar to that of our image.
Step 2:
Now we must rasterize the layer, in addition, we will change the name to "piece" and lower the opacity to 40%.
The next thing is to create the action with which we will elaborate the trochoid and for this we will open the action panel and we will create a new group of actions, which we will call “trochoids”.
Inside it, we create an action called trochoid 1 and we assign the function key F12, which will allow us to repeat the command performed several times automatically.
Step 3:
Next, we record the following command:
- Duplicate the layer with the right button on top of it.
- We select the move tool.
- We enter the Adjustments / Hue / Saturation image (Ctrl + U) and change the hue to 9.
- We enter free editing / transformation (CTRL + T) and in the tool options menu we change the rotation configuration to 9º.
- We approve the transformation with Enter.
- We press the Stop button to stop the recording of the action.
Now you only have apply the action as many times as needed to finish the circle, for this case it will be 19 times, being necessary to take advantage of the shorcut that we would have created to make it F12.
With Edit / Transform we can make the size to suit our taste. It is necessary to bear in mind that, for this, we must hold down Shift so as not to accidentally change the proportion.