
Hello everyone! I come to explain how make up in Photoshop for starters, since it is something in demand as well as fun to do, and it allows you to explore with your creativity.
Nowadays all photographs are digitally retouched, with the possibility of adding or removing makeup from the people in the photo. If you don't know Photoshop but would like to know how make up in a simple way on it, don't miss this post.
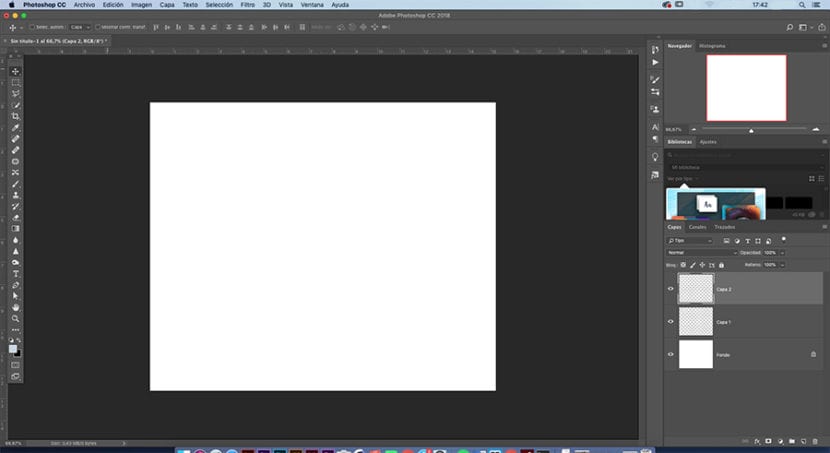
The first thing we must do is take our desired photo and open it in Adobe Photoshop. As a recommendation and advice, I would say that always duplicate the original image in the layers window that you will find at the bottom right, to never spoil the original image if something goes wrong. This can be done by right clicking on the photo and duplicating it, or with the command ctrl (or cmd on mac) + J.
Once we have our image duplicated, we will lock the original image in the background so that nothing we do affects it or bother us to work. The following will be create a layer new in the layers panel, or with the right mouse click and create a new layer, or with the page icon that has said panel below. This layer will be empty and it has to go above all. You can do all you need to work the makeup, since we are going to paint in those layers that are above the photo.
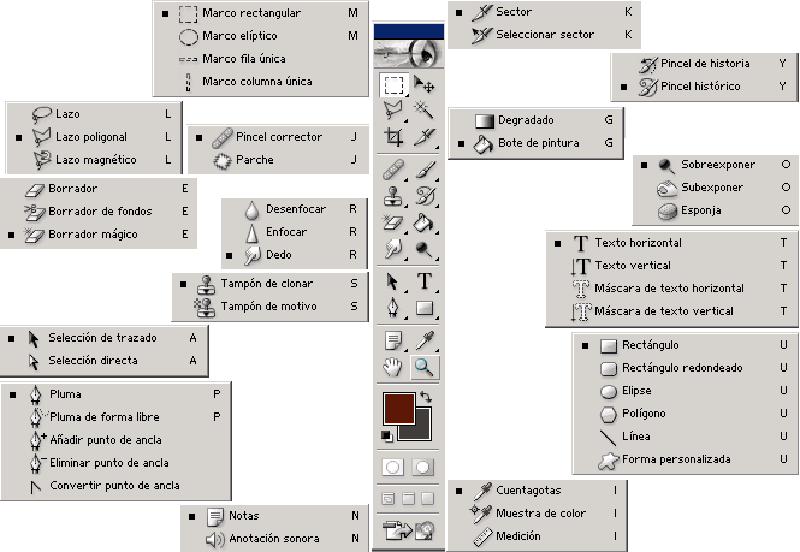
Image - Sites.Google
We will take the brush tool What do we have with a little icon at the left of interface. The characteristics of the brush can be modified at the top of the interface, there you can select what kind of brush do you want, with what thickness, how much opacity, or in what mode. For this type of exercise I recommend the color mode and a very prudent opacity so that the results look as natural as possible. Do not be overwhelmed, if you overdo the color you can lower the opacity of the layer in its panel later or erase with the eraser, which you will also find in the toolbar on the left. The draft has an advantage and that is that you can also adjust the opacity, so it can be gradually erased and this will allow you to be very precise.
In this way, once you select the brush with which you feel most comfortable, we can start painting on our empty layer. Assuming that we are painting on a model's face, for the lips we would take a red with a medium-high opacity, and we would begin to paint it. If we do not like how it is looking, you can lower the opacity to the layer, or erase and redo, even change the color, to your liking.
For cheeks, for example bronzer, I recommend take a fuzzy brush, quite large, and with a extremely low opacity, and as if it were a makeup brush, you start to brush on the cheekbone so that it is marked as with a natural tan. For the blush, take the tone that most appeals to you, and with the same technique but with a smaller brush (always diffuse as a tip, since this way the edges of the brushstrokes will not be noticeable) you can give color to brushstroke or circularly, but eye, with very little opacity. All this you can do in the same empty layer that we have created before, or create new empty layers and go re-naming them so as not to get confused.
With your eyes you can do exactly the same and use eye "shadows" to your liking, mix them, superimpose one on top of the other creating gradients ... Remember that in the layers panel, above you have blending modes which are very useful for these things. Do not be afraid and go trying them, you could discover a new way of how what you are applying would look like.
Finally, if you want, you can touch up the skin a bit if the model or the person in particular has any pimples, If you don't know much about the interface, the simplest and fastest way is with the punctual corrector that you have in the toolbar, you take it and apply on top of those areas to be treated and it automatically retouches them.
Finally, using the same technique you could dare to Change the color of the eyes and give a final touch to the photo, or give them a little light with the htool overexpose, the lupita from the toolbar.
As you can see, it is very easy to follow and if you are careful with opacity, the results can be very good and natural. I encourage you to try!