
Every Christmas we receive postcards congratulating christmas. It is true that this tradition has been lost or evolving with the arrival of the new technologies.
We want to inspire you with a lot of ideas so that you are encouraged to create your own congratulations of Christmas. A little bit of imagination, time and illusion you can be the most original of the family or friends.
Handmade postcards
Get to work and let your creativity fly making handmade Christmas cards. It is a good activity to do with the little ones in the house. A good sunday plan! You just need a little inspiration and material that you can reuse from home. They are the well-known crafts called DIY (do it yourself), the translation is “do it yourself”.
Use your own body
The first example that we want to show you is super simple, you will only need paint, markers or some material that dyes and your own body. You read that right, your own body. We are going to make Christmas icons with our own prints, hands or feet.
Let's see some examples:
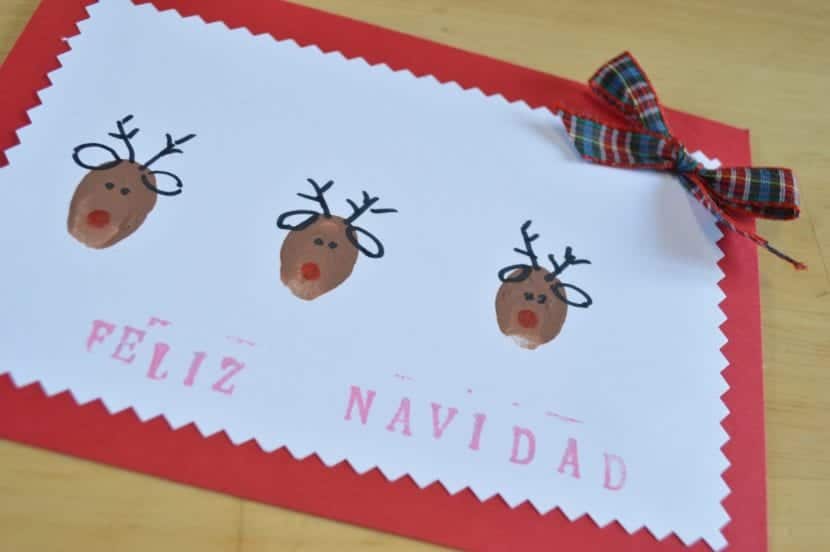
As we can see in the image, these reindeer are made with fingerprints i got some paint. Later, when it is dry, we will draw the eyes, the ears and the horns. We will accompany our drawing with a congratulatory text and ... ready!
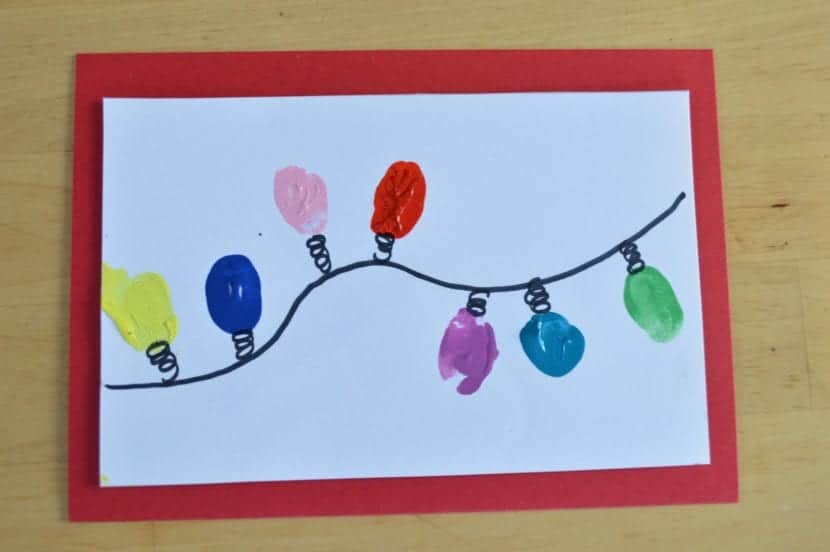
With paint of different colors and our footprints we will make what will be the Christmas bulbs. When dry we will join them with an irregular line to give the effect of a cable.
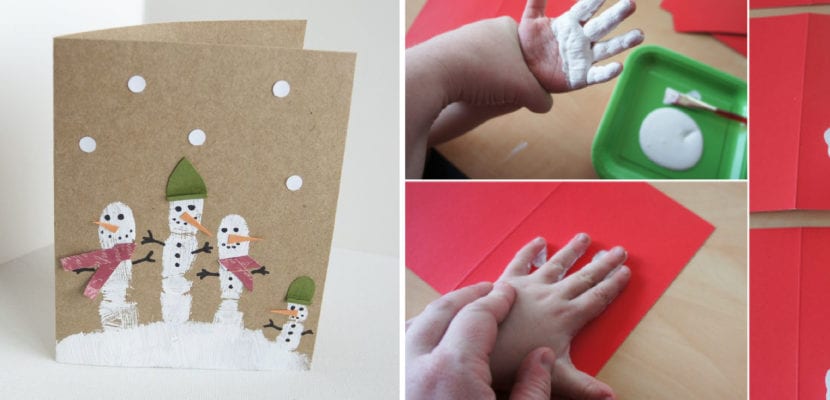
Another option is to use the entire Palm of the hand and let our creativity fly. As in the example snowmen have been drawn, we could make the wise men, Santa Claus or other characters in the manger.
Postcards with buttons
One option is recycle materials and objects that we have at home to make our postcards. In this case, we suggest you take out the sewing box and use all those botones without a partner that we keep without any meaning.
Use buttons? There are many ways to incorporate them into our designs. Let us show you some examples, they sure inspire you to make your own creation.

As you can see, they can perform the same character in many different ways, and each one of them has its charm. Let your imagination fly and use the materials you have in the smart way. These Snowman facts with botones are very simple to perform and the result is truly original.
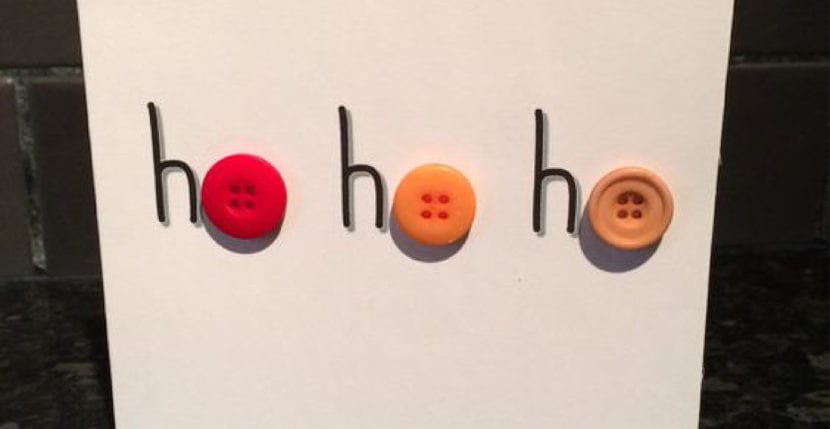
We can also use the buttons like letters. In this case, “ho ho ho” has been written, the onomatopoeia that Santa Claus does when he laughs. The letter "o" has been replaced by a button. It is a very simple idea but the result is very good.
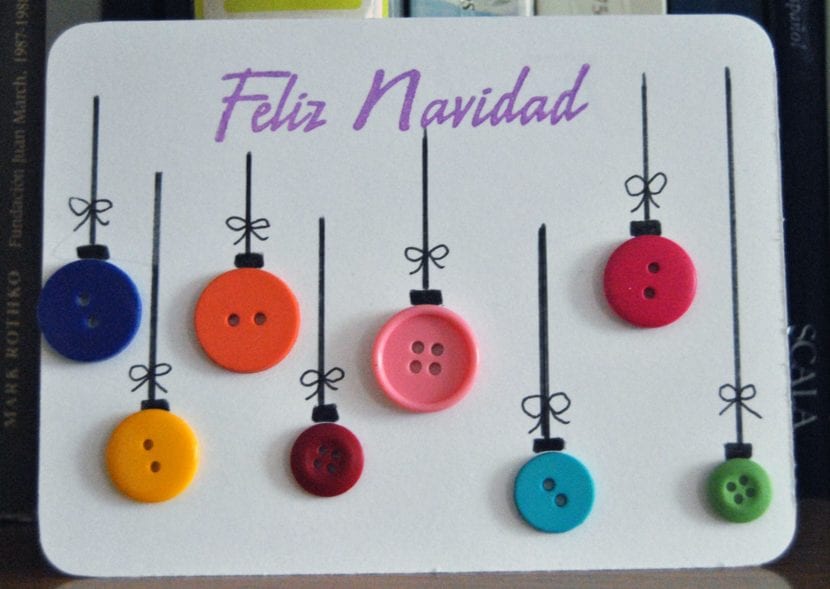
The Christmas decorations, the balls that we hang on the tree represented with buttons of different colors. Quick, easy and colorful!
Postcards with cardboard
All the colored cardstock can be our best ally to create much more answer our christmas postcards. Us save a lot of time coloring. Pay attention that there are ideas to stop a train.
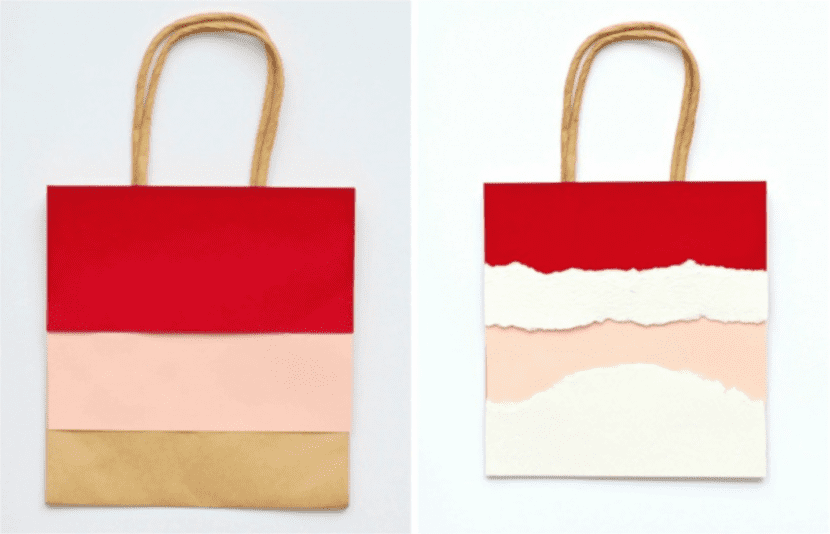
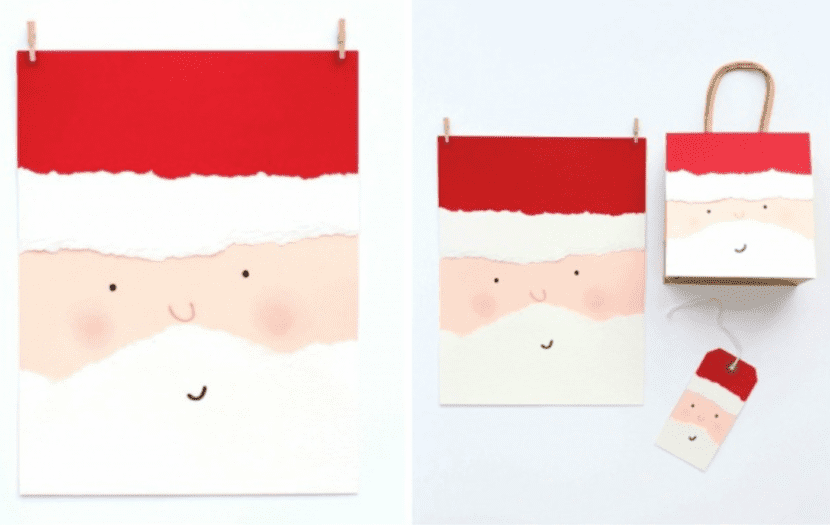
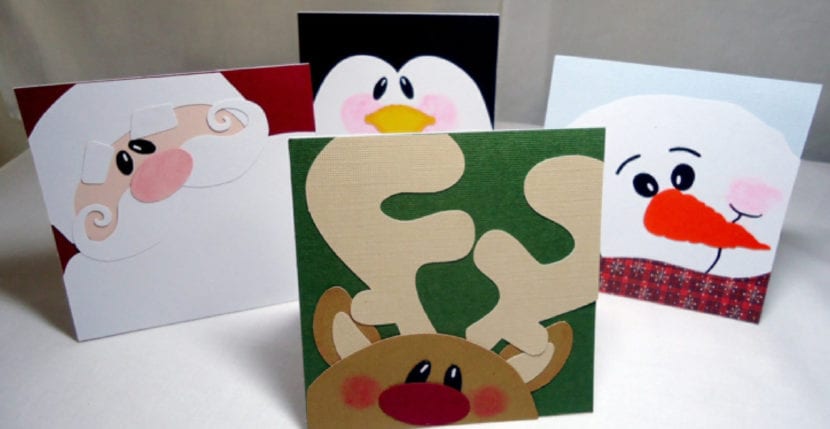
With three cards of different colors, one for every part of the body you can get real wonders. This adorable Santa Claus is made with:
- Red cardboard: for the hat.
- Cardboard flesh color: For the face.
- White cardboard: For the lower part of the hat and the beard.
You should only break every piece in the size you think is appropriate, a trick is that the edges are ragged. Paste it and later draw nose and eyes. Very easy!
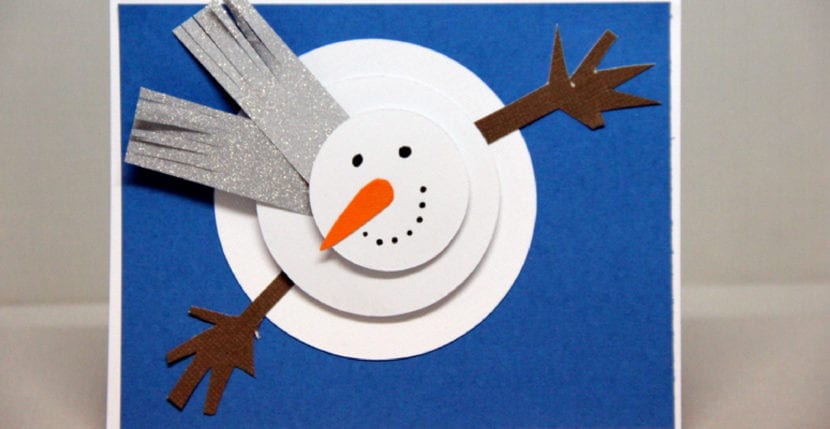
As we see in the image, we can achieve a Snowman in a bird's eye view in a very simple way. If we analyze how this postcard is made, we realize that it is really easy to achieve a good result. Must cut out three spheres of different sizes. We will use white cardstock. These spheres will be the body of the snowman. We will draw and cut the nose, arms and scarf. The rest we will trace with a black marker: eyes and mouth.
If we look for a highest level of processing, we show you this series of postcards that require more time and trace. You can consider making several postcards of the diferent models. In this way your friends, for example, will see that each of them have a different model. It is a way of showing that it is something much more personal and they will perceive it with more delusion.
These postcards represent different characters that fit us in Christmas season:
- Santa Claus, an American character who has come to our country to stay. We have adopted this tradition for many years now.
- Reindeer, is the animal that pulls Santa's sleigh.
- Penguin, which refers to the cold of winter.
- Snowman. It also refers to the cold and snow.
More ideas with cardstock
There is a wide range of ideas, we propose some of them:
- The Three Wise Men.
- Nativity scene in Bethlehem.
- Camels, the animals that in this case accompany the three wise men who follow the shooting star.
- Árbol de navidad. We can decorate it with many elements such as balls, lights and the star.
- Nadal's Uncle or cagatió, it is a Catalan tradition.
Among many other options.
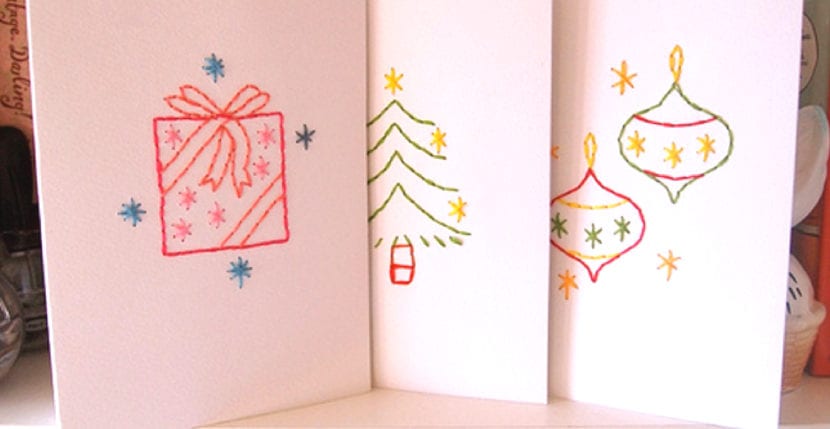
Embroidered postcards
A very original proposal is the to embroider our postcards. First of all, we must dot The cardboard. With dots we will draw the shape we want to embroider. We will do this embroidery on cardboard, therefore, we must be very careful not to break the support.
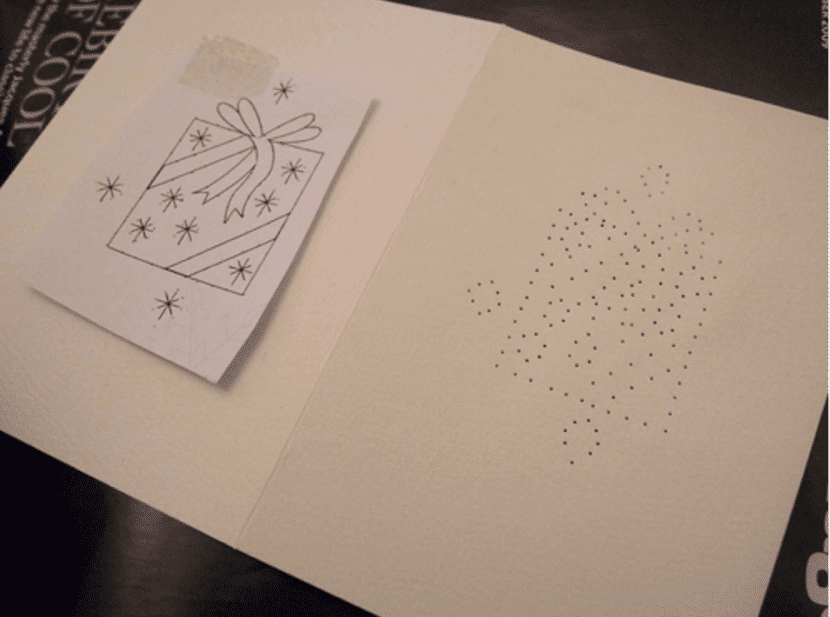
The first step to take is that of our design. We can do it by hand or look it up online and print it. We recommend that it be a simple drawing, with few lines and that these are separated between them. The reason is very simple, since if the holes are close to each other they could tear when drilling them.
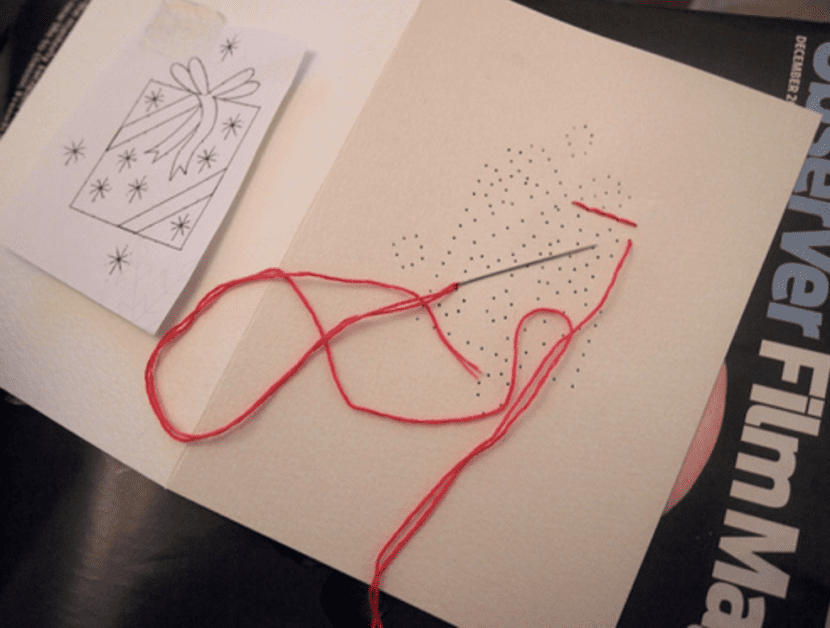
Paste the image with tape on the front part of the card, where you want to place the drawing. Hole marking the shape of the design. Later, remove the sheet and you can start embroidering. A trick to make the holes without damaging the cardboard is to have a soft support below. You can use a cork, polystyrene, an eraser or any material with these characteristics. Keep a minimum distance between 3 and 5 millimeters between hole to prevent breakage.
Do you know the Washi tape?
We can use many kinds of materials, and a few years ago the washi tape. They are about adhesive tapes with decorative and colored motifs.
We will be able to make very cool postcards with a cardboard, a marker and washi tape. We can get them to very low price, especially if we buy packs by Internet. We leave you a link here in case you dare to buy this material.
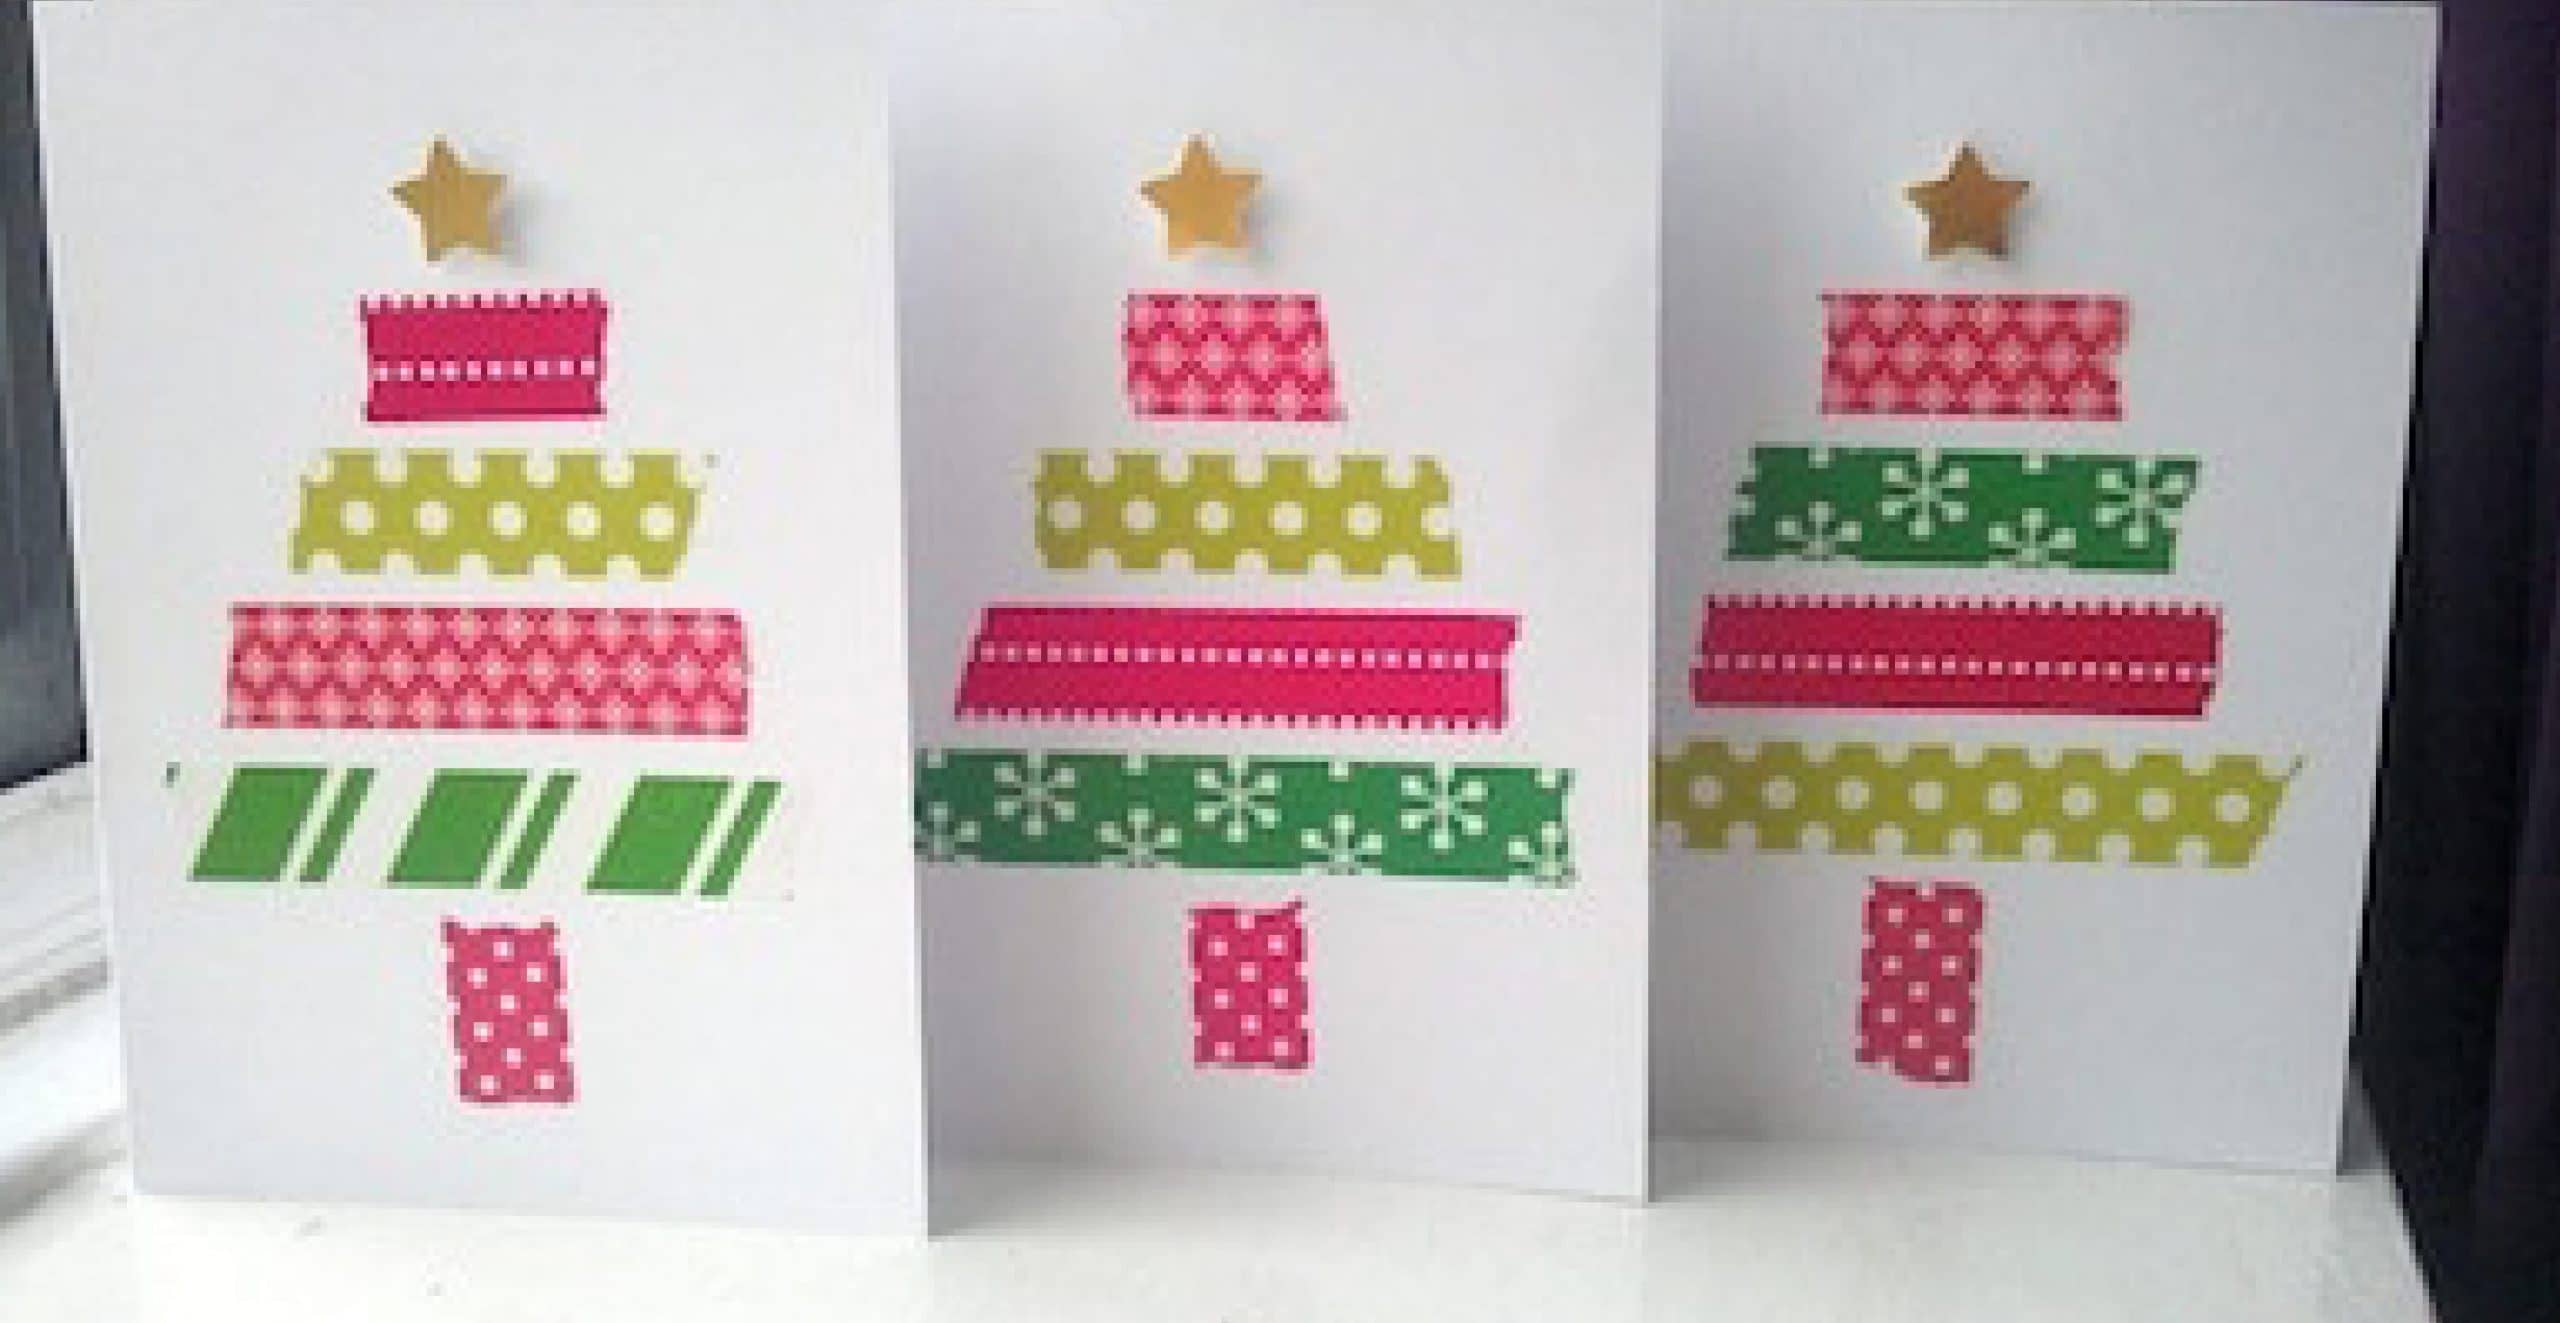
We start with a Christmas tree. As you can see, it is very easy to do, we only need several colors. We will cut strips from greater to shorter length and we will glue them.
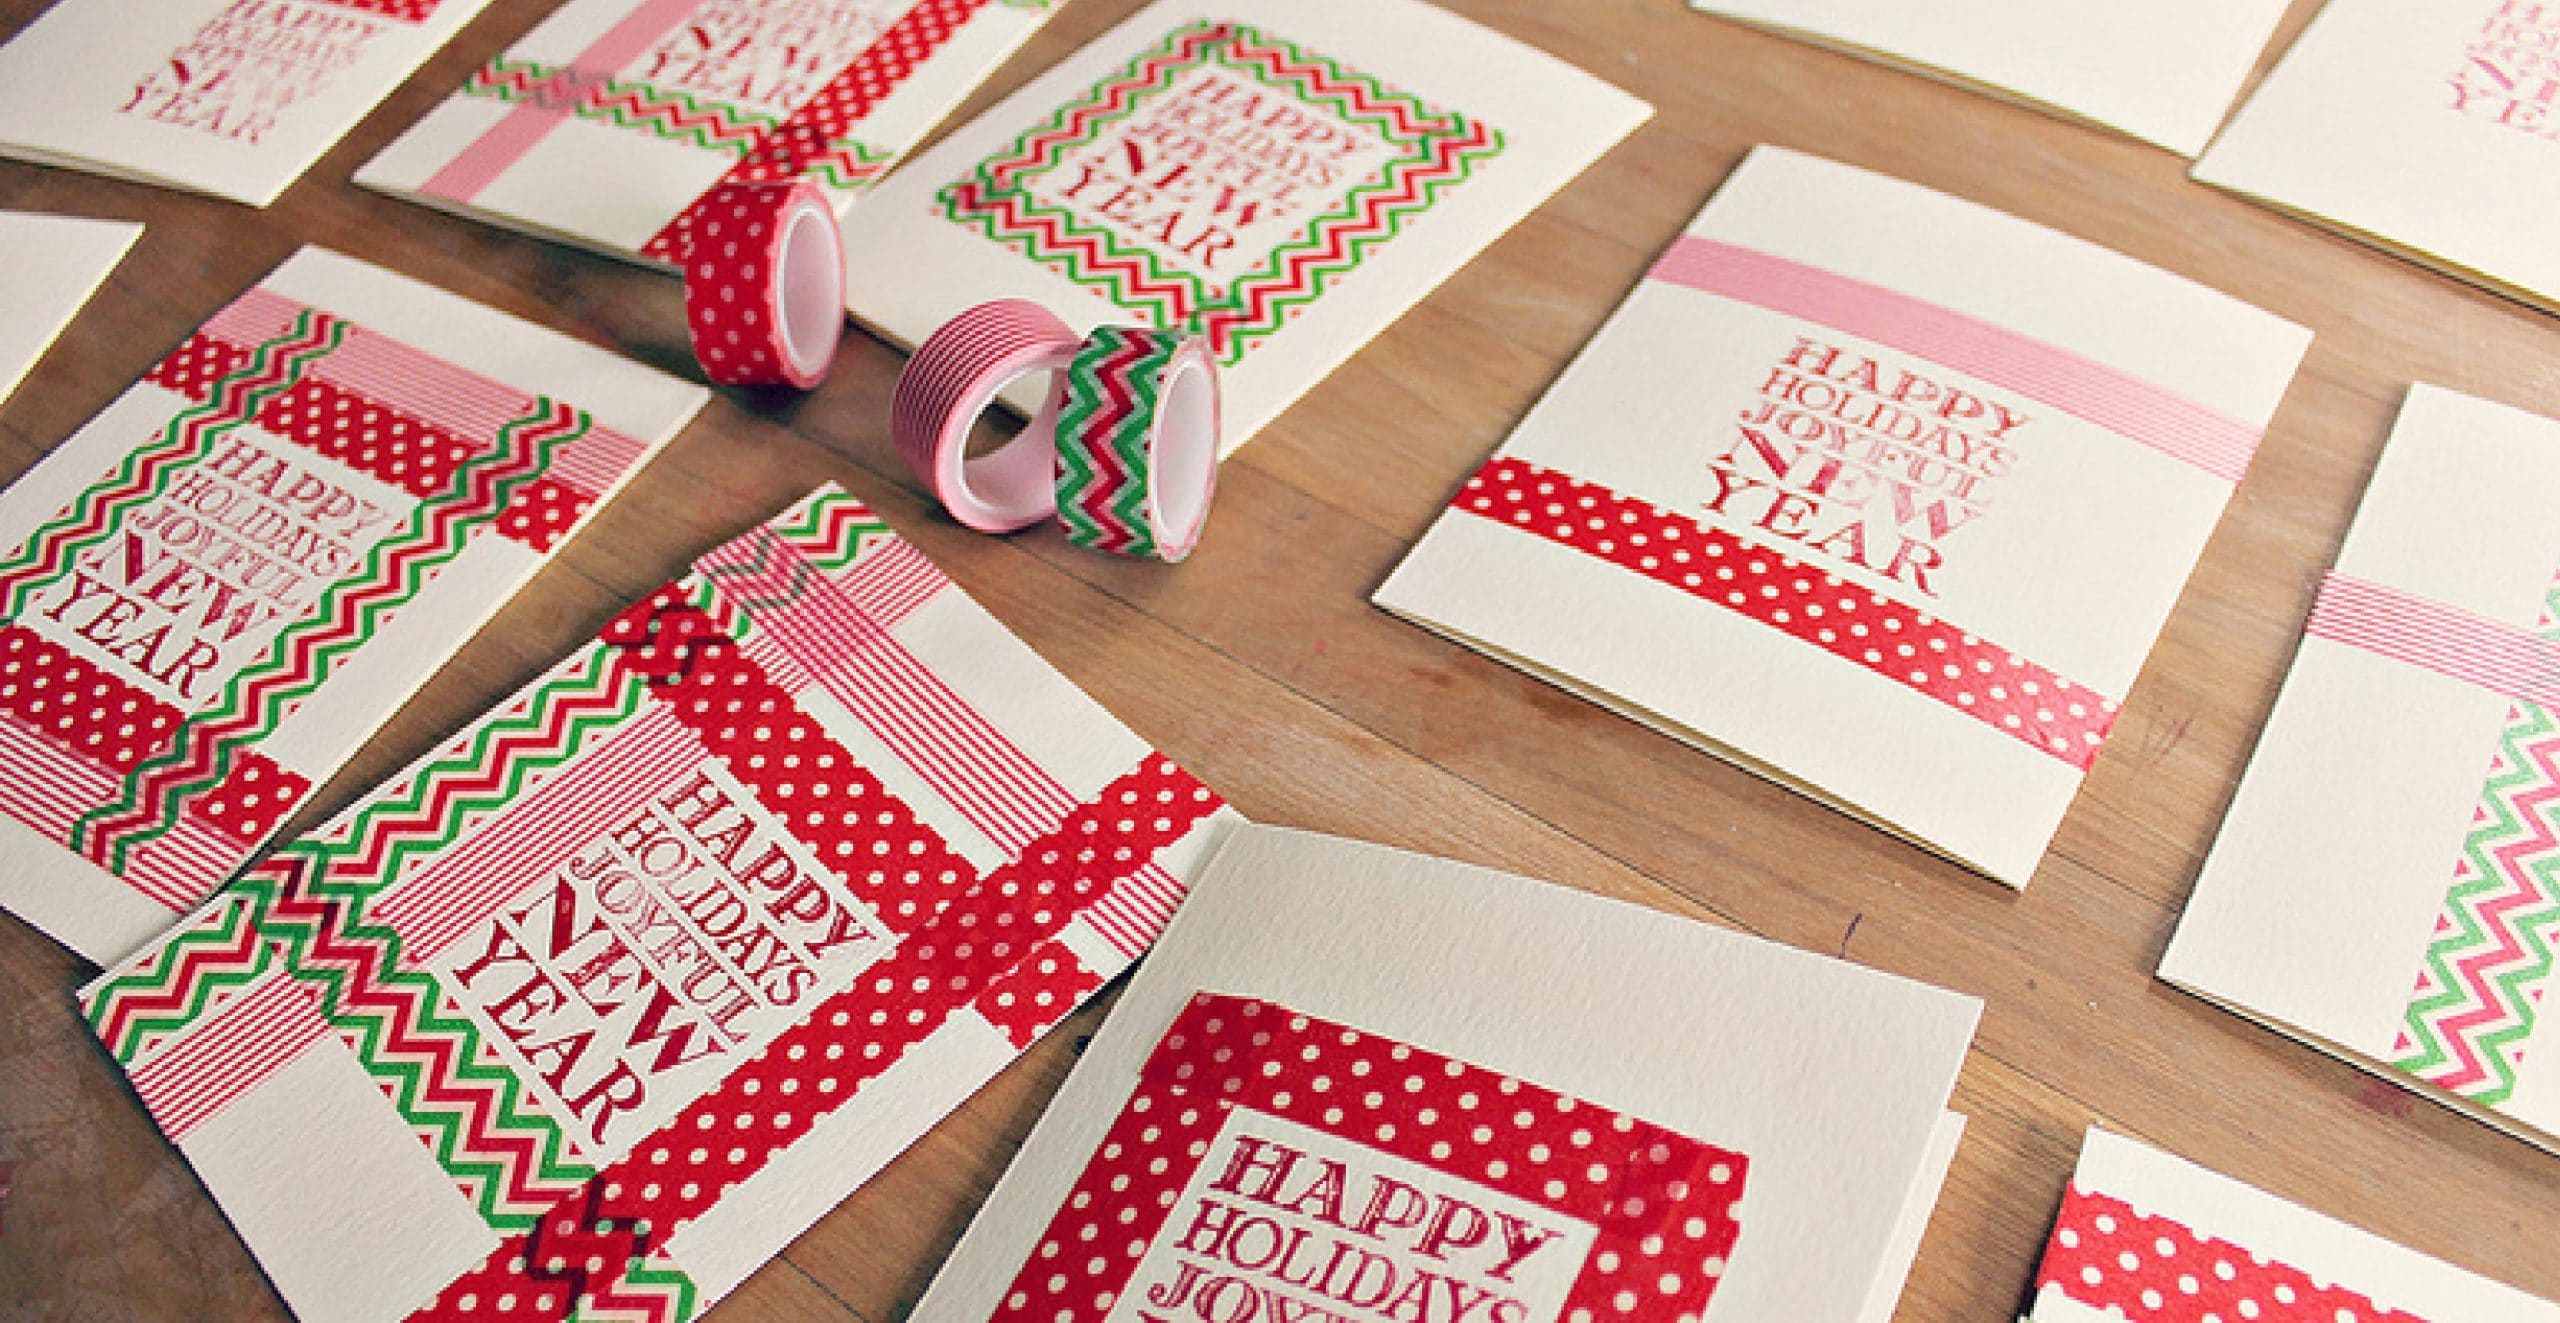
As we see in the image above, we can make frames with the washi tape and write whatever we want in the center. We can look for ideas of lettering to get ideas for making cool letters. The choices are endless!
Go ahead and make your postcards and above all ...MERRY CHRISTMAS!