
Restore an old photo with Photoshop to give it a life Has got save old photographs that were believed lost due to the passage of time and its consequences in old images where technology was more deficient than now. Many of us have childhood photographs at home with some stain, wrinkle or some kind of mistake that we would like to be able to repair when digitizing our images. Photoshop may be the salvation for our problem.
Learn to repair your old photographs in a simple way with Photoshop using some of the most common tools when doing this type of work. Fix bugs, improve color, finish your images and bring your childhood photographs back to life.
For restore an image The first thing we have to do is observe it well and decide how we are going to carry out the restoration so that it is as realistic as possible, what is usually done in restorations is to copy healthy areas without deterioration and paste them in areas with deterioration. We take a good look at our image and decide how to do the restoration.
Once Photoshop The first thing we are going to do is choose one restore tool, Photoshop has the following:
- Clone buffer
- Concealer brush
- Patch
Each of these tools works in a different way and has its good and bad points, for this reason the ideal is combine them all according to our needs.
We will explain how some of them work and how to carry out the restoration of the image in a series of steps.
- First we correct the physical failures of the image (stains, breaks ... etc)
- Second we correct the color glitches of the image (colors, lights, shadows ... etc)
The first part of the restoration should focus on correcting the physical faults and the second part on correct color deterioration to return to bring the image to life.
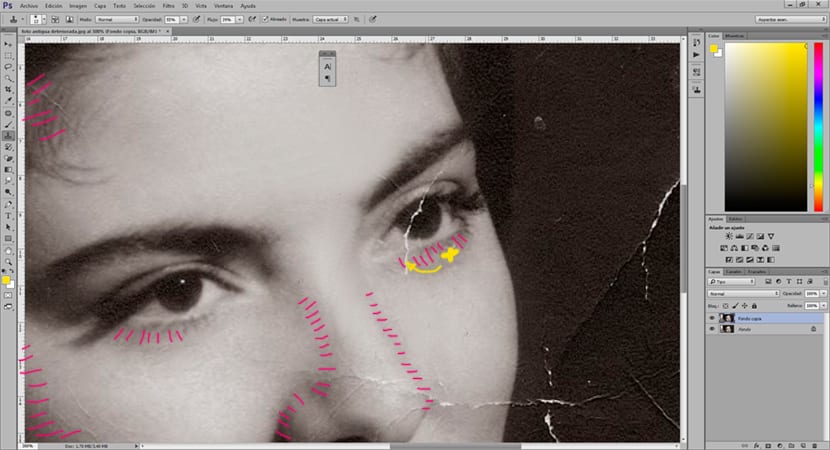
Let's start correct the bugs with the tool clone buffer, what this tool does is take a sample of the image and copy it to another place. We must always keep in mind the following aspects of this tool: opacity, flow and hardness. The normal thing is to play with these aspects to make the retouching very subtlel, the lower the opacity and the hardness, the less the retouch will be noticeable. We use this tool pressing the alt key to take an image sample, later we copy that sample in another place in the image, the ideal is to take samples close to the copy area.

La patch tool allows us to make a selection and then create a kind of patch, this tool has two options: origin and destination, the first option allows us to create a selection in error and change this area for one that is not damaged. The second option allows us to do the opposite, we copy the selected error and copy it back to another area (in this case this part is not useful). The operation is simple, we make a selection of the area we want to restore and later we drag that selection to a nearby undamaged area.
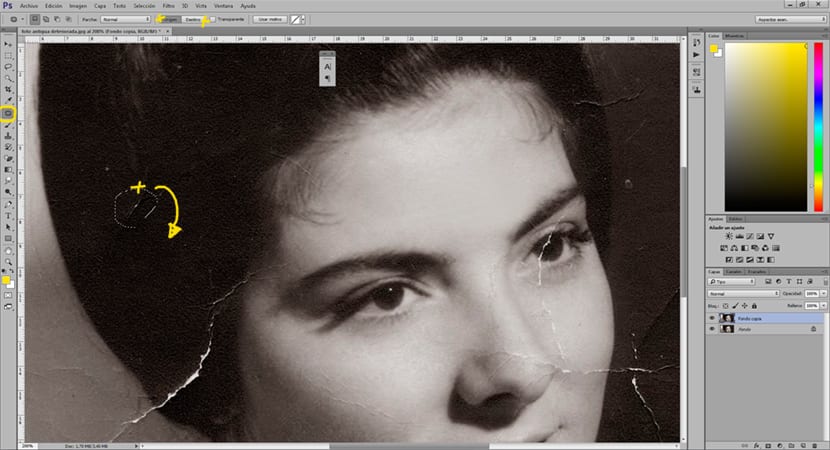
We have to be careful of keep the highlights and shadows of the imageEach part has a certain light and shadows, for that reason the samples we make have to be close to the error to maintain this. For example to fix the eye area we must collect samples only from this area.
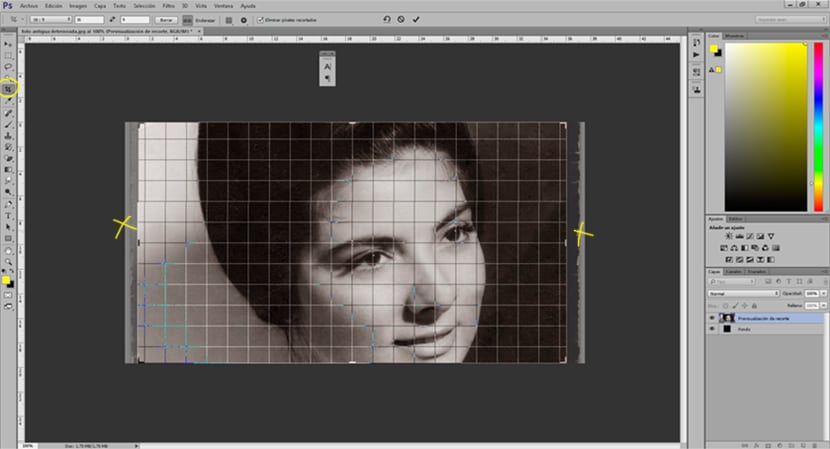
To remove the broken edges (in the case of having them) what we can do is shorten the image a little with the crop tool.
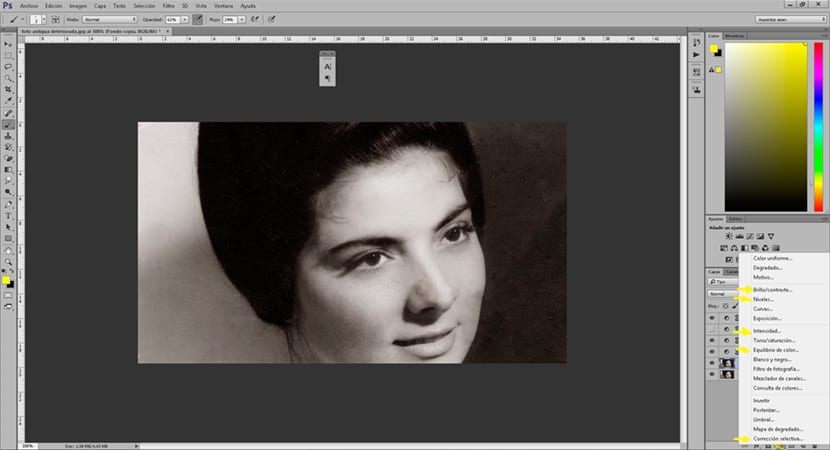
Once we have corrected the physical errors in the image, the next thing we have to do is start correct color, for this we have a series of tools.
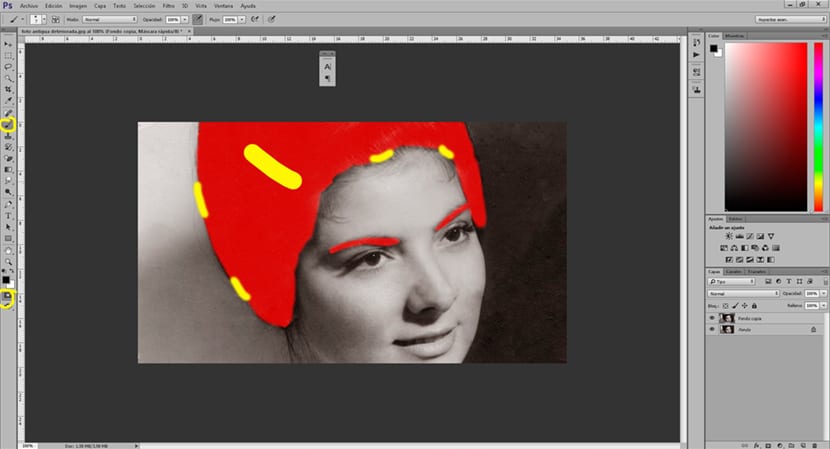
For correct hair and some detailed area the ideal is to make a selective selection of that area to later treat it, this can be done with the tool quick mask. As if it were a brush, we paint the area that we want to correct (it can be colored red automatically) after making the selection, we press again on the quick mask icon and it will create a selection of everything that we have not painted, for that reason we have To go to the top menu and click on selection / invert to stay only with what we have selected with the brush.
Following this we create a selective adjustment / correction layer. In this section we can correct colors specifically. This part can be applied to each of the areas of the image if we want to correct the colors more precisely. Ideally when we do this is to use a low brush hardness for the edges and a hard hardness for the interior.
The next thing we can do to improve visual quality of our photography is to use some of the options available to you Photoshop to correct an image:
- Brightness and Contrast
- Levels
- Intensity
- Color balance
- Selective correction
We can use some of these tools to further correct the quality of our image. All these corrections can be made accurately as long as we do the quick mask step first.
La recommendation when making a restoration It is trying to do it little by little, focusing well on the details and always trying to work each area separately with specific selections. You no longer have an excuse to restore all those family photographs that you have at home.
how can i get the original image?