
This tutorial will teach you to add a shadow effect on the face. This effect can also be applied to other parts of the body where you want to simulate a shadow, be it because we have added an element that requires shadow to be more real, or accentuate a shadow that has been a little off.
The shadow effect that we will explain depends on how much light your image has, sometimes we must simulate a shadow with a black brush and blur it, but in this case we will teach you how to highlight an existing shadow, in an image that does not require that black brush on top.
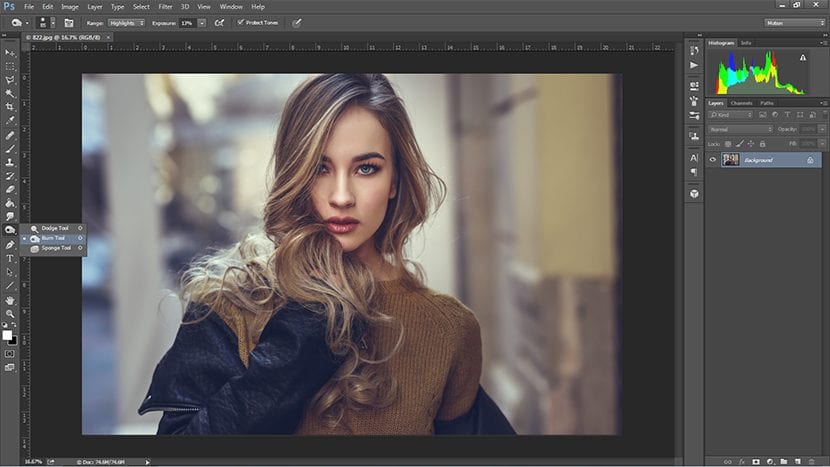
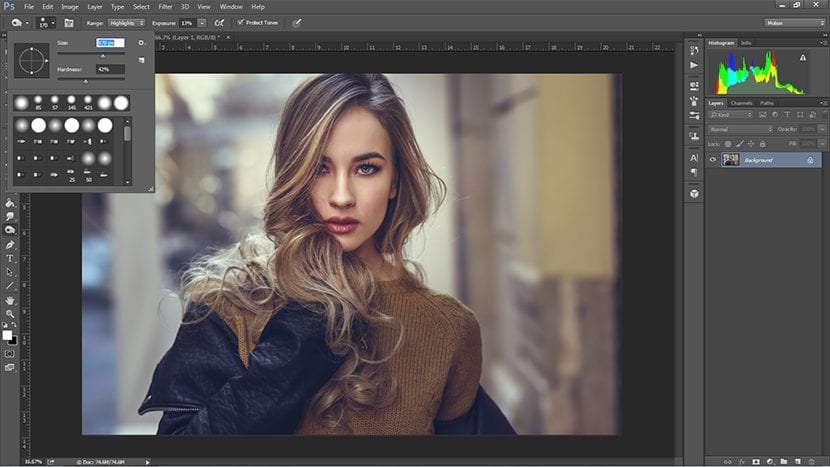
We take the tool underexposure, we increase or reduce the size of the brush, leaving a little fade in it, thus avoiding very sharp edges.
First we make some touches on the midtones, and we test the exposure we want to give you to the shadows. We started with 13% and then we increased it to 29% since it seemed very little to us.

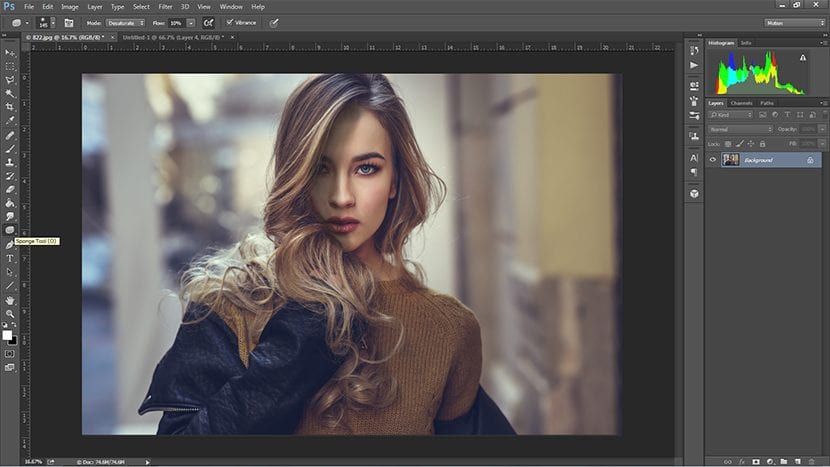
Once it has been in the amount we want, we choose lights, instead of halftones. With this option we then darken the light tones that we have remained within the sector that we previously obscured. This in turn will prevent the image from being saturated with color.
If after darkening these tones if the image remains with saturated colors, then we will apply the sponge tool, within it we will use the Desaturate option, and with this configuration we will pass the brush once or twice over the saturated sector.
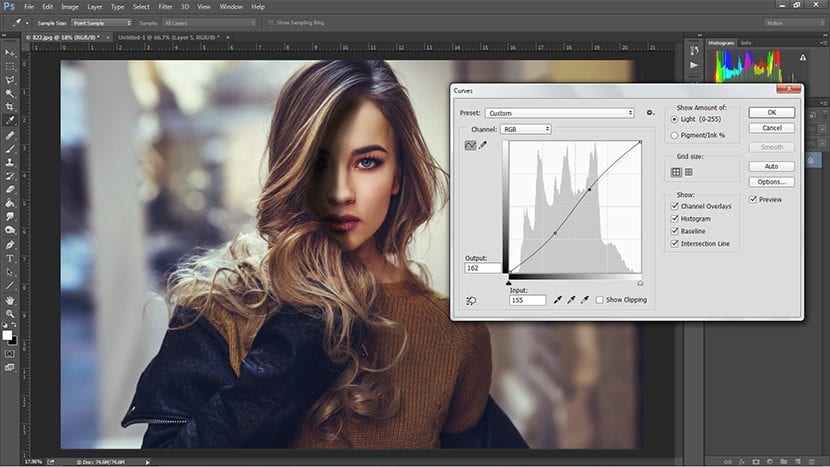
To finish we adjust the shadow and light levels entering the menu Image-Adjustments-Curves, and copy the curve drawing that you will see in the image, to adjust the brightness and contrasts evenly, we must imitate more or less the figure S in the Curves box.
This works as much as for give a cute touch in sight for a photograph like the one you see, or to give a gloomy air to a photograph where we are hooded, in a more horror mode. And also as we have explained above, it can be used in other parts of the body, when we add, for example, a watch on the wrist and we want it to be more real.