
Today we will learn the role that HDR plays in Photoshop effects.
Before we start we must clarify that this effect will be found in more recent versions of Photoshop, starting with version CS6 more specifically.
First, we go to the menu Image-Adjustments and there we will find it, HDR.
HDR has been incorporated to create more detail to our images, to give it an added touch of lighting and shadows, and details as well.
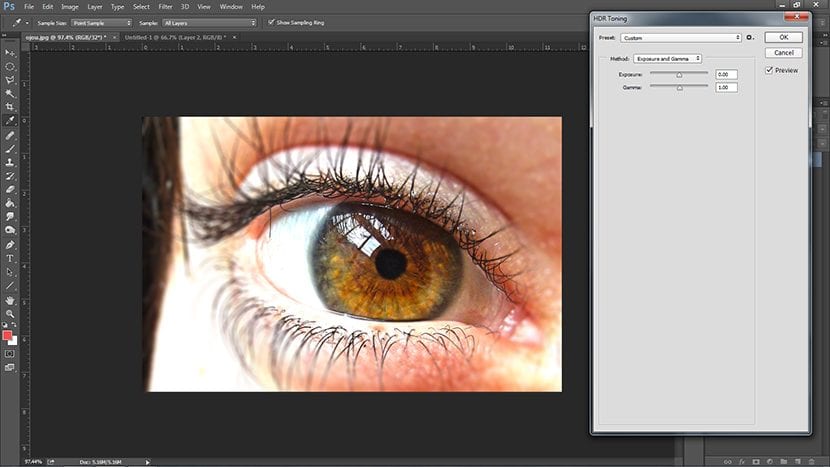
When we enter that option we will see that a large pop-up window appears, which occupies almost the entire screen at the top. And as a default the image takes on certain characteristics.
The option Method introduces us to different forms of HDR editing:
- Exposure and gamut offers us to change two characteristics of the image.
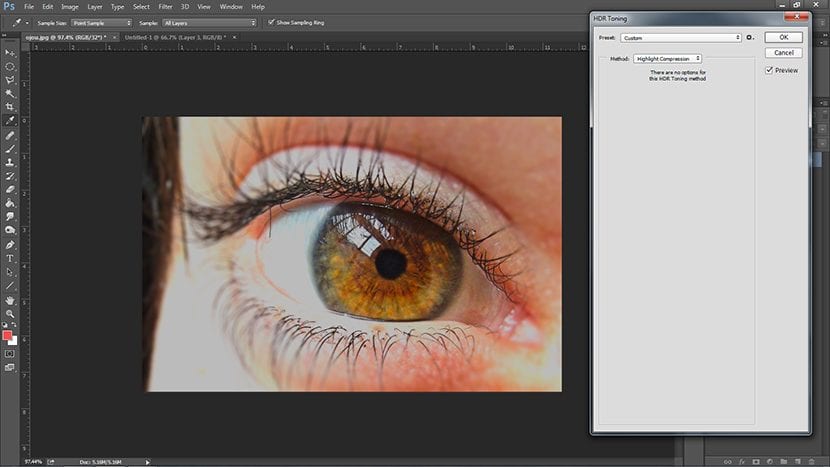
- Light compression will not allow us to edit, but it does leave a default effect.
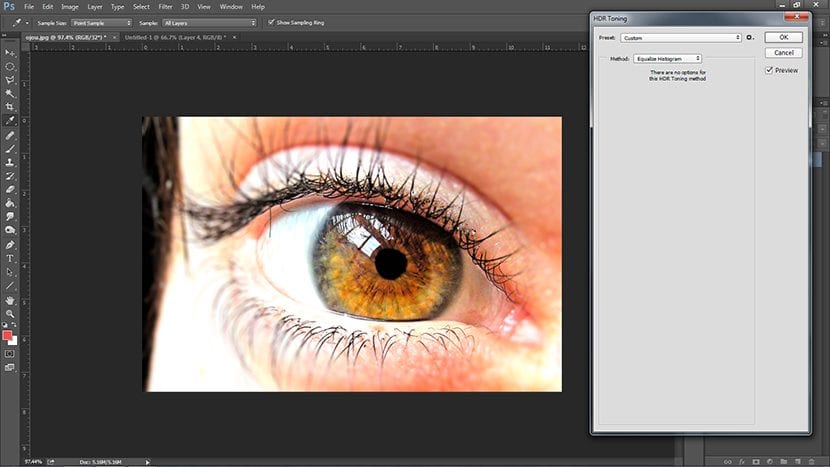
- Equalization is the same.
- Local adaptation It is the one that we will explain, here we can vary the brightness of the lines found in the image, the tone and details, and more.

We start with the image lines. Here we retouch Radius and Force. While the former blurs a little more the effect that we are going to give it with Force, the latter defines and outlines our image more.
We have given the lines a lot of strength and little blurring of them.
Then in Tone and detail We will see range, exhibition and details. We have hardly changed the range and exposure since they are very strong components for brighten an image or immerse in the dark. But the detail, in contrast, must be varied since this allows us to define more, or less, the different parts of the image, obtaining then something more exaggerated in definition, or more blurry as in dreams.
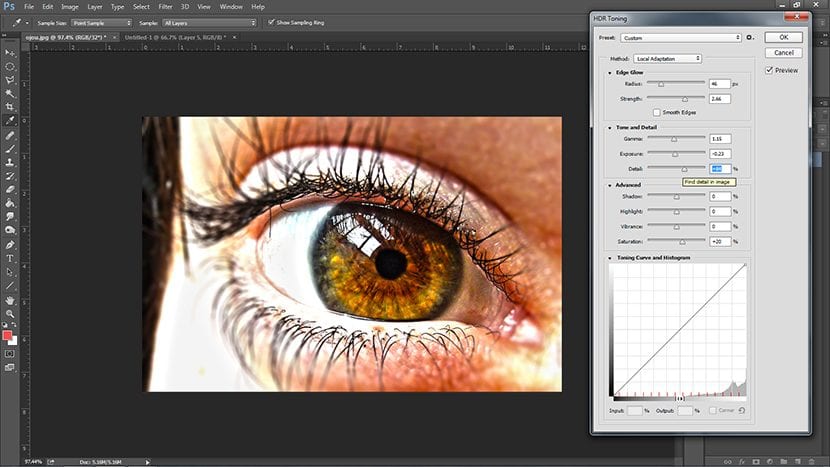
Going to the advanced options, we see that options known as light and shadow, and the options that help us to remove or put a little color and intensity to the picture. We have accentuated the shadows, removed a little intensity and a minimum amount of saturation, without leaving it dull without color.
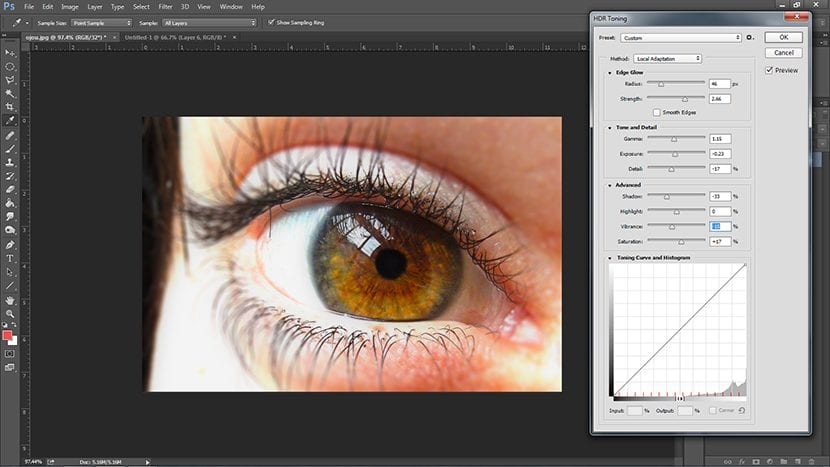
Below you have a painting like that of curves that we have named in other tutorials here Creativos Online, which can serve to arm ourselves with a good image if we find the indicated curve. The good thing here is that if we leave open the option of Preview, We see what we do and undo it before clicking OK.
And that's what the HDR effect is all about, which luckily now some mobiles have it incorporated, but a retouch in Photoshop never hurts.