
Source: Apple
Editing or design programs were designed, and never better said, to facilitate the creation of interesting projects, and thus obtain good results. Programs of all kinds were created, editing images, creating illustrations, etc.
In this post We want to talk to you about a tool that has achieved all these parameters, and that is undoubtedly Procreate. In addition, we are going to introduce and immerse you in a simple tutorial where you will learn how to blur with this program.
The tutorial is very simple, but if you still don't know what this program is about, or what its main functions are, we'll show you in more detail below.
Procreate: main functions
Source: Domestika
To define what this program is, we have to go back to 2011, when Apple decided to promote it through its apple store. Later, it was produced and developed by Savage Interactive, a company based in Australia that is dedicated to programming and creating similar tools.
It is a tool with which many artists and designers have achieved excellent results in their projects, since its main characteristic is that it has the possibility of designing and creating illustrations. It is very similar to Adobe programs such as Illustrator or Photoshop, so if you have already used these types of resources, you will already have a previous base established.
Like all programs, Procreate has evolved over the years, version after version, an aspect that has meant a lot in some of its updates.
Features
- It has a starter set of brushes and textures of all types and possible shapes. This facilitates the work method that you are going to use. To be exact, it has a folder of 200 brushes and categorized into 18 styles that differ from each other, either by their tips or by their strokes when using them.
- It is an application or tool that it is also available for other devices such as graphics tablets or tablets. In fact, it was originally designed to be used in this type of media. An aspect that greatly benefits the program and is even more comfortable.
- Like Photoshop, Procreate also works with layers, it is a detail that may interest you and that does not change exactly anything of the Photoshop that we know and that we have used at some time. It's usually quite comfortable knowing that the program shares some of your similarities in some more technical aspects.
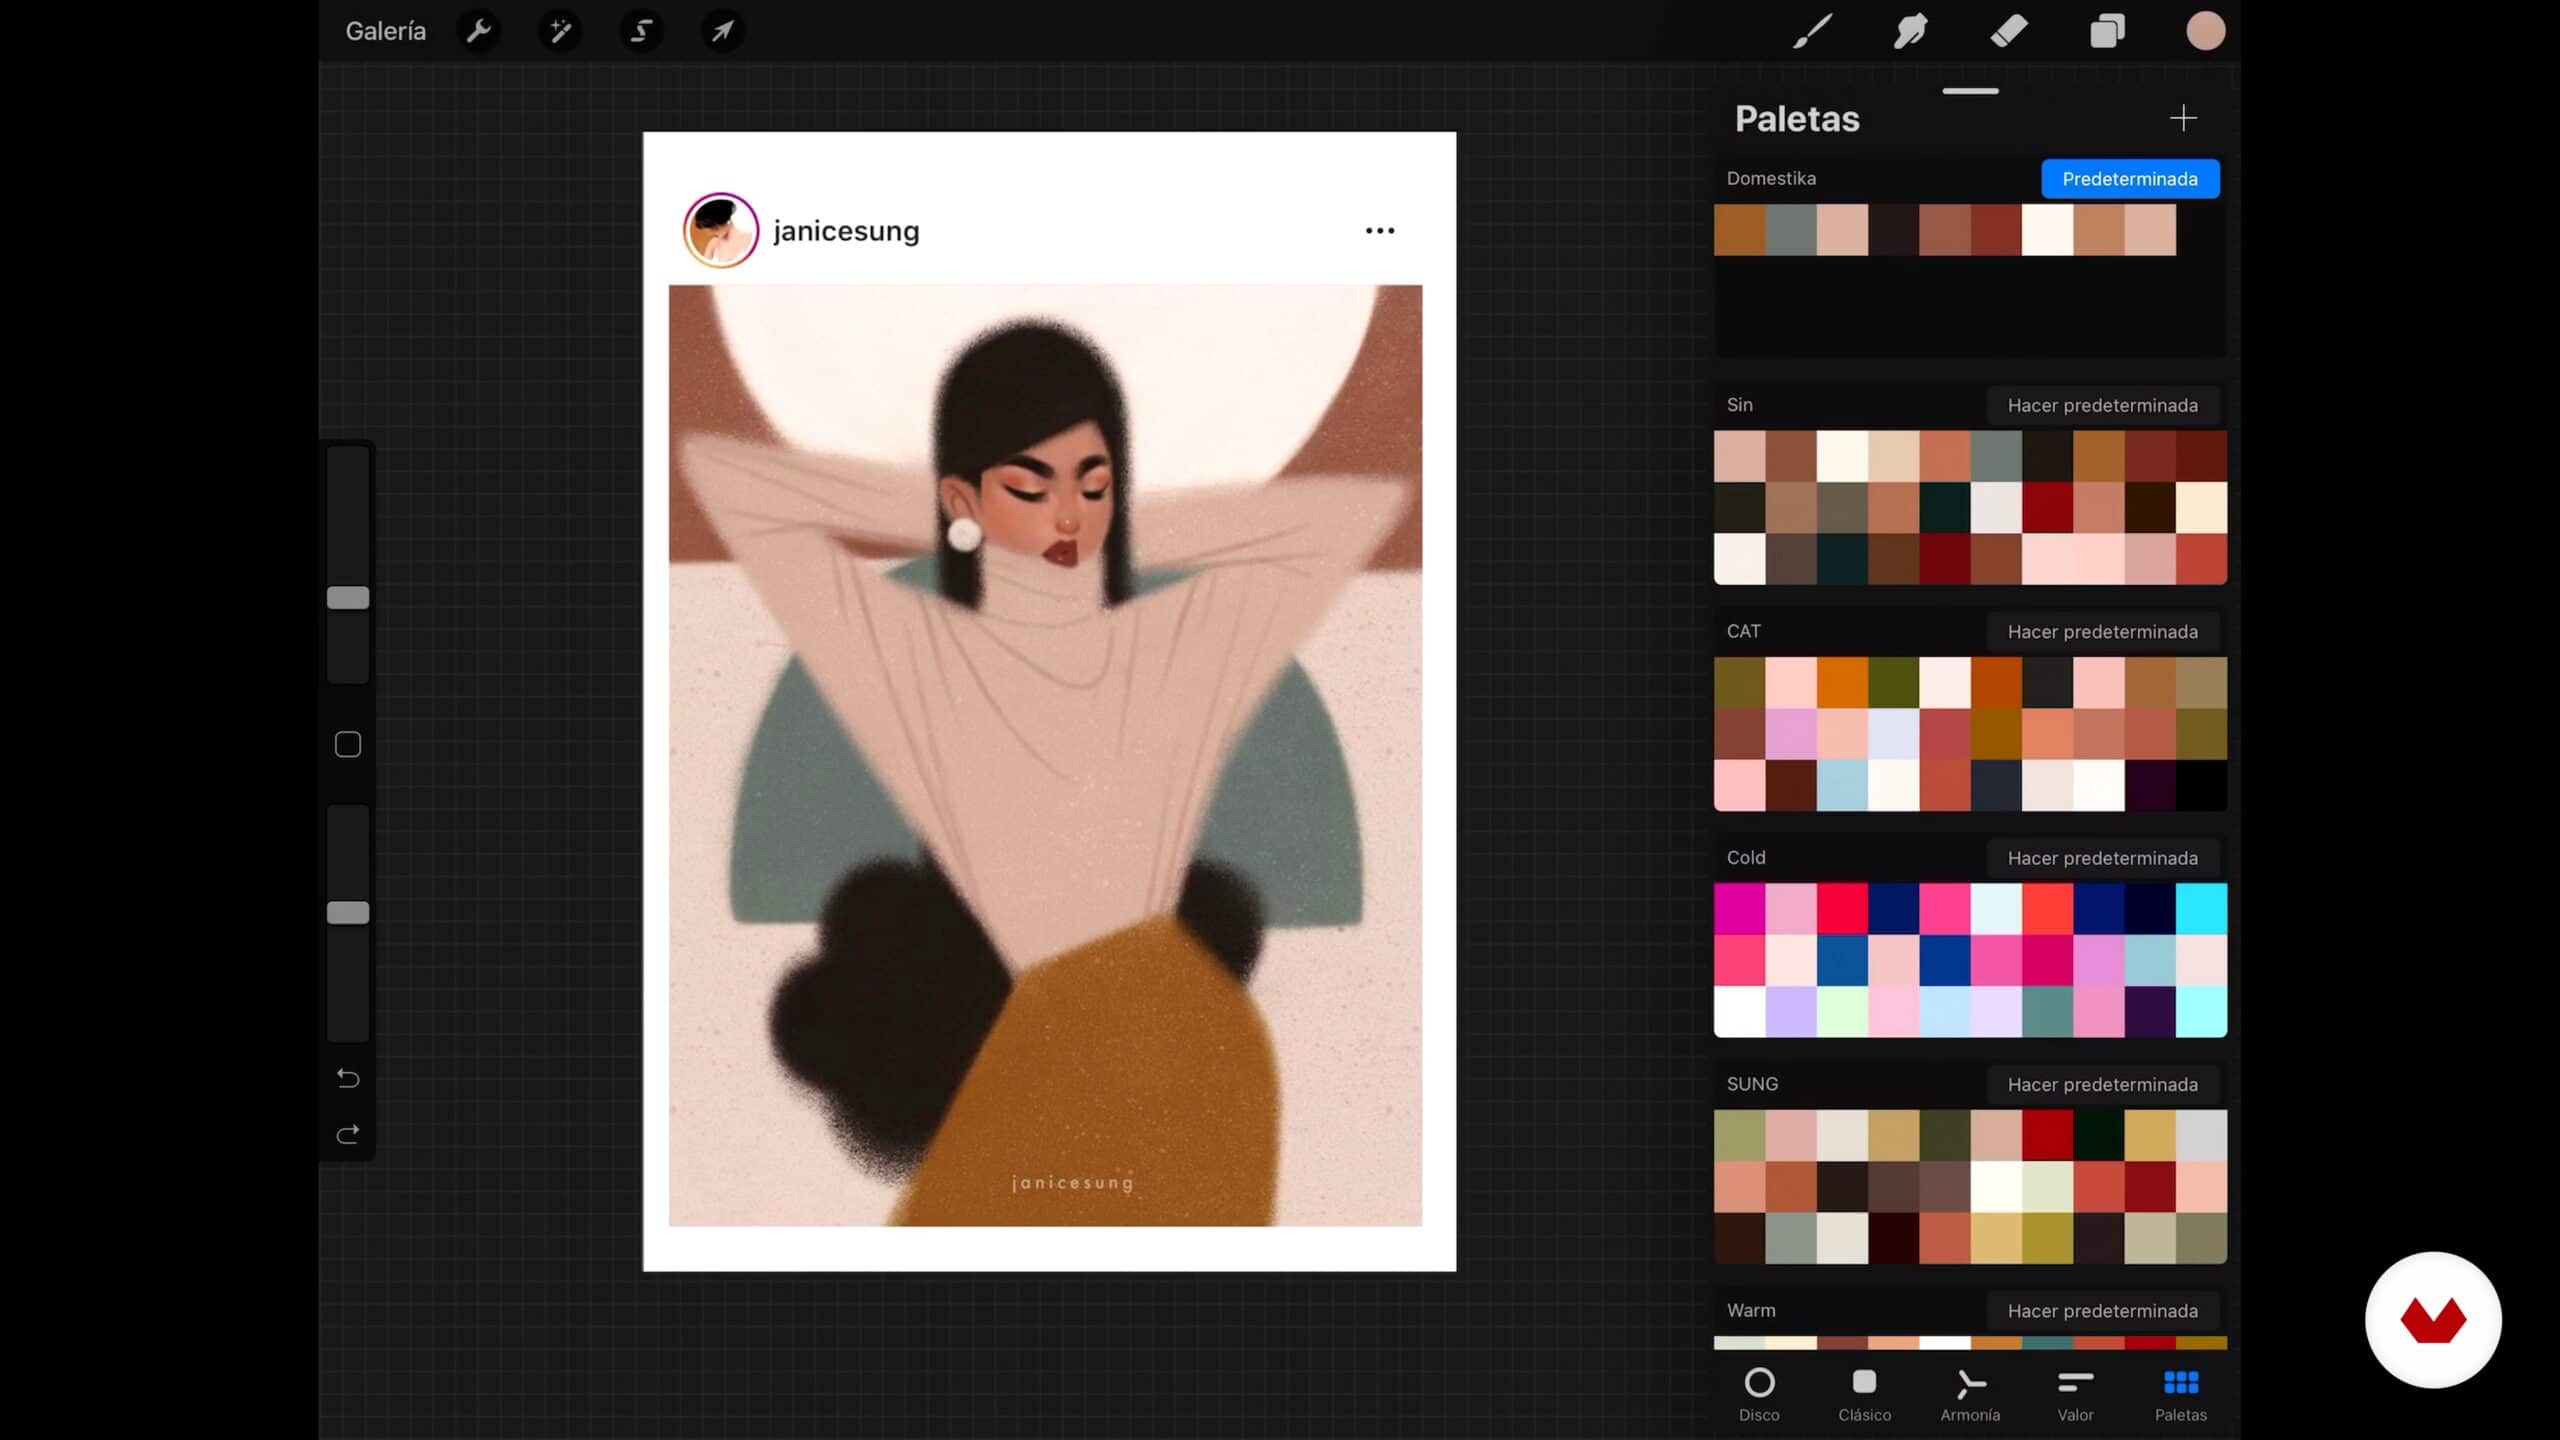
- Another of the details that stands out in its characteristics is the color range that they have. It has a wide folder that, just as we can also see brushes or textures, we also find colors of all kinds. A very favorable aspect that stands out without a doubt if you are an illustrator or illustrator and you need a wide range of color profiles.
- Last and least important, also we found some interesting fonts, a detail that means we don't have to search for and download them on any website.
Tutorial: Blur in Procreate

Source: Graph
There are up to four different ways to blur with this program, each one is characterized in that it uses a tool completely different from the previous one. Whatever the case may be, they are very easy steps to follow and it will not be a lot of work and time.
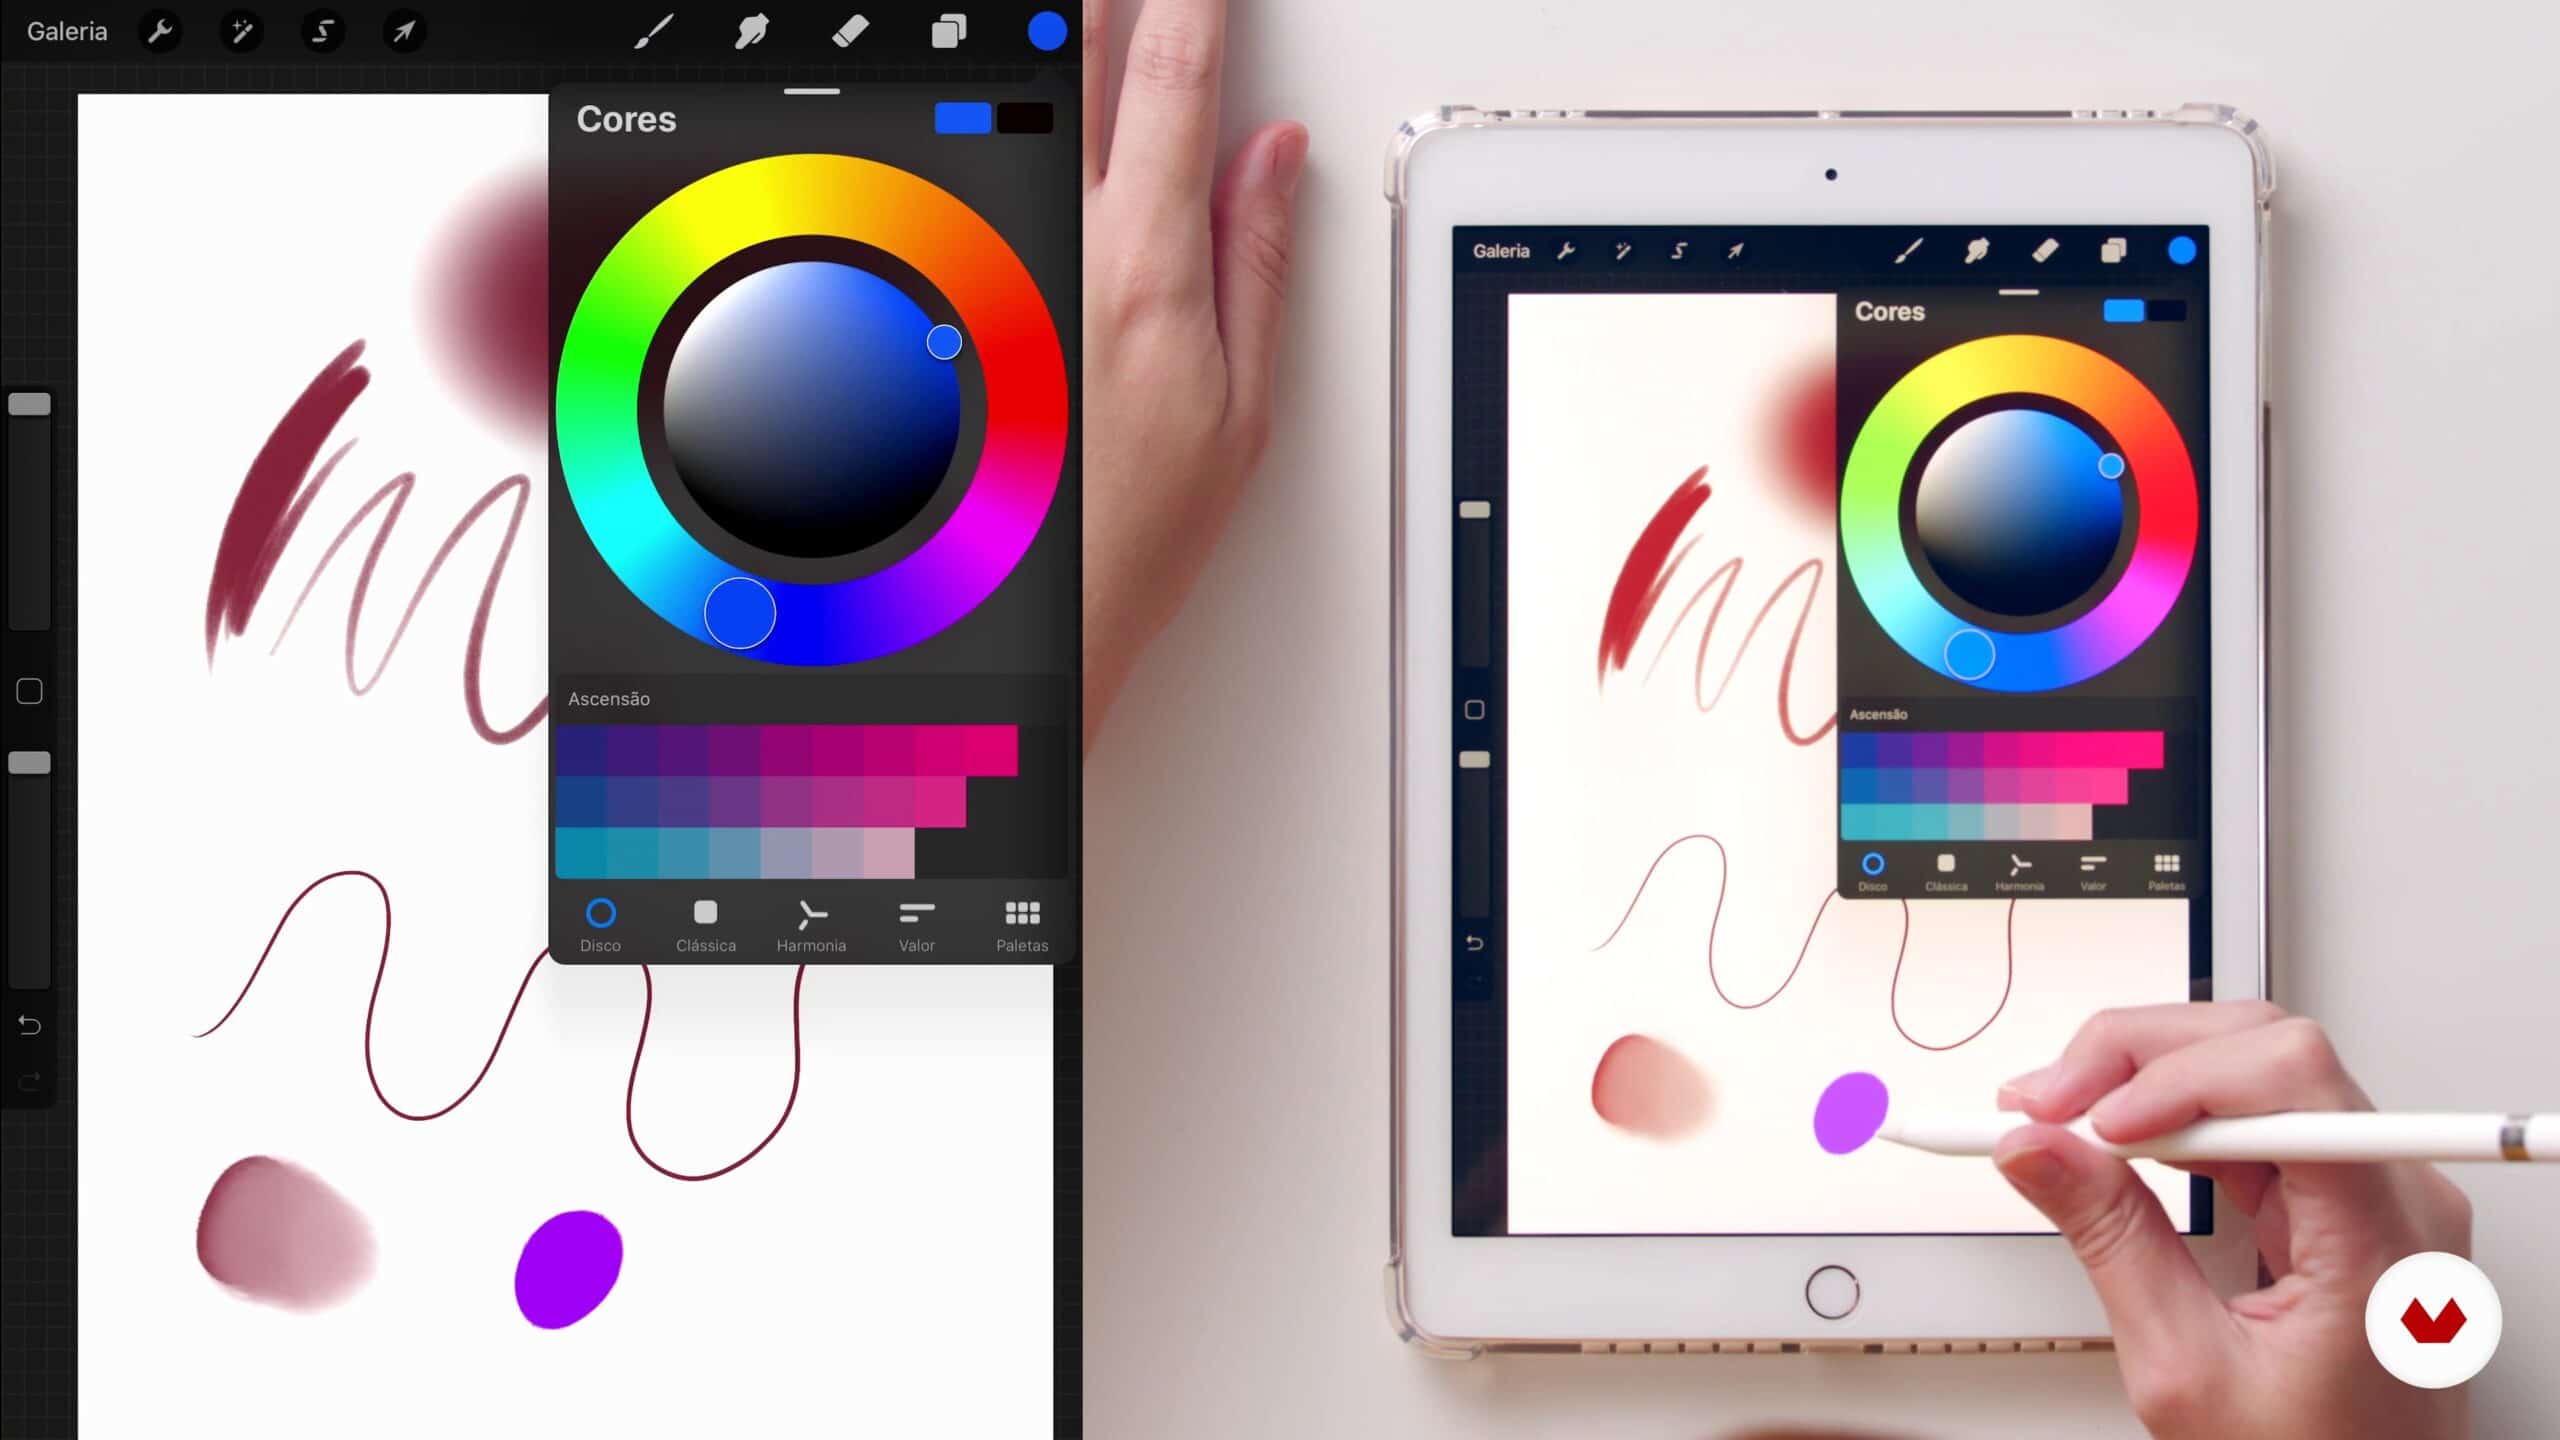
Technique 1: blur with color
Source: Domestika
- The first thing we are going to do is start the program, once we start it we create a work table (the measurements do not matter), the important thing is that it is a wide work table with which we can work comfortably. Once we have the table created, we take the brush and with the double color option, we paint on the work table in white ,and we do it carefully and delicately, without having to force the brush.
- Once we have the color mixture, we go on to lower the opacity, the most important thing would be to find an opacity value that allows you to find a difference between the two colored inks. The best thing would be to lower the opacity first to half, a percentage of 50% would be the most appropriate.
- Once we lower the opacity we would have the blur ready. You can also try other types of brushes or colors.
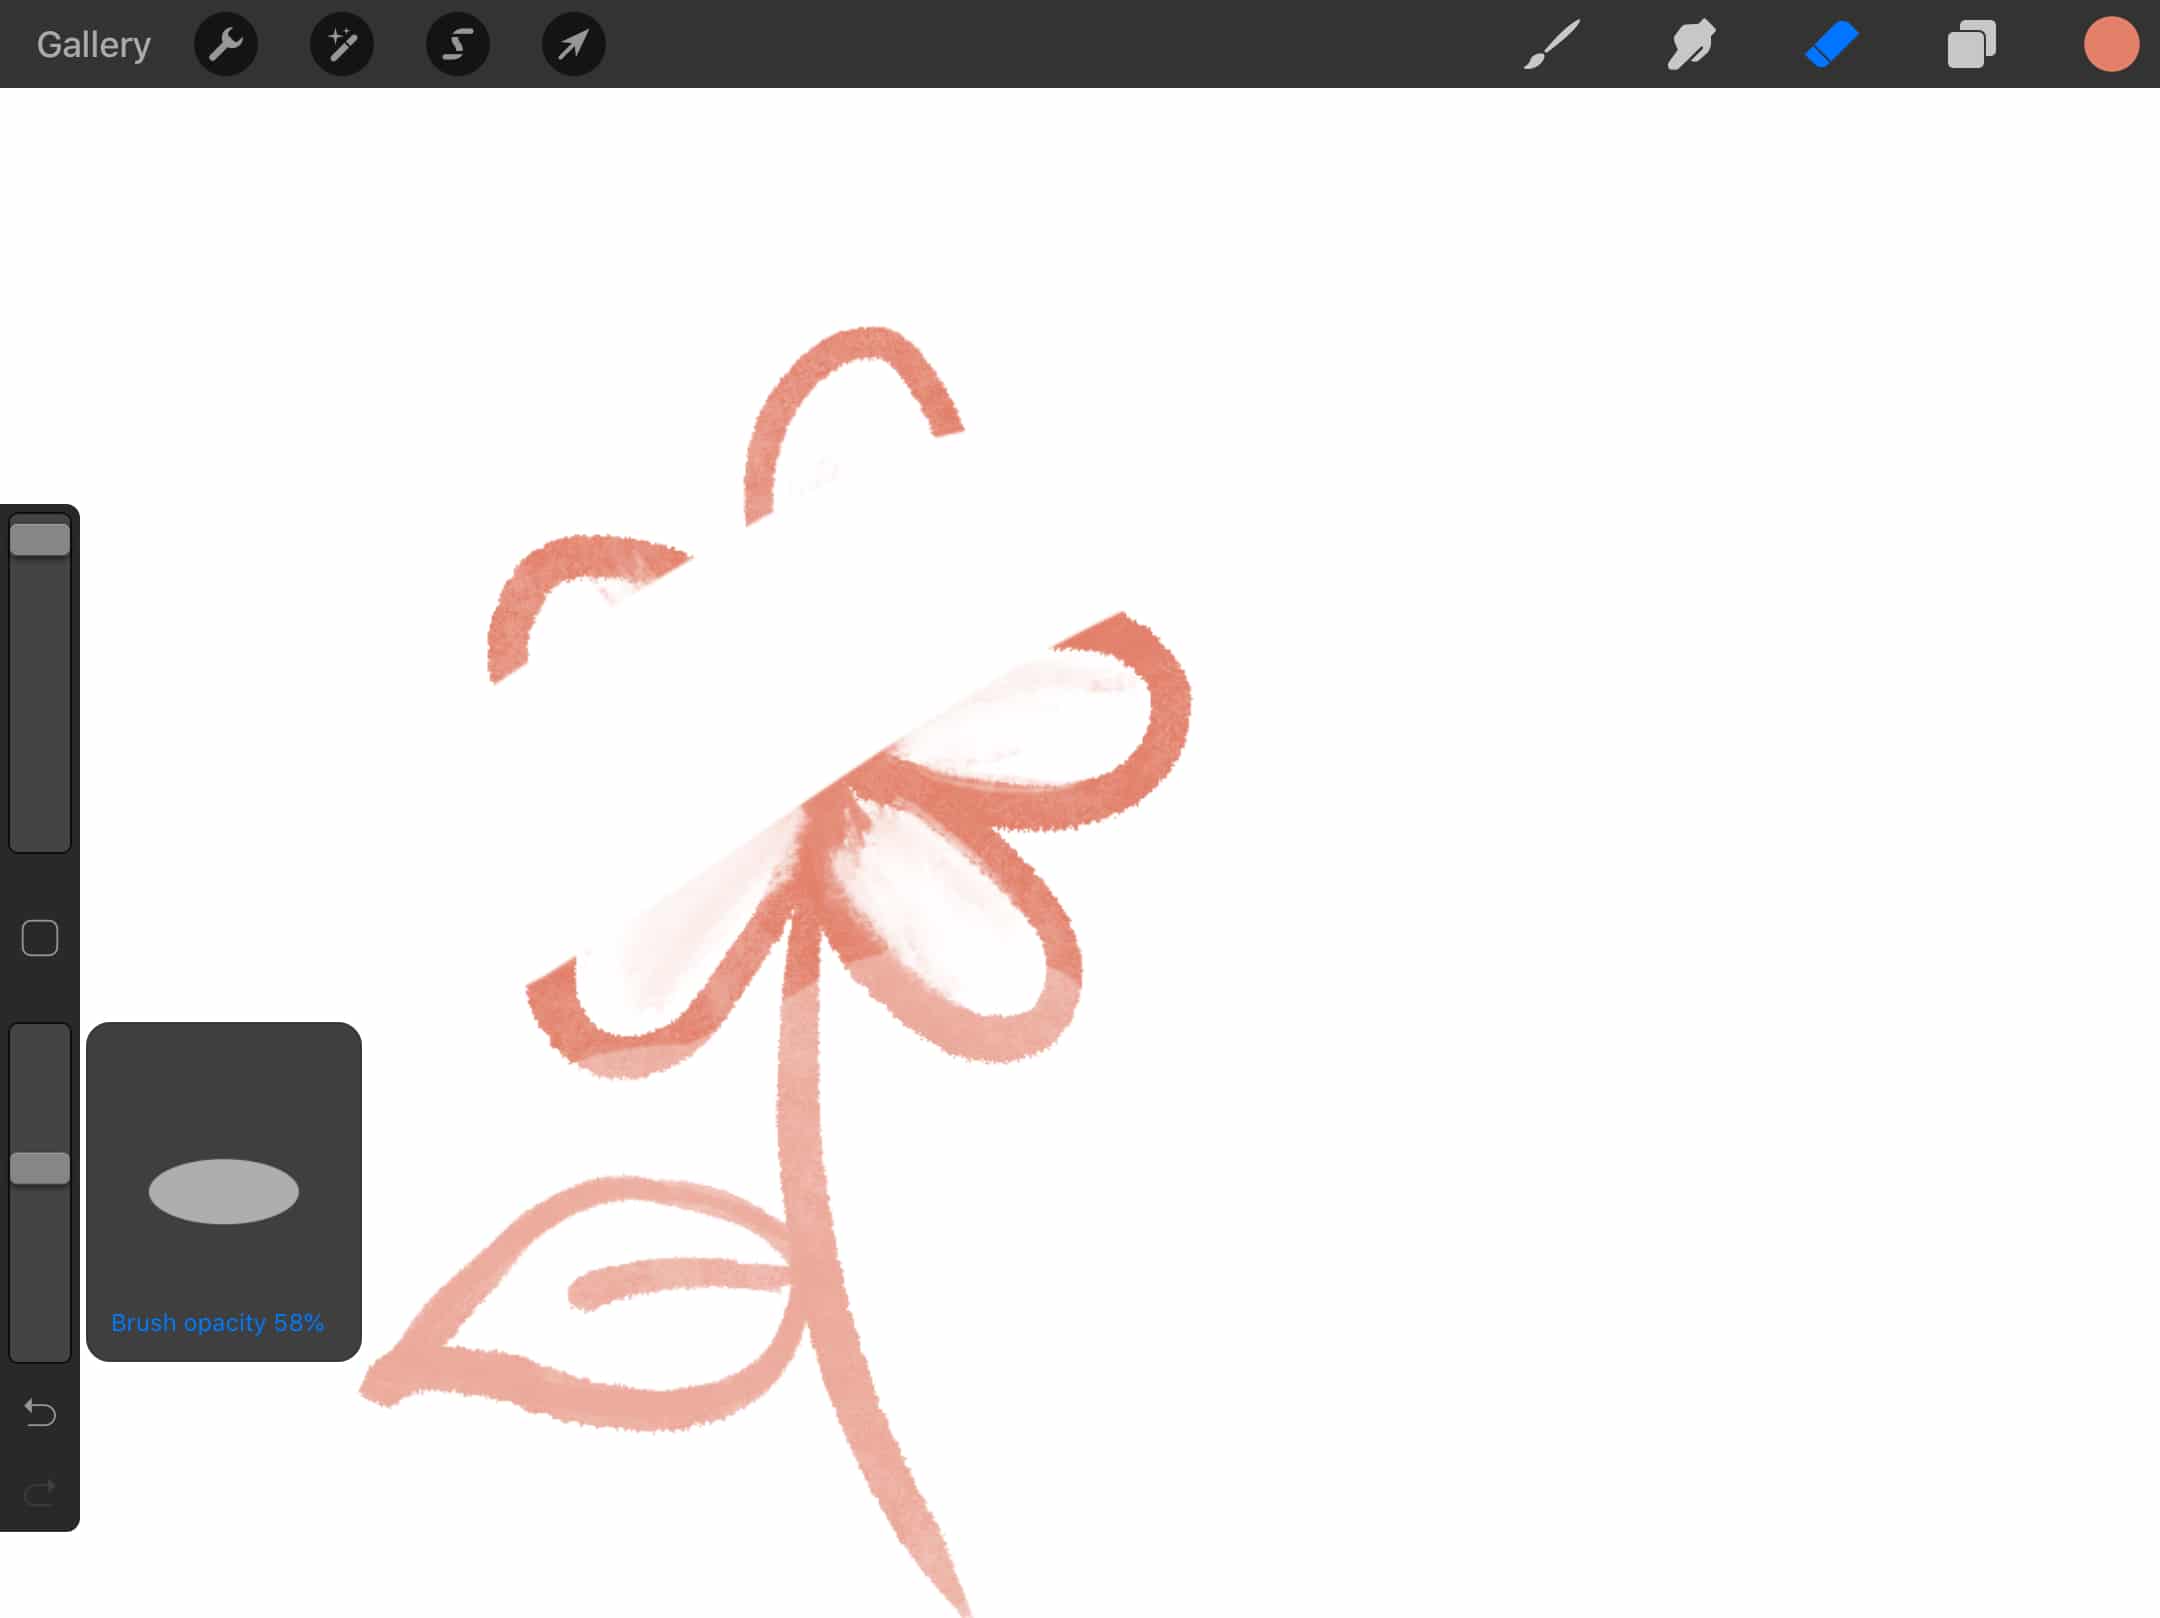
Technique 2: Using the artist's technique
Source: The Creative Creature
- For this technique to do is use a brush that is very marked or pronounced. The main objective of this result is to be able to obtain two zones and in this way, to be able to blur only the middle zone.
- To do this, we will go to the icon that is in the toolbar and that has the shape of a finger, we can also find it in some different versions, at the top of the screen, once we find it, we activate it and different brushes will appear.
- To blur, we just have to choose the softest. This technique is called the artist's technique because now is when we proceed to draw, We press slowly and repeatedly and in the form of circles.
- Once we have the shape that we have created, we already have the blur that we wanted to achieve quickly and easily.
Technique 3: Blur with the eraser
Source: Creative Factory
- In this technique, we are going to use two colors that are divided between them, for this, we must create two different layers.
- Once we have the chosen colors and layers, we just have to use the eraser tool and an airbrush brush, but this time, we place it away from the object that we are going to blur.
- With this technique we also have access to be able to blur shadows. A detail that undoubtedly surprises users who use Procreate for their designs.
Technique 4: Blur with Gaussian Blur
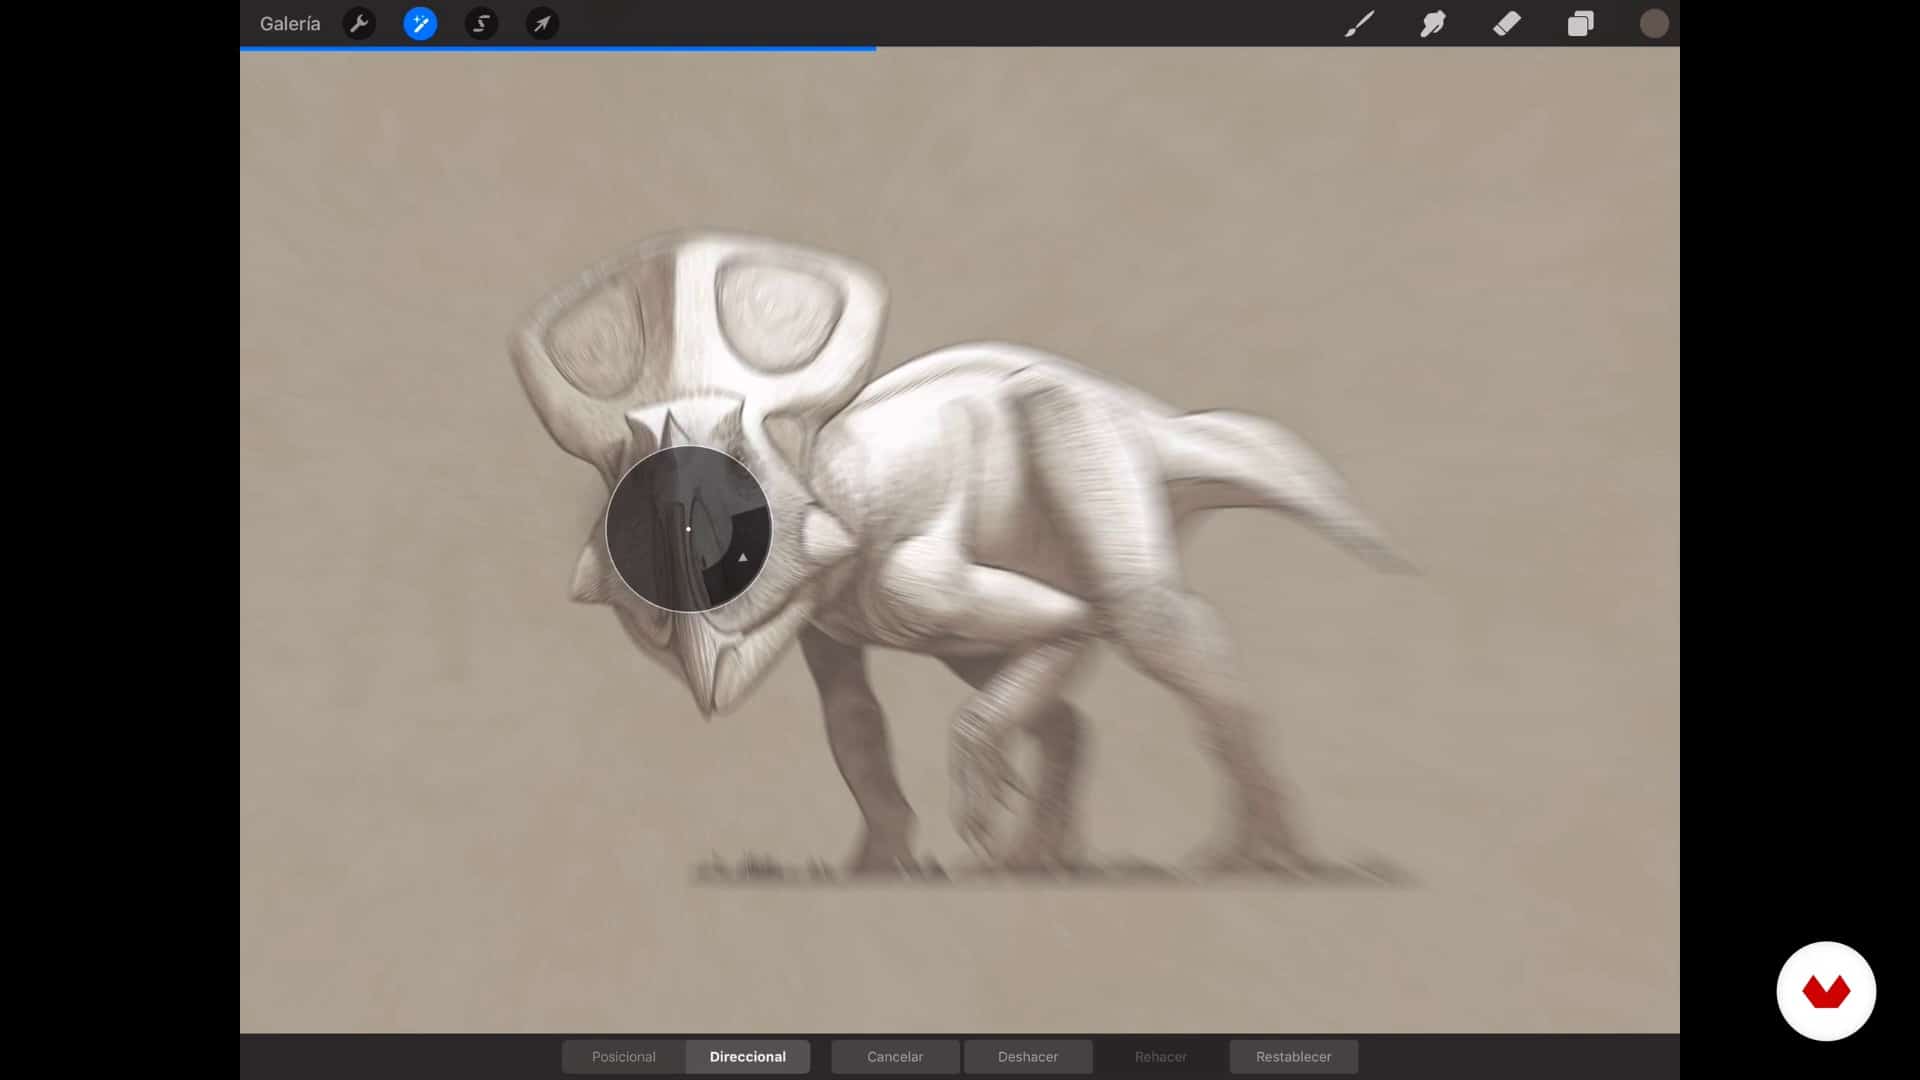
- Before starting the process, for this technique we need to have prepared a layer with an object determined, the one we want to blur.
- Once we have the layer with the object, we just have to go to settings and we will give it a Gaussian blur. Once we have the action activated, we only have to direct the movement of our finger and blur it in the way we want.
Other alternatives to Procreate
Adobe Illustrator
One of the options to blur if you want to try alternatives is Illustratorr. It is one of the Adobe library programs, the only drawback is that it is paid, but you have a 7-day free trial, so you have plenty of time to get to know the program and start designing. Illustrator has a great advantage, and that is that it works with vectors, a detail that may interest you, since you can create marks.
It also has a wide folder of fonts of all styles, without a doubt, a detail that greatly favors this program.
Autodesk SketchBook
It is another of the most feasible options and it functions as an application. It has a fairly simple interface to use and with which you can develop your projects quickly and easily. It also has a more animated and interactive part, since you can program and save the changes you make to some layers.
Furthermore, another important feature is that It is compatible for both Android, Windows and IOS. Without a doubt, an application that you cannot miss and a perfect alternative.
GIMP
GIMP is a freeware tool very similar to Photoshop and Illustrator. You have different color profiles in both RGB and CMYK. In addition, it also has a wide variety of brushes. It also has a large toolbox where you can find different elements to work with.
It also has the possibility of making gradients, for this, You have different ways and techniques to do gradient. Finally, it also stands out that it is a tool with which you can browse and find simple tutorials for its use, which makes it easier to understand.
Adobe Photoshop
Adobe Photoshop, and another tool that favors design and image editing. It is also one of Adobe's tools, and it also has different tools that facilitate the handling and retouching of different graphic elements.
In addition, you can also find this tool for different formats such as tablets or even mobile. You can also create gradients, create amazing effects and control parameters such as light, contrast, brightness and some of the colors.
Without a doubt, it is an alternative that, despite not being free, you can also choose to try it for a period of days.
Conclusion
Procreate is a simple program or tool to work with it. You don't need to be all or all an expert in design, since you also have at your disposal endless tutorials with which to learn.
You can not only blur, but also create interesting illustrations and design, thanks to the wide range of brushes and colors that exist. We hope that this tutorial has been of great help to you and that you can design everything you set your mind to from now on.
What will be the next thing you design with Procreate?