
Source: The Uca Software
Probably, if I mention the word to you "clone" a reproduction exactly the same of something comes to you. Well, normally this tool is widely used in software such as Photoshop, but today we will move away from Adobe tools.
Many designers use this type of software to retouch images or carry out artistic projects.
In this article we are going to introduce you to the wonderful world of Gimp. And what is this about Gimp ?, and above all, how is this reproduction made? Stay with us because you will find out below.
Shall we start?
What is Gimp?
Source: Wikipedia
Before getting into the tutorial, we suggest that you enter the program, if you are a person who designs, likes to draw, edit images or fantasize about doing it, this is your program without a doubt.
To put us in context, Gimp is an essential program as well as ideal for editing images, composing fictional scenarios or retouching. It is a software that, unlike Photoshop, is completely free, and is currently used by companies to design corporate identities. The most curious thing about this program is that it was created specifically for GNU / Linux and is adapted for both Windows and Mac OS X.
The program complies with the same formats as Adobe (Jpeg, gif, png, tiff etc.), and has its own extension "xcf", where pdf files or vector images can be imported.
Its main functions
Now that we have introduced you a bit to the program, we are going to explain to you what functions this tool performs and the options that you can choose when designing or working with it:
- It has a selection of all kinds of forms thanks to the selection tools (rectangular, spherical, magic wand, manual lasso etc.).
- It also has smart scissors.
- It has all kinds of painting utensils (brush, airbrush, brush, texture, fill…).
- Possible modify the scale or tilt.
- You have the provision one curing brush to rectify mistakes.
- Has tools of inclination, deformation, cloning in perspective and manipulation of texts.
- Presents some filters to change the appearance of your photos.
- It has a wide effects catalog and image treatments.
You also have the possibility of open an image, To do this, we have to start the program and we must go to File> Open. Clicking on it will show a small window with all the folders you have on your computer.
Alternatively crop an image, in this way we have to open an image first and click on the option tools (located at the top of the screen) and once we will look for the option of tools transform> trim. Choosing this option will open a window called "options" and we will click on the "fixed" box in order to be able to choose the cutout.
Finally, it is also interesting to know that you can correct colors, if, as you read, with the image cropped and open we will only have to go to the "Colors" option and once we select the option we will go to Auto> White balance
As you can see, it is a tool with which we can do everything, now that you know something more about Gimp, the time has come for the tutorial to start and we get into the situation.
Step 0: Clone Tool
Source: Raúl Perez
Have you ever heard of this tool? Well then, we are going to introduce you to it. The cloning tool is a kind of brush used to copy an image or pattern. It has many uses, one of the most important is to repair problems in areas or surfaces of a digital photograph, these e achieves painting on them with the information of the pixels (tonality) of other areas.
To use this tool and use it on an image, we have to tell Gimp which image you want to copy. This movement is done by holding down the key Ctrl and clicking on the desired source image.
It is also possible to clone from any drawing or illustration (layer, layer mask, or channel) and to any other drawing. Cloning to or from the selection mask is possible by switching to the quick mask mode.
Step 1: Activate the tool
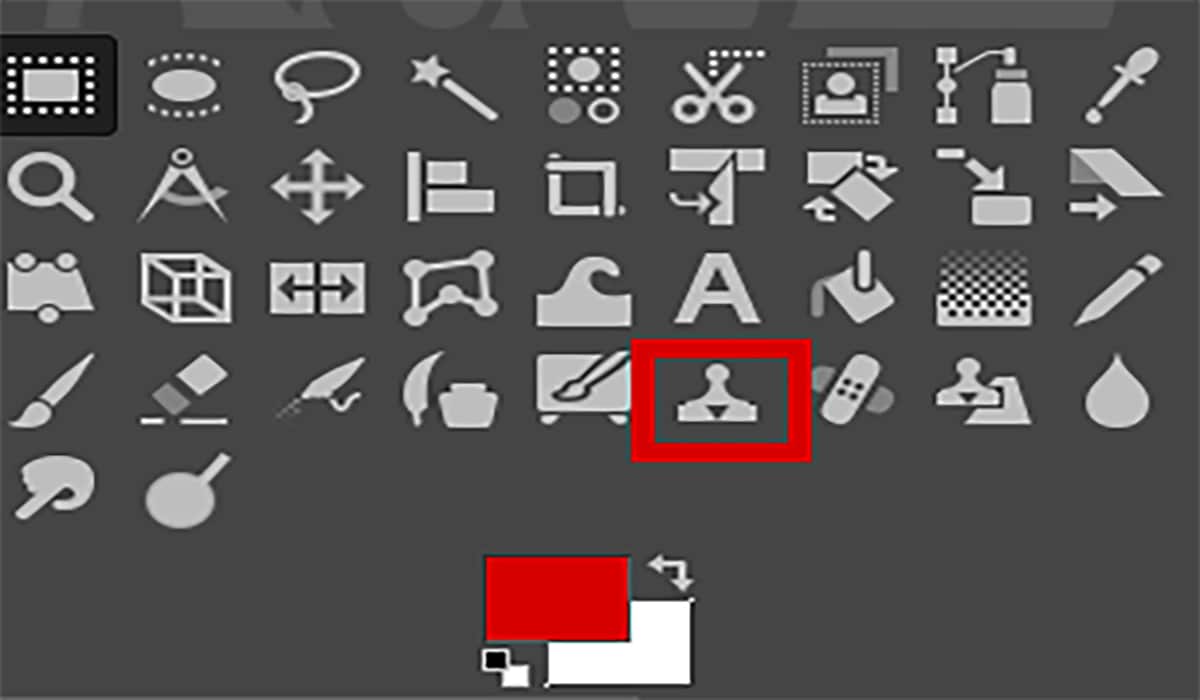
To activate the tool, we need to go to the menu and choose the option tools> paint tools> clone.
Another option is by clicking on the icon of the tool, in the toolbox
And if you want to do the procedure faster, just press the C key.
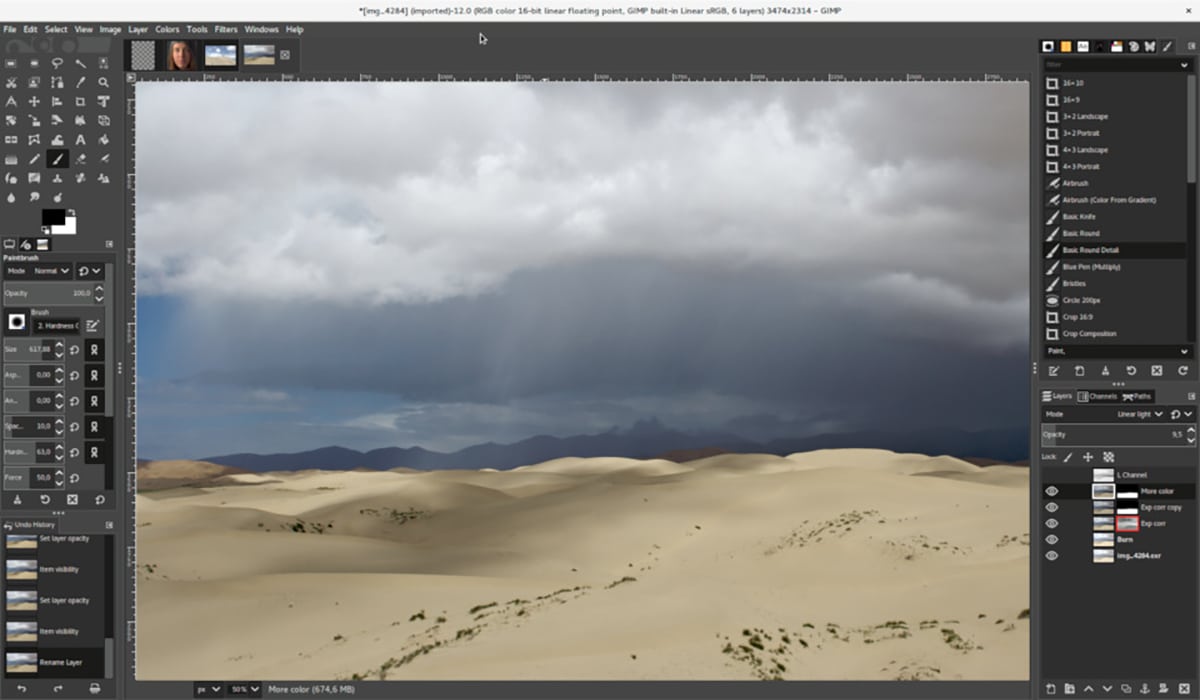
Step 2: Tool Options
Once we have activated the tool we need to work, we go on to introduce ourselves in the different options it offers. To go to these options, it is necessary to go to a sale that is attached below the toolbox. In the event that we do not have this pop-up window, we will go to the option Windows> Dockable dialogs> Tool options and the pop-up window will open.
Within all these options are:
- Mode
- Opacity
- The brush
- Size
- Aspect ratio
- Angle and spacing
- Toughness, dynamics and your options
- The force
- The Jittler
- The smooth tracing
- And fixing the brush in sight
Once we choose between all these options, we must choose between Font or alignment. If you do not know what these two options are, we will explain it to you below.
Step 3: font or alignment
Source
If we choose the source option, the data is copied through a pattern that is shown in the upper area or through one of the images that are open.
If you choose one image as the origin, we will have to tell the program which layer to use as the origin, this is achieved with the key ctrl and it must be pressed before painting with the tool.
In the option of standard, clicking on the pattern symbol brings up the pattern dialog, which you can use to select the pattern to paint with. This option is only relevant if you clone from a pattern as a source.
En combined sample it applies to what the tool sees and clones it directly. If not checked, only the tool will select the selected layer.
Alignment
The alignment mode is very curious, as it determines the relationship between the brush position and the origin position. A source image is used from where the sample was taken to clone and the destination image where the sample will be cloned, that is, (it could be a layer in the source image).
If instead you choose the mode none, each brushstroke will be treated separately. For each stroke, the point where it is first pressed is copied from the source source, that is, there is no relationship between one stroke and another. In contrast, in non-aligned mode, the different brush strokes generally collide if they intersect with each other.
Mode aligned, the first click when painting determines the offset between the source image and the cloning result, and all subsequent brush strokes will use the same offset. This way you can use as many brush strokes as you want, and they will blend smoothly with each other.
If you want to change the offset, select a new origin by clicking with the mouse and the key. Ctrl at once.
Mode registered, is different from the other alignment modes. When for example, copies of an image, a press of the command Ctrl will register a source layer. So painting on a target layer will clone each corresponding pixel (pixel with the same offset) from the source layer. It is interesting when you want to clone parts of an image from one layer to another in the same image. With each stroke of the brush, the font assumes the position of the mouse pointer on the target layer.
And finally, we have the fixed mode, this mode that allows is to paint through the source of origin, it is very different from the none and aligned mode since they differ even when drawing to a line because the object or origin does not does it move.
Conclusion
Ultimately, Gimp It is a tool that adapts very well in the case of not having a premium subscription such as Adobe Photoshop. It is a fast track if you are looking to become a design professional and you do not know how to start or you do not have enough means to start.
What is most impressive about the clone tool is that you can paint a part of an image over another part of the same image or over another part of any open document that has the same color mode after selecting it with the commands Alt + click. You can also paint part of one layer over another layer. This tool is useful for duplicating objects or removing defects from an image.
As you have seen, it is very easy to use and handle, just one click and you can enter and lose yourself among its thousands of options.
Dare to use it, just click here and start creating.