Since the arrival of the CS6 version, Adobe implemented in Photoshop a very useful option to layout and develop web designs. The operation is very easy and especially fast. Through the application we will be able to generate cascading style sheets taking as reference our shapes and text layers. The procedure is as simple as developing our mockup, copying the code version of our elements and pasting it on our sheet.
It is a very good option especially because it allows us to see the evolution of our design in visual terms and in real time. Here are some tips to use this option and get the maximum performance:
Try to be precise
To obtain a professional result, it is recommended that you take into account the measurements and proportions of your site. Set the Width and Heigh values of the template you are designing and apply them to your mockup. When you copy the CSS code we will place each element taking as reference the distance in pixels between each element and the edges of the canvas. Also take into account the sizes and the hierarchical reasons that you are going to include in your design including the alignment of each element and the spacing between each of them to provide maximum readability to your users.
The use of guides and the rules of the interface will help you build a neat and clean template with all its elements perfectly aligned.
Configure all the characteristics of each element
The option to copy the CSS code gives us the possibility to design our site with great precision from the use of form and text layers. The content of each layer will be copied to the Clipboard and we can quickly paste it into our style sheet. From the shape layers, capture the values for the following settings:
- Size
- Position
- Stroke color
- Fill color (including gradients)
- Drop shadow
From the text layers we can capture the following values:
- Font family
- Font size
- Font thickness
- Line height
- Underlined
- Strikethrough
- Superscript
- Subscript
- Text alignment
Keep that in mind and set each of these values to provide the style you are looking for.
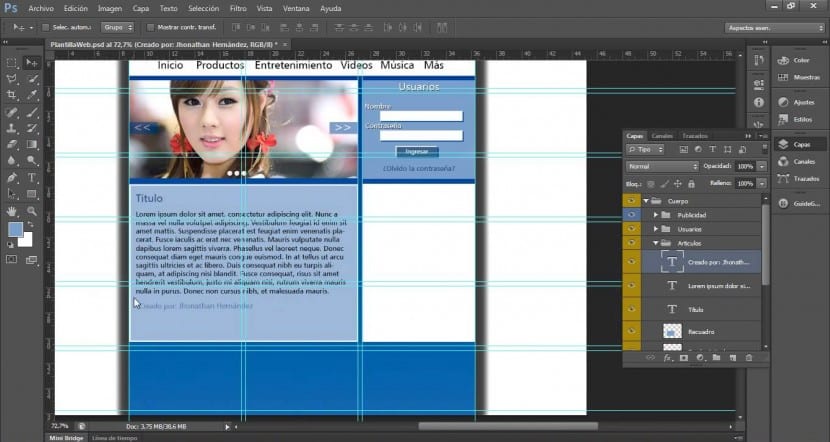
Work with layer groups
This function translates our work organized by two types of class, one for each group that brings together layers of shapes or text and a class for each layer of one of these types. Each group class will represent a parent div element that will contain child div elements that will correspond to the layers inserted in each group. In this way, the top and left values of the child containers will be set with reference to the parent container. You must bear in mind that this option is not available with smart objects and it will not be applicable to more than one layer simultaneously unless they are grouped.
Steps to convert
Once you have made your mockup, you have customized each element and you have grouped them by groups, you will only have to follow these steps:
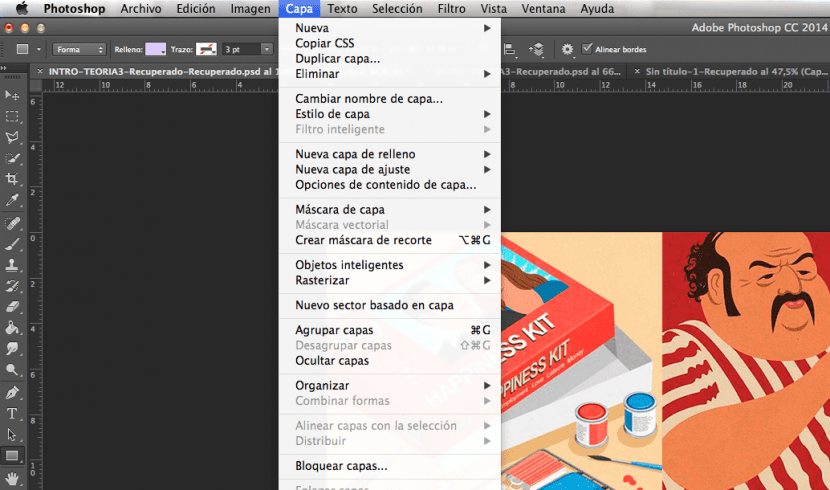
- Go to the layers panel and choose one of these two options:
- Right-click on a shape or text layer or a group of layers and choose Copy CSS in the context menu.
- Select a shapes or text layer or a group of layers, then choose the option Copy CSS in the Layers panel menu.
-
Paste the code into your stylesheet document and apply it to your pages via html5.