![]()
There are several very useful strategies for creating a three-color logo from a photo. This is especially interesting for all those designers who are not very skilled in drawing and want to use animals or any other image with a certain degree of complexity or realism.
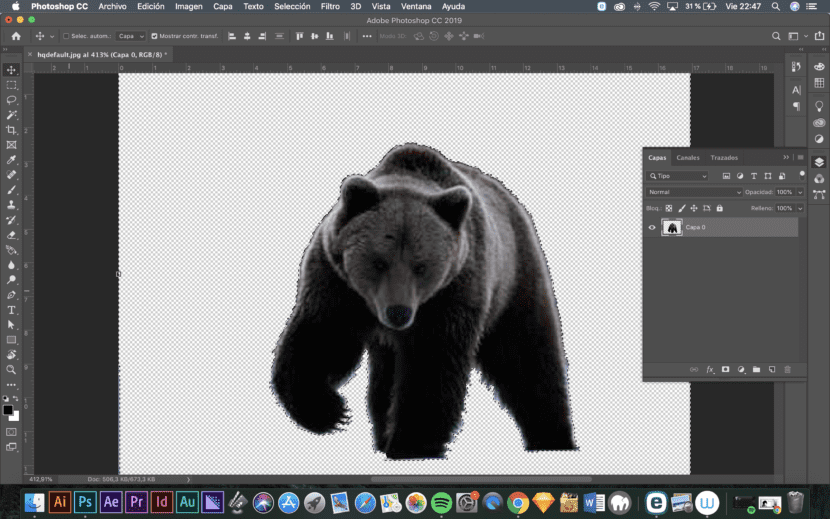
We are going to use a photo of a bear to create our logo, but any other figure can be used. And the first thing we are going to do is erase the background with Photoshop. To do this, you just have to select the background with the preferred selection tools (lasso, magic wand, etc.) and press Sup.
Next you have to desaturate the layer by pressing Command / Ctrl + Alt + U and duplicate the layer with the image twice.
Now, with one of the layers selected, you have to go to Image / Adjustments / Threshold and modify the threshold to get a layer with most of the image in white and only some outlines in black.
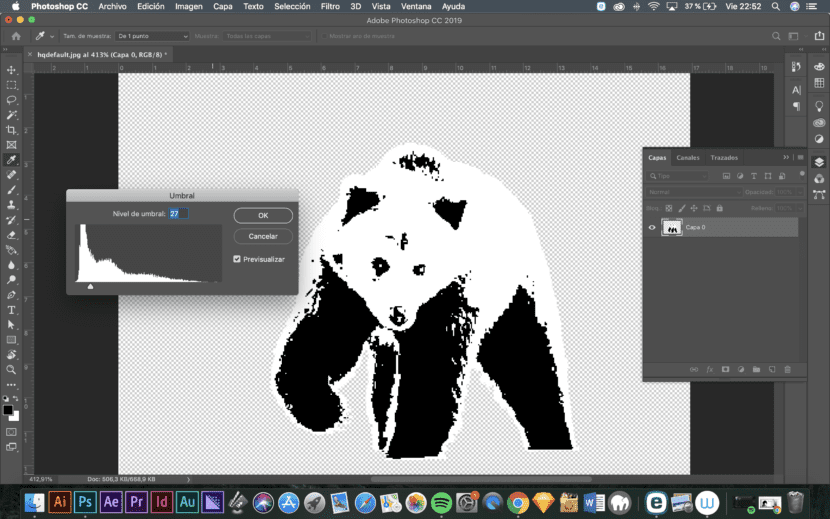
Then you have to repeat the process with the second and third layers but reducing the white space in each of them.
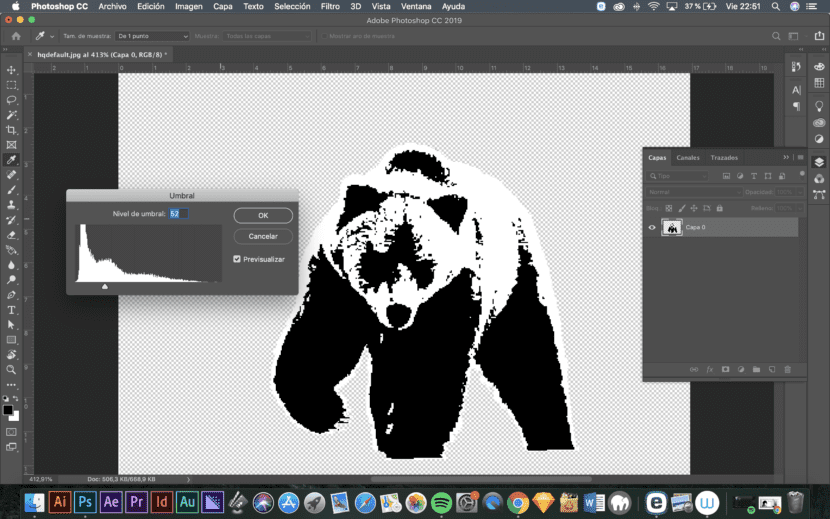
The third image should have only a few white outlines.

Once this is done, the three images must be saved in different files with the transparent background that we will then import into Illustrator. Since File / Place we will put the three images in an Illustrator file being careful to place them exactly on top of each other so that the figure matches. Place the images with less white space in the figure on top of those with less black space.
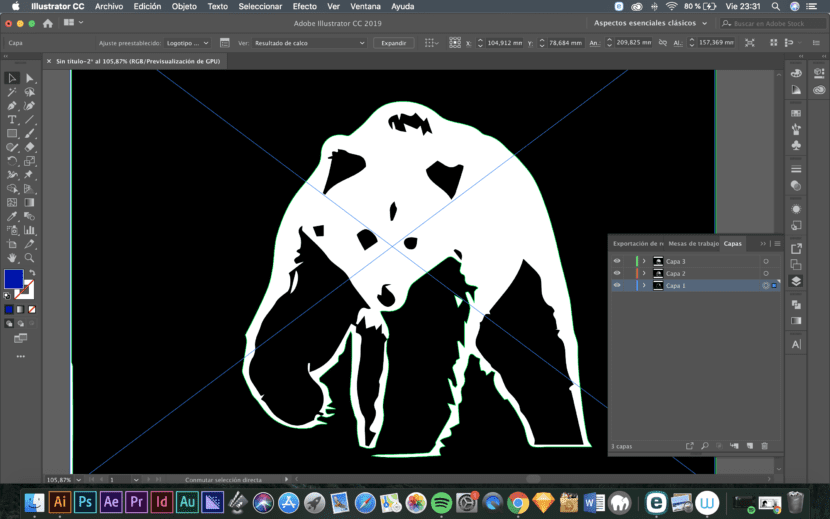
Once placed, you have to go to the top menu that will appear when you select the image to Image tracing as in the next photo. What type of tracing should be done depends on the type of image you are using. The best thing is to simply test until you see the one that gives the best result.
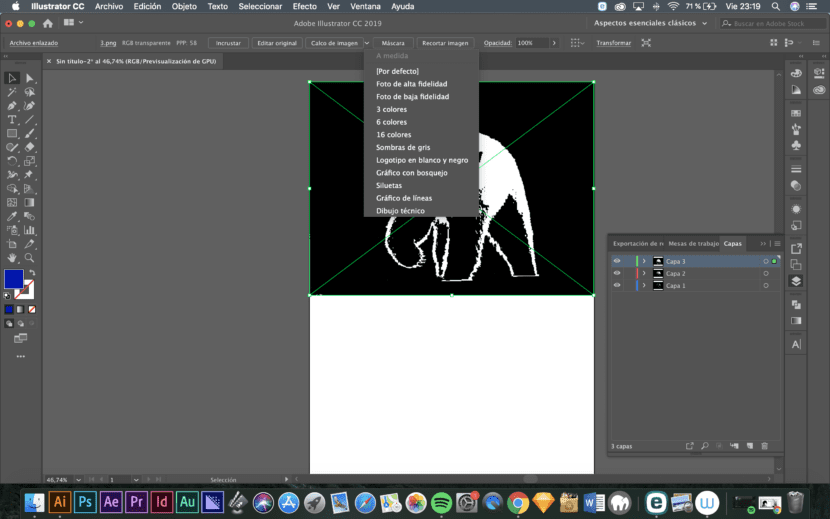
Once the image tracing is done, you have to Expand, from the top menu. This way everything will be editable.
This method is very fast and gives you a vector version of the image that you can then retouch as you want. Although the first thing to do is always give the 3 images 3 different colors as can be seen in the following grayscale photo.
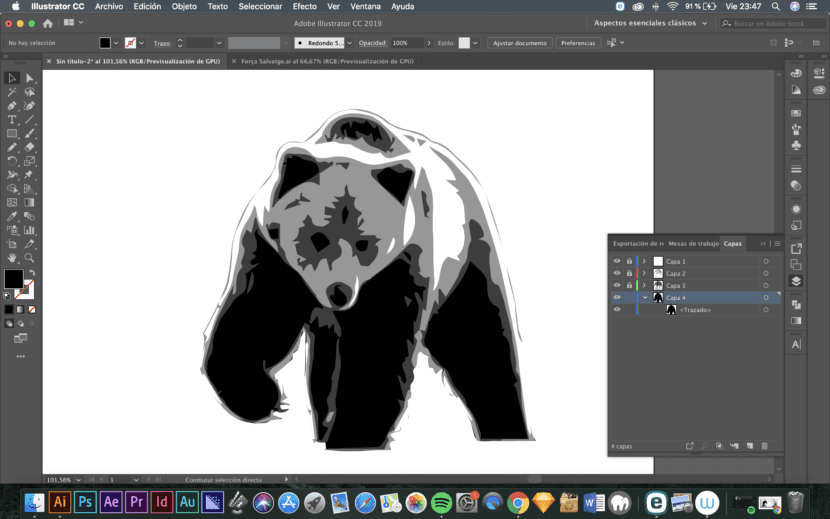
Once the result is retouched, we already have a vectorized logo that we can use for any project.
![]()
It is more of an isotype. Thanks for sharing.