
Source: Photoshop
Textures are one of the elements that have always been part of a good design. They not only serve to decorate or transform a design into something more aesthetic, but they also fulfill different functions. And it is not that they are difficult to create or design, since currently, we have thousands and thousands of programs that help us process your designs quickly and easily.
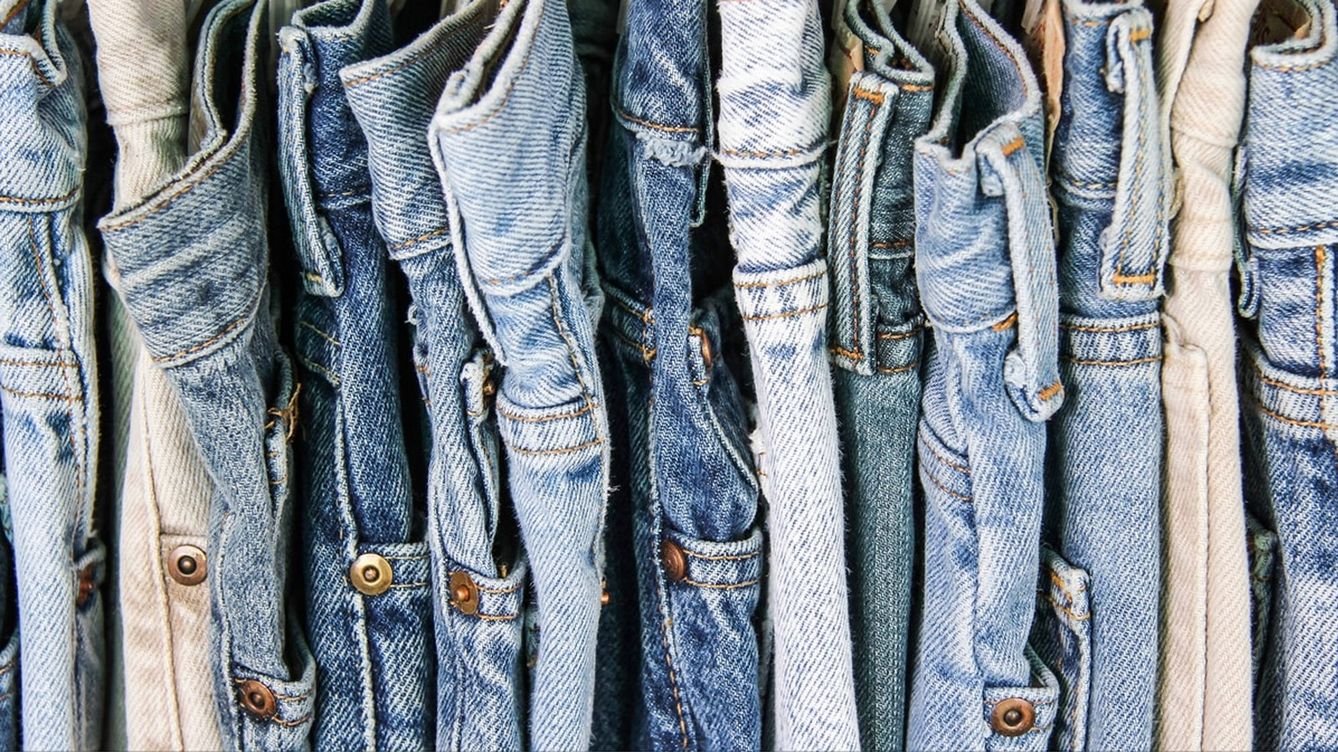
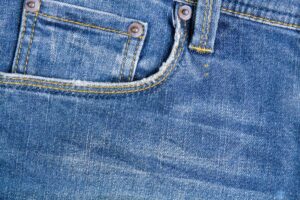
In this post, we bring you something more creative or artistic with which you can practice and use in your designs., since we are going to explain how to make a denim texture in Photoshop, just as we see it on our clothes or in the stores we visit.
It is a texture that attracts attention, due to the material with which it is designed, since it is a very peculiar texture in the world of fashion. And since we don't want to make you wait any longer, then We are going to comment on some aspects or characteristics that Photoshop has, a program that has become the top 10 in the list of the best graphic design or image retouching programs.
Photoshop: advantages and disadvantages
Source: Radio Sucre
Photoshop is a program that is part of Adobe, and that fulfills the main function of retouching or editing images. It is a program that complies with a license or subscription, since it shares space with other programs such as Illustrator or InDesign, where its functions go hand in hand with graphic design.
It is a very easy-to-use program and has some tools that will help you create your designs quickly and easily. Photoshop is currently the most used program by thousands and thousands of photographers and designers. Therefore, it should be noted that it has a basic tutorial where it will guide you through its entire interface, with the aim of making it as easy as possible for you to navigate through the program.
Advantages of Photoshop
Basic functions
- It is a tool very useful for editing or retouching images. You can also make photomontages or collages, where you can apply your most artistic and creative side.
- In a program that, as we have mentioned, it is paid, but it contains a free trial of up to one month where you can navigate and design with all the tools available to you.
- Not only does it have the ability to retouch, but It also has an interactive part, where you can design and create presentations or GIFS. Later, the program itself allows you to export these designs in MP4 format, an alternative that greatly favors its functionality.
Functionality
- It is a program that is available on any operating system, whether you use Windows or IOS, you can design without any problem. In addition, the program itself has enabled a series of mobile applications, where you can use Photoshop from your device and thus retouch the image.
- The interface it develops is quite comfortable, so you won't have any problems navigating through it, you have on the one hand the layers, which is the area where each part of your design is located and where you can order them according to your work methodology, you can even name them and create folders for them. introduce them. On the other hand, you have a top bar with some more options, related to the image, the export of your designs, the color or size adjustments of your image, etc.
development and updates
- It is a program that, over time, has developed many updates and new versions, which is why it is considered a program with a lot of up-to-date technology, and where you can use a wide variety of resources. With Photoshop you will have no problem daring to create new things or invent them.
- Photoshop It is also dedicated to the design of mockups, so we can work and design this type of designs, through intelligent objects. In other words, it has other tools that allow us to open new doors, and with which we can investigate and work in a much broader way. So it is important that when you master it a little more, go further.
Disadvantages of Photoshop
Versions
- Photoshop is paid and you have up to a month to try it for free or with the trial version, but to date, se has proven to be one of the most expensive programs on the market. Although it is true that a lot of money is usually invested in this program since it is the most suitable and optimal for designing, so users never rule it out, and you will always see it installed on any device, long before other programs related to it. photo retouching and editing, is a unique program.
Levels
- Although we have previously specified that it is an easy-to-use program, requires some prior knowledge For this reason, it is important that if you are going to use this program for the first time, you first inform yourself in some tutorials about this program and its different functions, since at first glance to a person who is completely unaware of this program, it may seem like a completely different world. different and very difficult to handle. For it, We recommend that you visit some YouTube video tutorials or if you are more of a reader, investigate some simple books to introduce you fully into the program little by little.
- It is a program that is constantly updating, and renewing itself, therefore, every time you use this program there may be something different in its interface or in the way it works. Sometimes users agree to such updates, but unfortunately there are other times when this is not the case. The important thing is that each element that you have is always in the same place as always, but other aspects can change that affect it in different ways.
Storage
- It is a program that occupies a large space on our computer, Therefore, the most recommended is that use a device that has a large storage, since many times we work with images or elements that weigh a lot and we don't realize it until we notice it in the performance of the PC.
Tutorial: How to Design a Denim Texture in Photoshop
Source: The Confidential
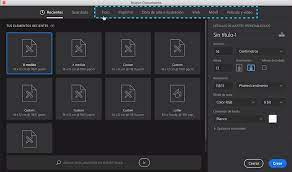
Step 1: Create new document
Source: GFC Global
- The first thing we are going to do is create a new document, for this, we will use measures of 30 x 30 cm, We will leave the resolution at 150 dpi, we will balance the color profile and adjust it in RGB (we will only work on screen) at 8 bits and the background of our work table will be white.
- Once we have adjusted those parameters, the next thing we will do is create a new layer, we will fill this layers of a percentage that oscillates between 50 and 60% gray, We achieve this if we press the Shift + Del keys, in this way we will be shown the window that we want to obtain, which in this case, will be the one to fill.
Step 2: Configure windows
Source: Envato Elements
- As we have commented above the content will be 50% gray and the blend mode will be set to a normal mode with opacity at 100%.
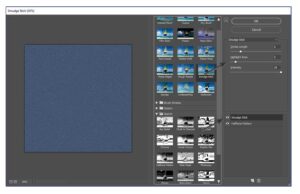
- Next, we will apply what will be the first filters of all those that come. To do this, we will go to the top bar of the interface, and choose the image option and then we go to filter gallery.
- When we have agreed, we just have to choose model option semitones in the option that is named as Sketch.
- Once we have obtained the above, we will go to filters, después pixelate and finally to Recorded.
- Once we have the previous process done, we will only have to duplicate the layer, for this, we will rotate it and scale what will be the upper layer.
- If we already have the layers ready, we apply a filter, and We'll blur it with him Gaussian approach. We'll just apply the blend mode called multiply to layer 1, and then apply a soft light to it.
Step 3: Create new layer
- For the next step, we will create a new layer and with the lasso tool, we will select from a figure that contains a shape.
- We will have to fill this selection later with a percentage of gray that occupy 50%In addition, later, we will apply a strong light.
- Once we have these steps, we'll shade it and create a kind of drop shadow on its outside. When we have already made the shadow, Next, we will apply a bevel and a relief.
Step 4: Create Seams
- To create some seams we are going to use the finest brush we have. We will create a new layer y with the pen tool, we will draw what will be the route of the seam.
- Once we have the route done, we will apply a lighter shade, like a beige guy.
Step 5: Apply a Wear and You're Done
Source: Depositphotos
- To apply an attrition, We will select layer 1 and apply a overexposure and then we will apply what would be the label of the pants.
- For the label we just have to find an original on the internet, pass the image through Photoshop and convert it to a PNG.
- Once we have the PNG, we just have to apply it on our texture so that it is as realistic as possible and ready, you already have your denim texture designed and ready.