
Source: Themelocal
The tools and graphic design have helped to improve and in this way, to be able to provide a series of activities that can be fulfilled and carried out, thanks to the different tools available to them.
This is the case of Photoshop, a tool that has managed to project endless possibilities in the minds of artists and designers, where activities and projects can be carried out in a much more professional way.
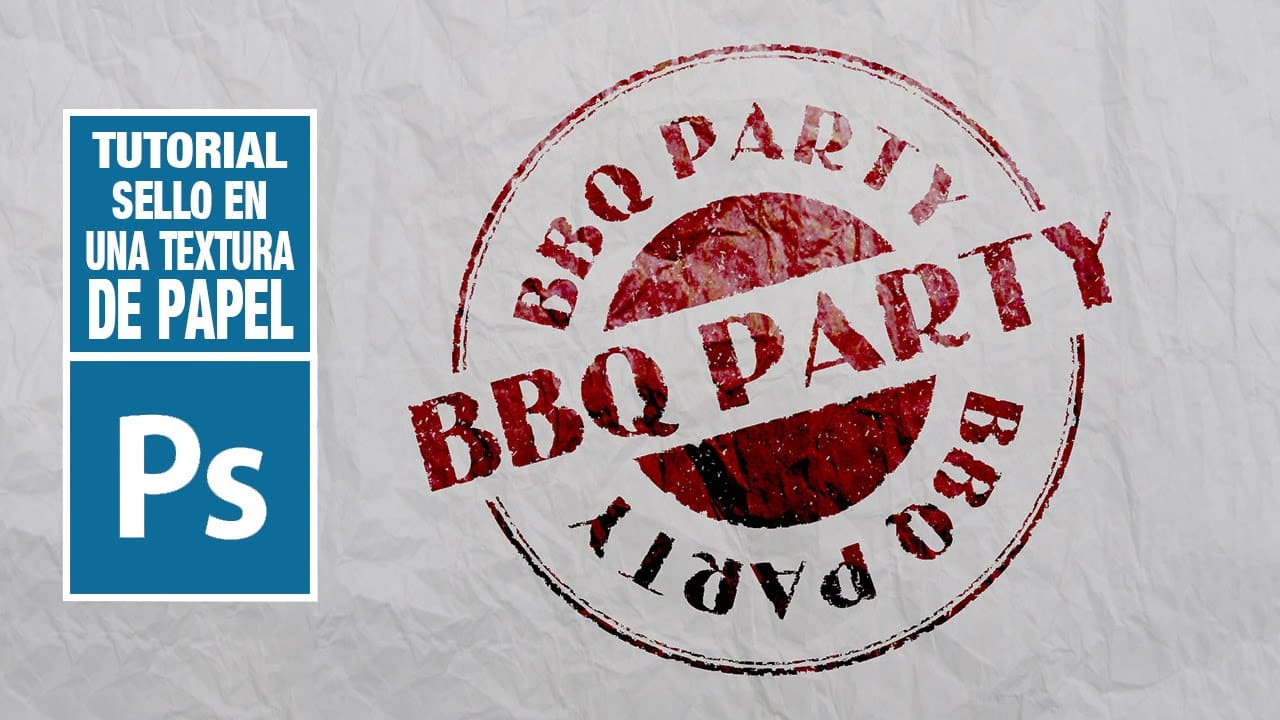
For this reason, in this post, we have come to talk to you again about Photoshop. In this case, we have also provided a small tutorial where you will learn how to make a realistic stamp effect.
Photoshop: Advantages

Source: Adobe
What is
Photoshop is one of the tools that are part of Adobe. It is a program for graphic design or photography, since it not only allows us to retouch and edit images, or create incredible photomontages, but rather, we can also be part of many of its tools, which help us to satisfy our project needs.
Layers
Like any tool, is a program designed to work with layers, layers are a good way to better organize our work, so we can always edit and name them as we please, so that nothing is lost during the process.
Interactivity
Photoshop also has an interactive part in the program, and thanks to it, we can not only create impressive presentations through slides, but also, we have access to be able to create interactive content, such as the interface of a mobile application, through buttons and direct links that Photoshop provides to the user, so that they can navigate as they please.
Without a doubt, it is one of the best features that this program has in terms of interactivity and social networks.
Format
We can also modify the format of our work table or file, that is, if we want to work for social networks or online, we just have to choose the measurements of the different devices that Photoshop offers us, In this way, we have available the possibility of working both for web and mobile.
Tools
Among its tools, Photoshop places great emphasis on the possibility of adjusting images and preparing them for printing, or for projection on the screen. You can find infinite forms of printing and infinite color profiles and adjustments for a correct finish. A good option so that everything goes as you expect.
Last but not least, with Photoshop, we have access to a whole wide folder of fonts. For example, we have available all kinds of styles and families, how are serif or sans serif fonts, handwritten, decorative or even downloaded online and recently added to the folder.
With this incredible possibility or option, you will be able to design posters and magazine covers with excellent fonts, in addition, you can also adjust both the color and the size in pt of the characters from the same text menu. A new way to design at will and without ties.
How to Create a Stamp Effect in Photoshop
Source: YouTube
Step 1:
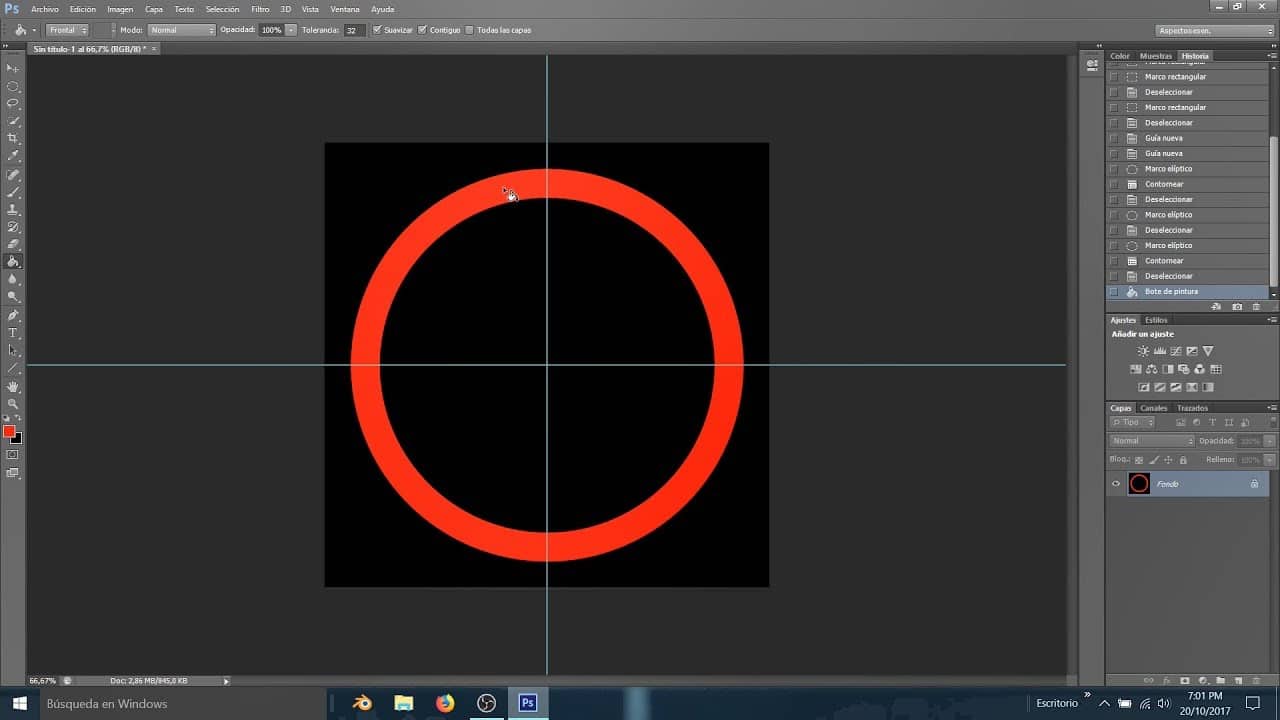
Fuente: YouTube
- The first thing we're going to do is create an artboard, and yesthen add a black circle with the circle tool. Hold the SHIFT key to create a perfect shape.
- When we have the circle drawn, we will name the layer with the name of circle.
- Once the circle is placed, we will duplicate our layer, we will do it one two or three times, and we will name the other layers as C1, c2, C3 and C4.
- We'll put a Fill adjustment on our shape 1 and lower it to 0%, we'll also add a Stroke of about 8 px and black.
Step 2:
- For circle 2 we will scale the shape and click on the small box that says Lock aspect ratio. Next, we will apply a scale of 90%.
- We will also add a fill but this time 4 px and black, similar to the first.
- For circle 3, we will do the same step as step 1 but this time we will scale it to 75%. We will give it a 0% Fill and this time, the Stroke will be 6 px.
- We will do the same with circle 4.
Step 3:
- We will apply the circular shapes that already come with the program. For this we will go to Edit > Preset Manager and in this way, we will click on Preset Type > Custom Shapes.
- Then we will access the button load to select the CSH file.
- It would only be necessary to adjust the front color of our stamp and that's it, you would already have your stamp or stamp texture prepared and designed to be used in any form.
- You can also add an image or icon in the central area, So that in this way, it seems much more realistic, as we could see in the traditional American stamp, or in any stamp.