
You have found the perfect image for your project, but when you place it in the design you realize that you need more depth, that is, to expand floors and walls. Now what? Should you give up that photograph? The answer is no". Photoshop is the solution to your problem.
Learn to fake on the ground with Photoshop using the correct tools to not lose depth and above all, respecting the vanishing points, the original perspective of your image.
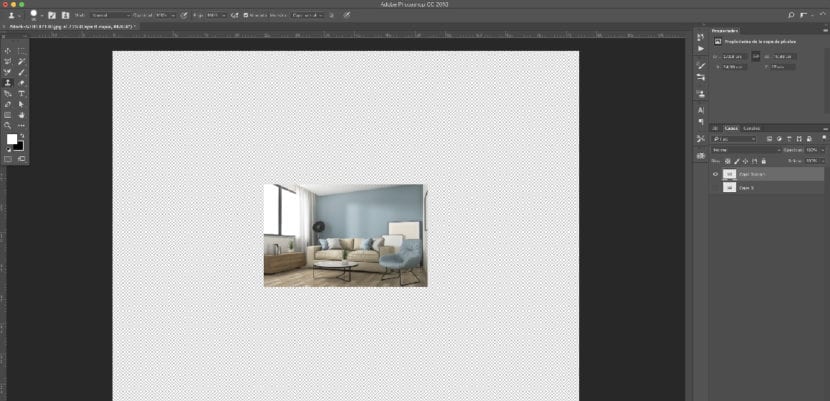
Prepare the document in Photoshop
Select the image you want to resize and open it with Photoshop. We recommend that you previously visualize, within the assembly that we want to make, the space that we need to increase so as not to work too much.
Must increase canvas work since we want to enlarge the image, therefore, we will need editing margin. To make the canvas larger, we must follow the following route:
- Image - Canvas size
In addition, it is very useful to duplicate the original image, to keep it in reserve in case we need it. While we work, as it is as a precaution, we hide it.
Frame description: Vanishing point
To use this tool we will access through the path:
- Filter - Vanishing point
First of all, we will make a brief explanation of the buttons that we will find ourselves in the new window that will appear.

A. Vanishing point menu B. Options C. Tool box D. Vanishing point session preview
Create the blueprint of our perspective
The first step is to create the plane, that is, mark the perspective that our image has. For this we will use the tool that we find on the side (section C).
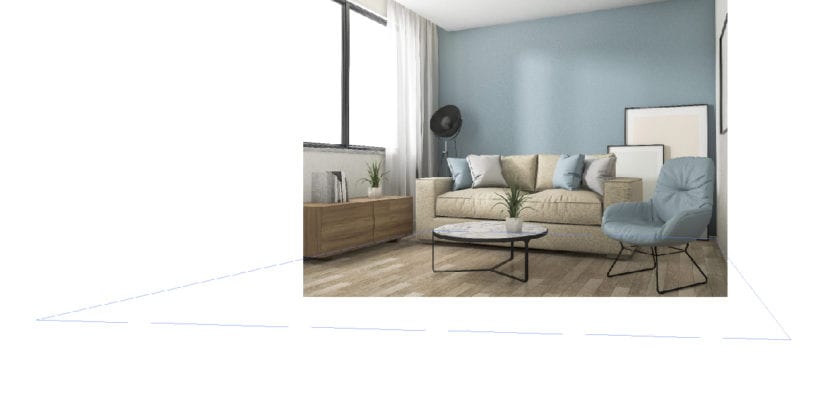
With this tool you will have to mark the points to create the correct vanishing points with which Photoshop will work. One trick is to guide yourself with the lines and corners of the image itself.
Buffer tool
With the buffer tool, as we use it in the general toolbar, we will use it to delicately duplicate the floor or walls that we want. You have to go with a lot of care that the lines fit together so that the result is the best possible. Remember that it takes a lot of patience.

Try to use this tool with the basic steps that we have shown you, you will really learn to use it with practice. Don't be discouraged if the first time you don't get the expected result.