
if what you are looking for your next design project is to know how to draw a skull in illustrator, do not move from here for today we are going to explain it to you. In this post, we are going to tell you step by step how to create a skull illustration from scratch.
This kind of illustrations they are very popular in posters with a dark theme, rock or punk CD covers, t-shirt designs, accessories, horror book covers, in tattoos, etc.
Prepare your drawing materials, open a new document in Illustrator and let's get started with this quick and easy tutorial, with which you will get a unique and personalized skull design.
How to draw a skull; sketches
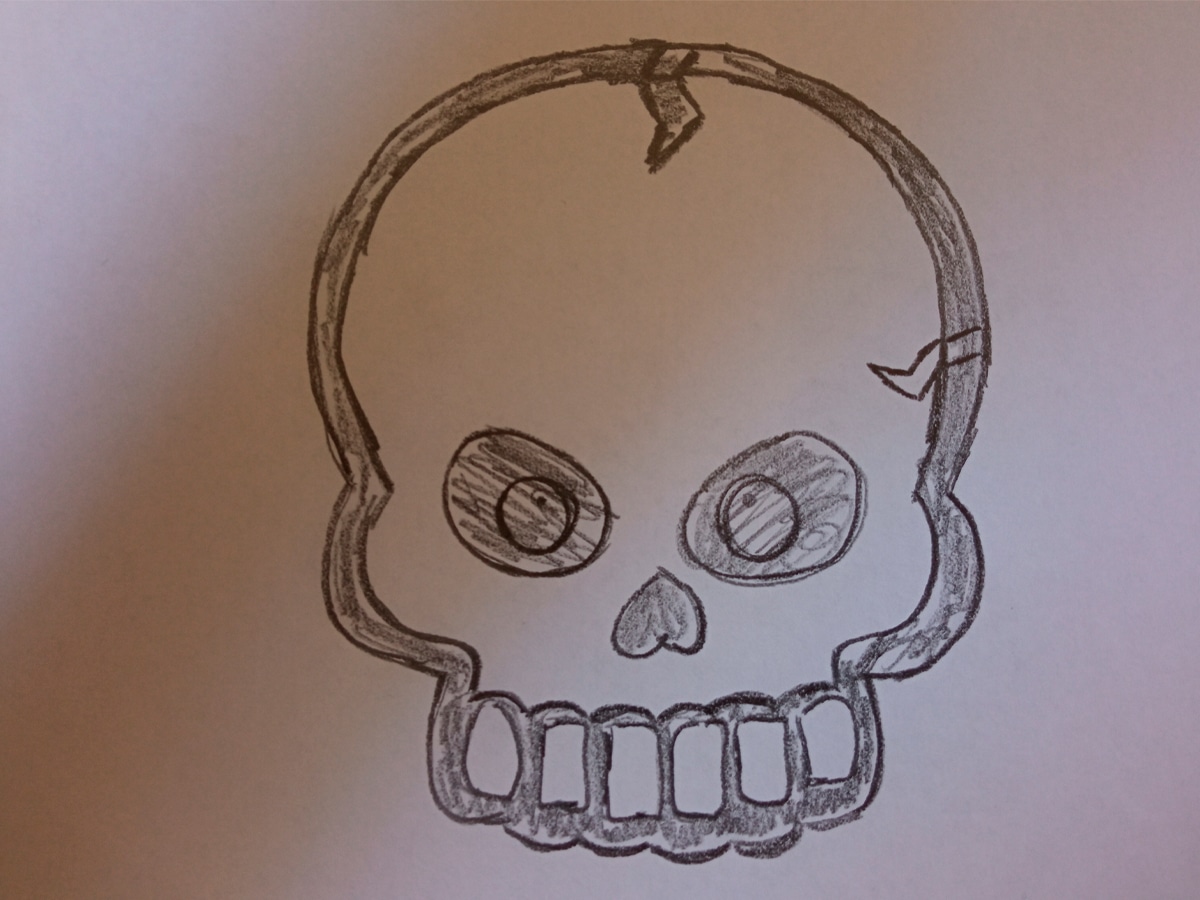
The first step we must do to design our skull in Illustrator is to draw it. That is to say, we will take a pencil, a piece of paper and an eraser and we will begin to sketch. It doesn't have to be perfect, the design is free, you can make it more realistic or cartoon style.
Whether you choose one style or another, the process is the same, the only thing that will change will be the number of paths and details of each one. In our case, we are going to design a skull with a style closer to the cartoon that we can use for Halloween.
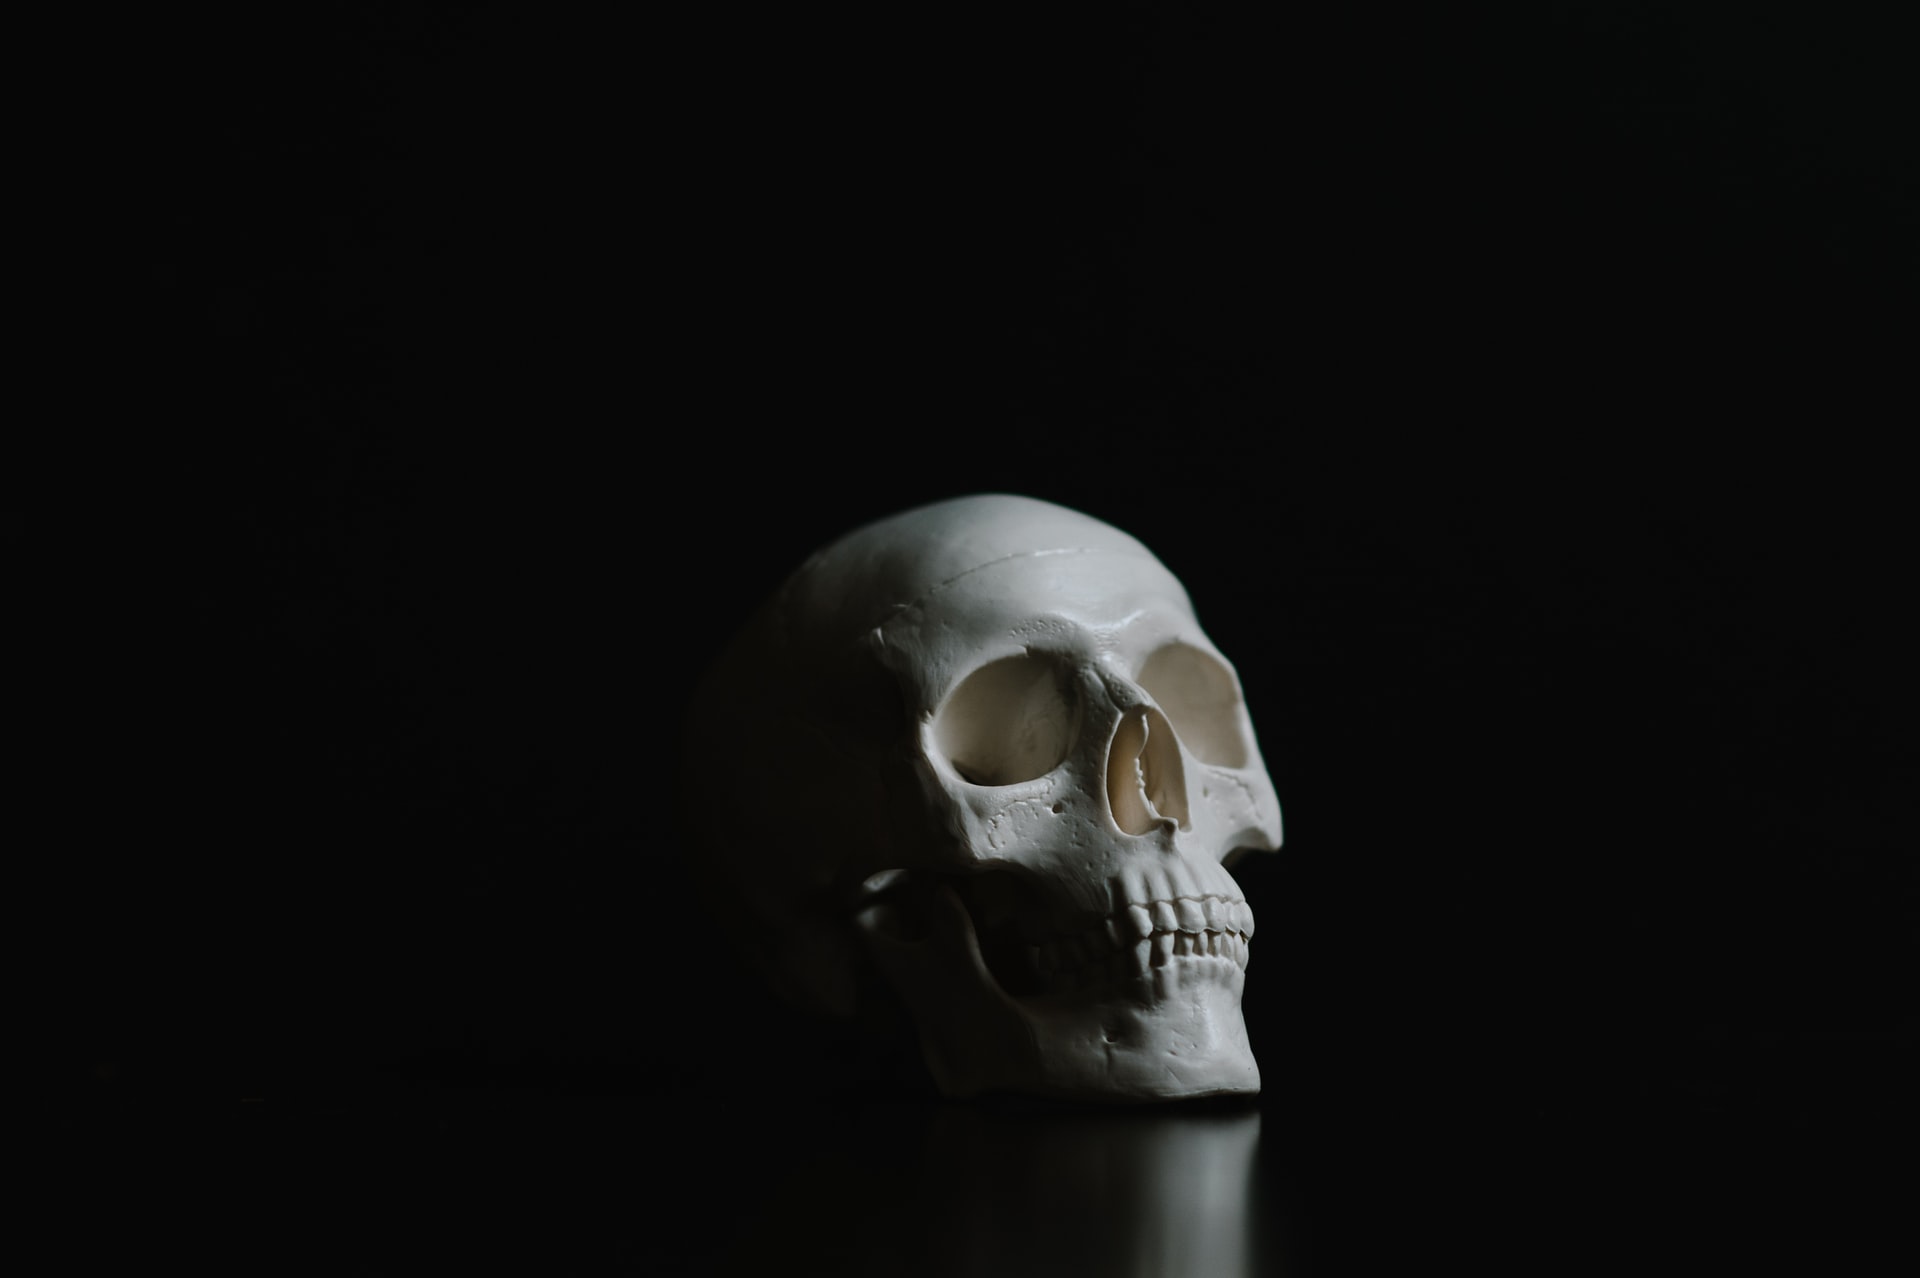
Firstly, we will look for reference on illustrations and images of skulls in order to visualize the shapes and details from each of them. Once a few references have been selected, we will proceed to start the sketching process.
As we said, the drawing does not have to be perfect since when we go to the design process in the program we can tweak and add more details.
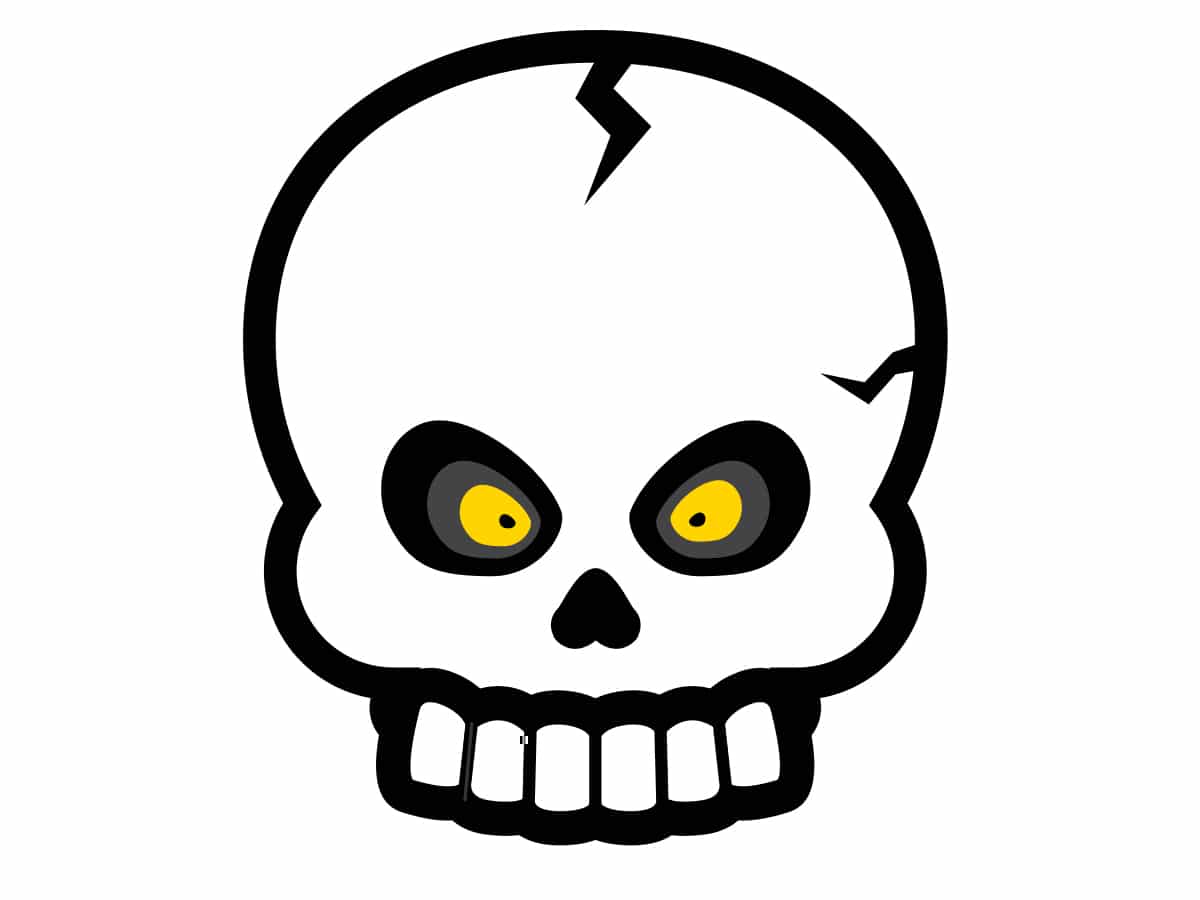
Our skull will respect its original shape, but we are going to add some details to make it meet our goal of cartoon style. As you will see in the next section, we have added a few break lines, some big eyes and curved shapes that help to fulfill that animated style.
How to draw a skull in Illustrator
Once we have our drawing, we must scan it or take a photo to add it to the background of our document in the design program. When we have the skull scanned, we will open a new document in Illustrator.
The measurements of the document in our case are 800×800 pixels, Depending on the purpose of the skull, the document you are working on will have some stockings or others.
The next step we must take is to add or place the skull file in the background of our document. When we already have this file placed, we we will block to be able to work on it without any problem.

We will place ourselves on the pop-up toolbar that appears on the left side of the screen, and we will select the pen tool. With this tool, we will add anchor points and draw the outline of our skull.
When the outline of our drawing is finished, we will go to the color boxes on the toolbar and we will select color in the outline. We advise you to select a black color with a generous trace size. In the denture area, we have added the white fill color to better visualize how the pieces were left.
Next, we'll go to the layers window and the layer where we have drawn the outline we will block it so as not to work on it and modify it. Next, we will add a new layer and start drawing the eyes and nose of our skull.
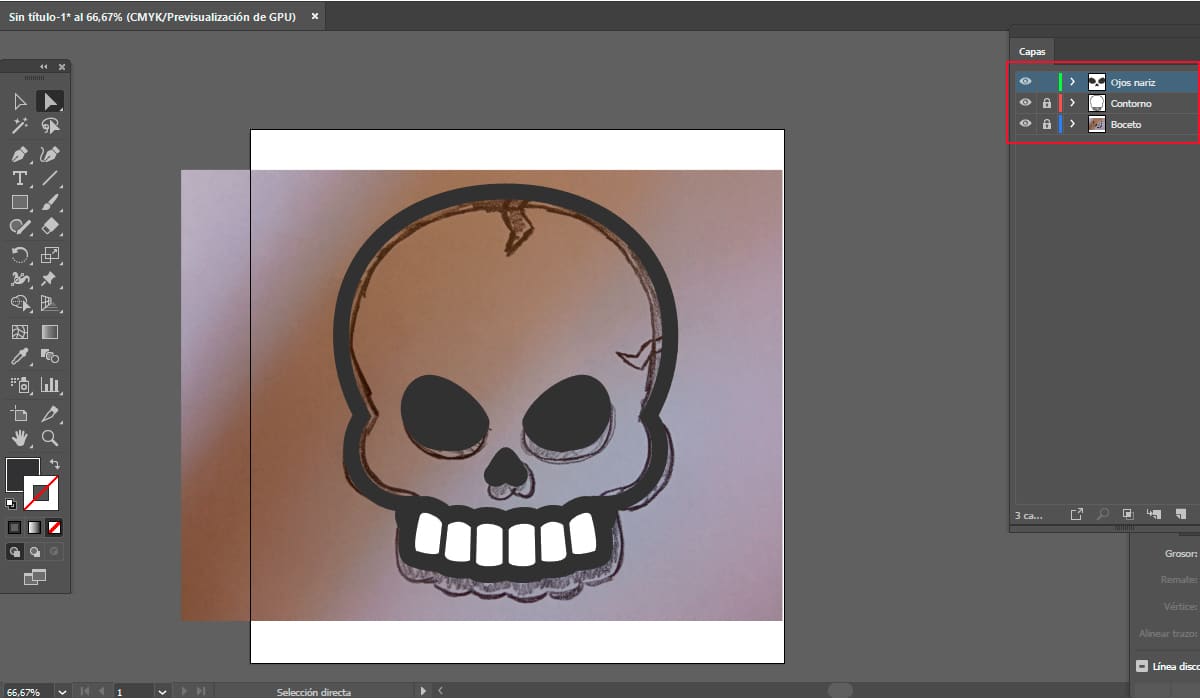
To make the eyes, we have two options, one of them is to do it with the pen or simply by selecting the shapes tool and looking for the circle option. As you can see, our illustration has different parts; the eye socket, the eye, and the pupil, so for each of these, a new shape is needed.
In this case, we are going to work with the fill color on and the outline off. For the eye socket we will make the shape by adding a black fill color. For the eye, we will repeat this same shape and add the desired color, in our case a yellow, and for the pupil we will repeat this process again.
If you want to add more detail to the eyes, you can add a new small sized shape to the top right of the pupil to create a light effect.
In the case of the nose, we will select the arrow tool again and follow the heart shape that we have in our sketch. When we finish with the pen, we select the shape and add a black fill color to it.
We only have left, add the decorative elements of the upper cracks of the skull. To do this, as in the previous cases, we add a new layer and work on it. With the pen tool, we will outline the shape of these cracks that add character to the illustration.
finalizing details
As you can see in the previous image, we are working on different layers; the one of the sketch, the one of the outline, eyes and nose and, finally, the one of the details of cracks. We already have all our design elements to create the animated skull.
To start finalizing details, the first step we advise you to take is to unlock the sketch and outline layer. The next step is delete the sketch layer and hover over the layer containing the outline of the skull and hides the rest.
If you see that in some outlined way it has not been as you were looking for, thanks to working with vectors and anchor points we can modify it whenever we want. Not only can we modify, but also forms or details that we see necessary can be added.
We already have how we want the shape of the skull, like this we proceed to add the thickness size of the contour that we want, as well as the color of said outline and fill. In this image, as you can see our outline is black and the fill is white.
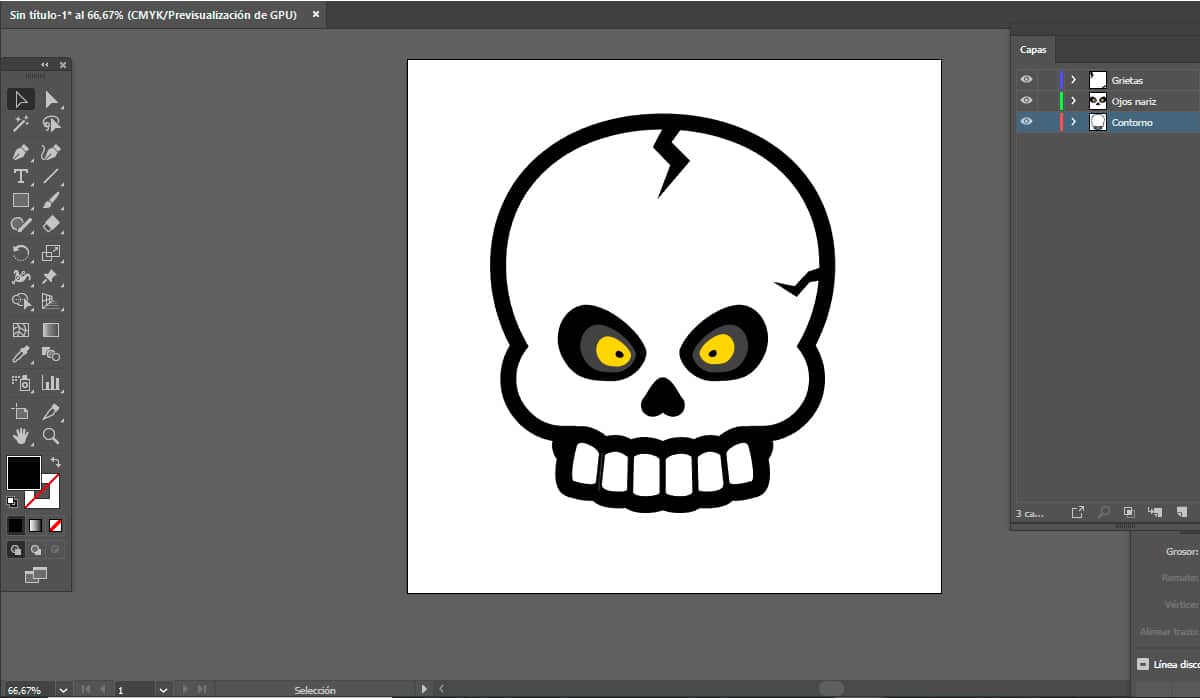
The next step is unlock and reveal the layers containing both the eyes and nose, as well as the cracks in the skull. As in the previous step, we will finalize details and retouch what we see that we do not like the result.
Only It remains to add the colors that work best for each one in their design and save work in both vector and bitmap formats.
It is not a complicated process as you have seen to draw a skull in Illustrator. You just have to be patient when working with the pen tool until you get the desired design.