
Source: Design Center
Drawing is available to everyone every day, thanks to new inventions and the development of applications and tools that make work easier. Previously, we only had a simple paper and a pencil or pen to draw, we could not digitize everything we designed.
But over time, tools like Procreate came along, capable of enhancing our manual capacity in drawing and also capable of designing as we please, without having to leave anything behind.
It is for this reason that in this post, we bring you a new section of Procreate, the drawing tool that has become so fashionable in recent years. We will tell you about it, and in addition, we will show you a brief tutorial where we will explain how to draw, especially tree-like shapes.
Feel like?
Procreate: functions and features
Source: Digital Arts
To better understand this section, it is important that you take into account what Procreate is. To do this, we are going to quickly review a small introduction to the program. Take a piece of paper and a pen and take note of what we are going to tell you, since it will be quite interesting for you and it will be your best friend in design.
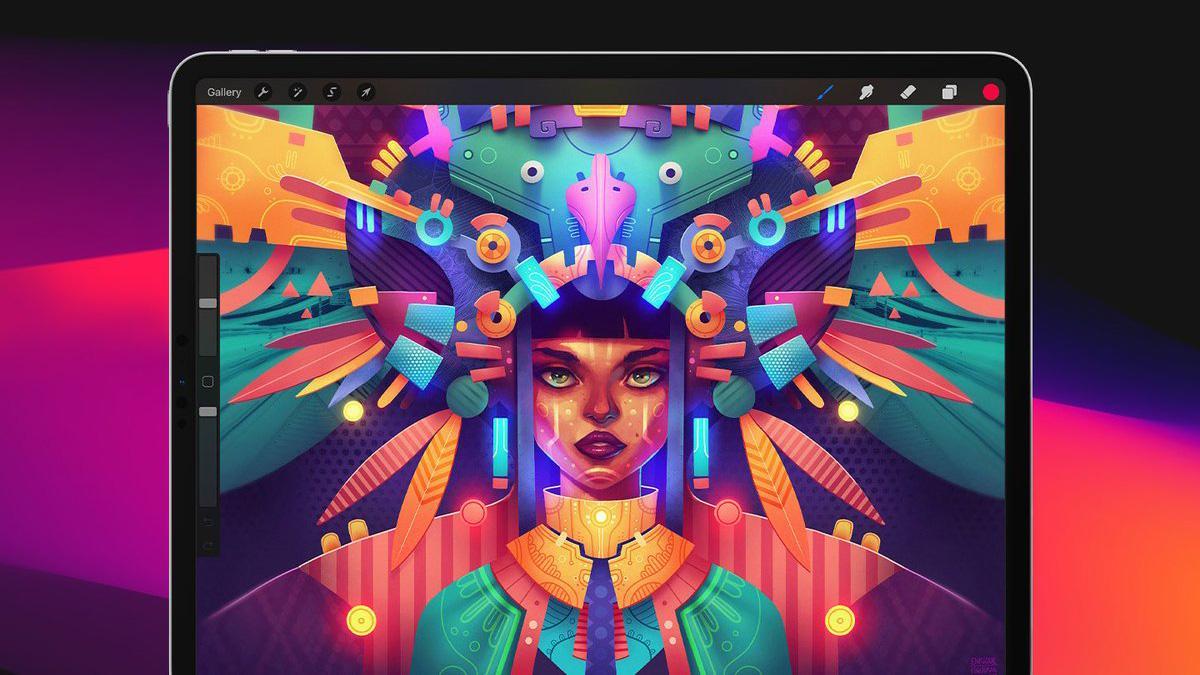
Procreate is defined as one of the drawing programs or tools par excellence. It was developed for Savage Interactive and was created in the year 2011. During this time, Procreate has become a tool widely used by both artists and designers, emphasizing the use of its most used and useful elements or tools such as brushes, colors and other tools that help you execute your drawings professionally.
It is a tool designed to be used on devices such as IPad, since it has exact sizes and because of the quality it offers in the image.
General characteristics
- Just like with tools like Photoshop, in Procreate you work with layers. Layers help you distribute all the actions you perform during the drawing. For example, you can organize each stroke you use, or each element from shadows to shapes, in each of the layers that you can create. These layers will not only help you organize your project and know where each element is at all times, but they are also part of the program's system, and they are an essential resource to be able to develop or design correctly.
- It has a wide range of brushes and erasers. The brushes will help you at all times to better develop everything you illustrate. In addition, you also have the option to download hundreds of free brushes from many websites and install them quickly in Procreate. You no longer have an excuse not to draw.
- It also has a assisted animation part, is like a small interactive part of the program itself, where you will be able to draw quickly and give life to your drawings and visualize them.
- Color is also highlighted as the main tool of this program, where you can find different ranges, from the coldest to the warmest.
Tutorial: How to Draw a Tree in Procreate

Fuente: YouTube
Step 1: Create the canvas
Source: Tech Tutorials
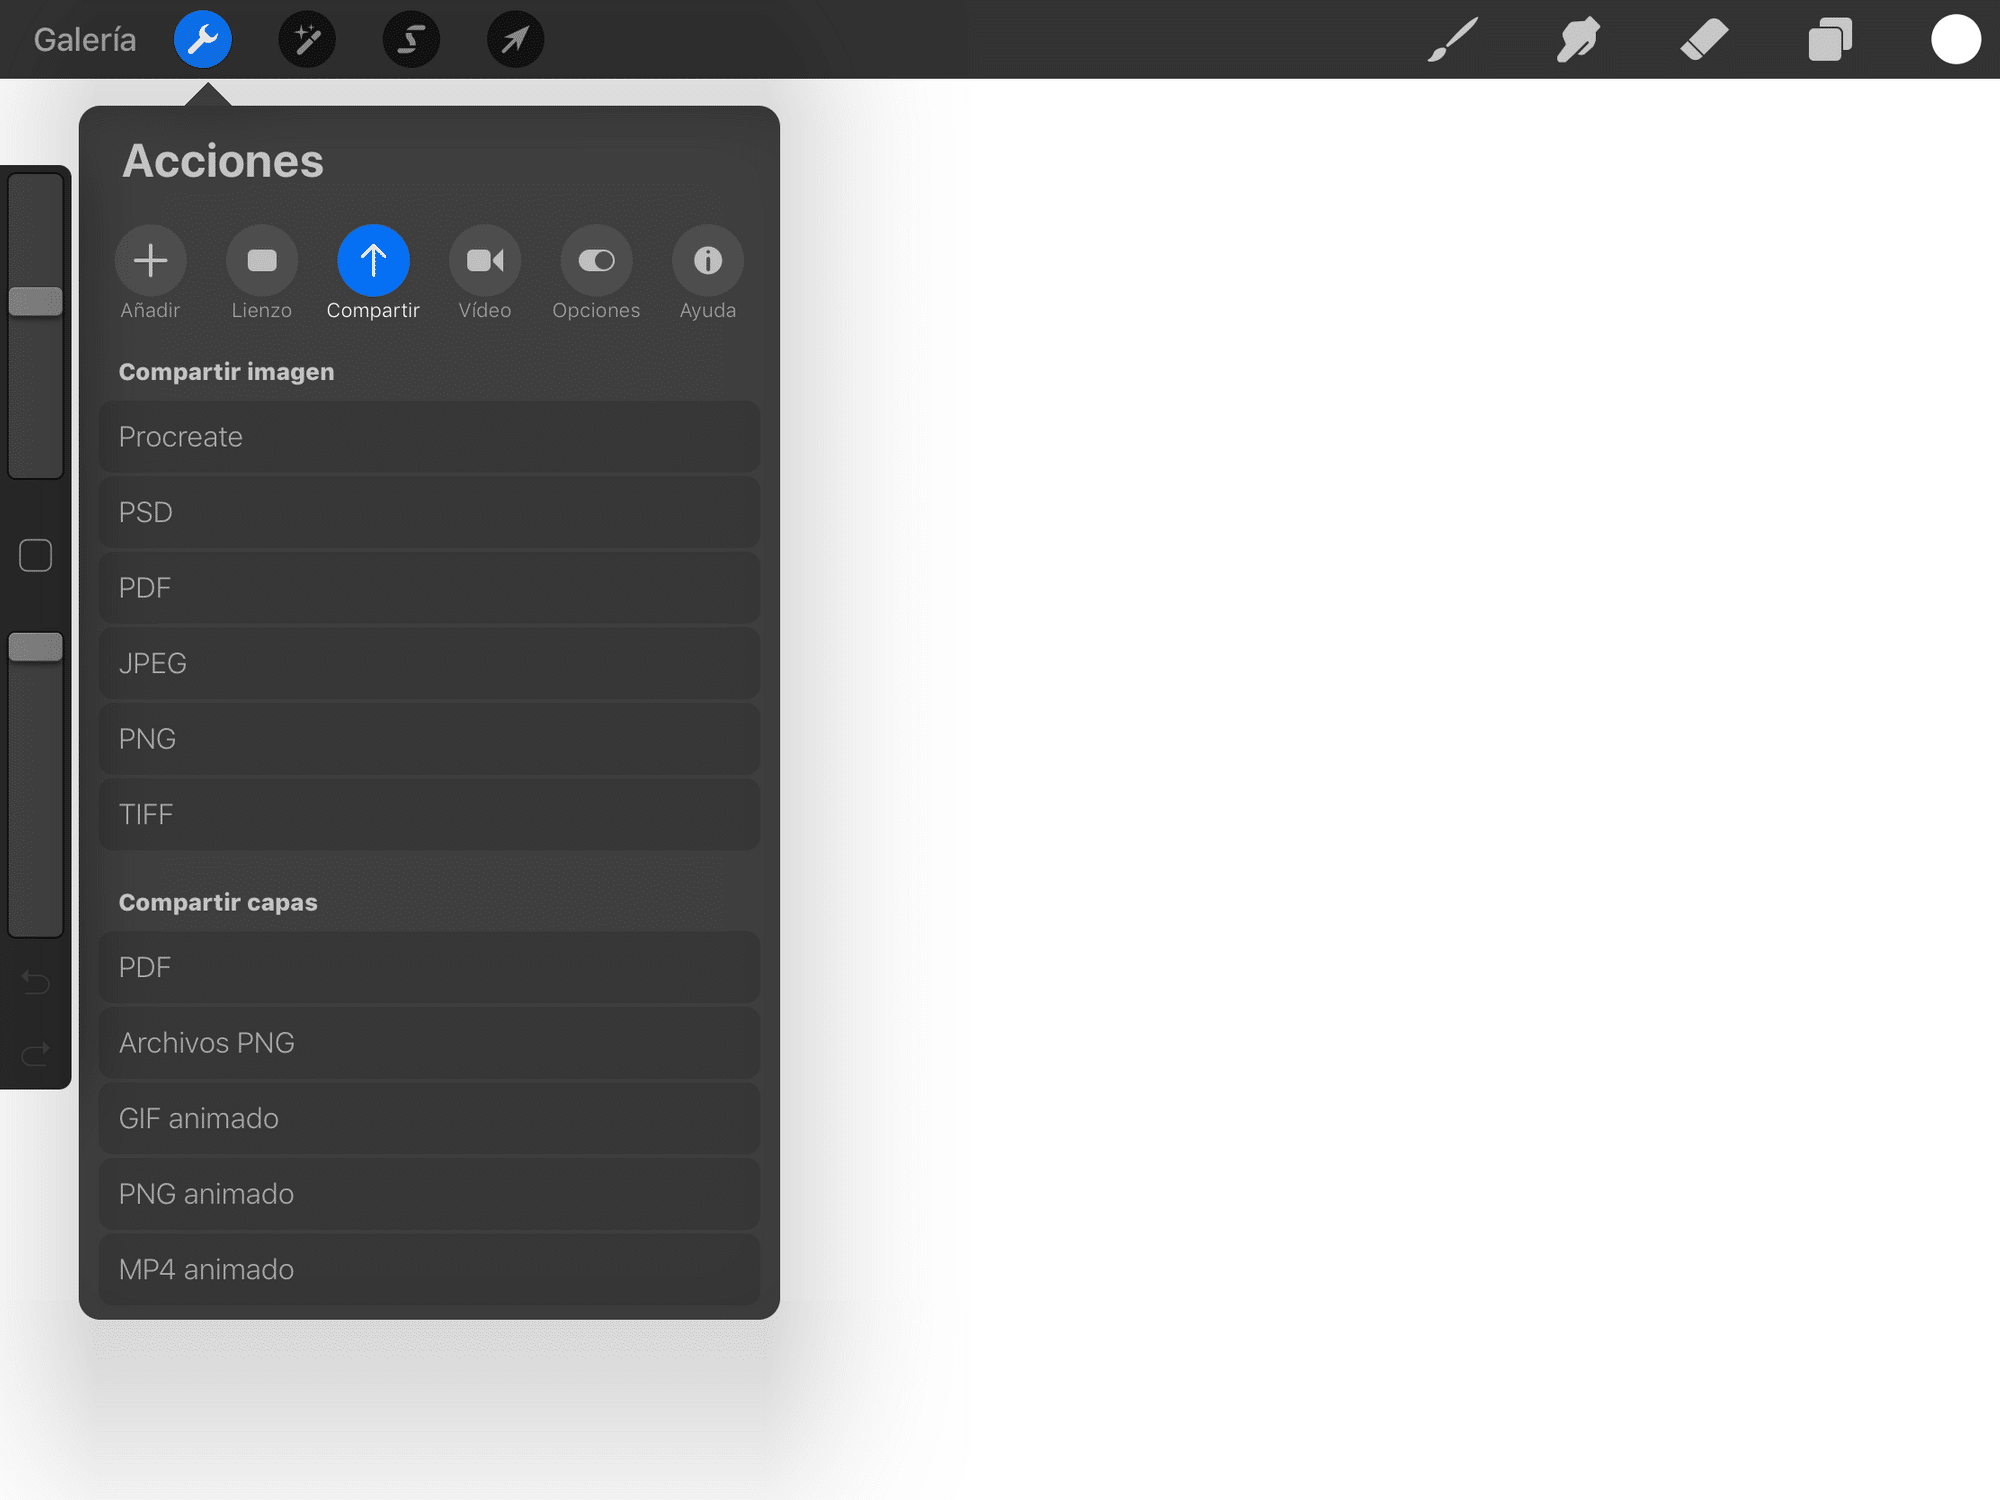
- The first thing we are going to do before starting is to create the canvas where we are going to make our illustration or drawing. To do this, we will run the application and We will click on the + icon located at the top right of the screen. It is an icon that indicates that we are going to start a new project, so we will start from scratch and with a completely empty and blank work table.
- Once we click on it, a small window with a type of canvas that will come to us by definition will appear immediately. It will contain some measures that the program itself offers us but we we can apply those that best suit our drawing.
Step 2: First Shapes and Proportions
- Once we have our table or canvas ready, we are going to choose a brush that is as fine as possible. And we'll start to draw a minute circle on the canvas. To do this, we will apply a color such as black.
- Next we will draw the other proportions of the tree, the part of the trunk and some branches. It is important that we first make a small preliminary sketch where only the proportions that we know by nature are shown.
- When we already have the sketch made, we go on to create a new layer where we will ink what will be the part of each of the proportions. For it, we will choose a brush where we will further reinforce the shapes that we have created and next, we will apply the texture with the same brush to our tree.
- We will also play with the thickness of the line, from thinner to thicker lines. In this way, we can offer you the texture that we know and make it more realistic.
Step 3: Paint your illustration
Source: Clip studio paint
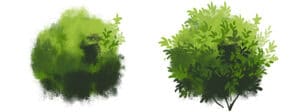
- To paint the drawing, we will create a new layer, and for this, we will choose the paint brush. It is a thicker brush than the others and much stronger.
- First we will do the part of the lights. For the lights, we must choose a greenish hue that looks as similar as possible to a yellow. And in this way, we will begin to paint one of the corners of our tree. We will combine three different colors, a deeper yellow, an ocher that decreases and finally a white that offers the necessary brightness.
- Once we have the lights, we move on to painting the shadows. For the shadows, we will create a new layer and make a kind of gradient but with dark colors. These colors can be: gray, black and white. We can also lower the opacity and intensity of our colors, so that in this way, it seems more realistic.
- Once we have the lights and shadows, we went on to choose a brushstroke of color perfection, these brushes usually fill the part that we have already painted dark green or the part that we have not filled. This part will be the final part of this process.
Step 4: Apply glitter and you're done
Source: Instart
- When we already have our tree drawn, we will only have to apply a little brightness to it.
- To do this, we will choose a new brush and create what will be the last layer. With the softest brush we have, we will choose the white color and we will lower the strength or opacity of the brush, until it is barely visible.
- Once we have configured the color range and intensity, we will go on to ink our drawing over it with the brush. It is important that we only do a little pass, since if we make several, the white color will be reinforced and we will be left with a huge meaningless white spot in our drawing
- Done, you already have your tree perfectly drawn.
other alternatives
Adobe Illustrator
Adobe Illustrator is one of the software that is part of Adobe, and is the ideal tool for creating artwork, vectors, and illustrations. It contains tools that are capable of creating and manipulating vectors, with the aim of designing marks or other elements of interest in the design. Like Procreate, it also has a wide range of brushes, where you can develop your drawings. It also has the possibility of being able to choose between different color ranges, from Pantone to the most basic.
Without a doubt, Illustrator is the application that you need to have installed on your device. It is a paid service, as it contains an annual and monthly license. But you have a 7-day free trial for you to try it out. And as if that weren't enough, when you buy the license, you not only get Illustrator in return, but you can also try the different applications that Adobe is made up of. You can not only draw, but also retouch your photos, create mockups, design web pages, create brands, design magazines or posters and much more.
Try this tool for free that you won't be able to miss out on.
GIMP
If Adobe Illustrator hasn't convinced you, surely GIMP will without a doubt. It is the free unlicensed version of Photoshop and Illustrator. With it, you can not only create great illustrations, but also retouch images.
It has a package of brushes that will also help you with your projects and designs. In addition, it is a tool that is available for both Windows and Mac. Without a doubt, it allows you to install different color gradients so that your illustrations and editions do not fall short.
A perfect application to be able to draw freely, without costs or ties.
Chalk
Lastly, we have Krita. Krita is one of the most popular quintessential tools for designing and creating illustrations on Windows. Features a wide range of brushes, brushes, erasers and colors, so you can fill your drawings with life.
It also works in layers, so you will find it very comfortable to work with. And as if that were not enough, also It has the possibility to open and view native Photoshop files (PSD). A tool that will blow your imagination and with which you can feel free.
One drawback is that you may have charging problems at some points since it has some problems, but otherwise it is a perfect tool.