
Source: All Funds
In Photoshop, we can not only edit images and retouch them so that they look like professional images.
But in addition, we also have many other tools that facilitate the design, of other elements that can also be interesting for us. That is why in this post, we wanted to take a further step forward, and show you something more about Photoshop in this way.
We will talk to you about the textures and above all, we will show you an explanatory tutorial, where you will have access to be able to design your own golden texture, following our steps. Since we don't want to keep you much longer, we are going to explain much more about the world of textures.
Textures: Simple Features
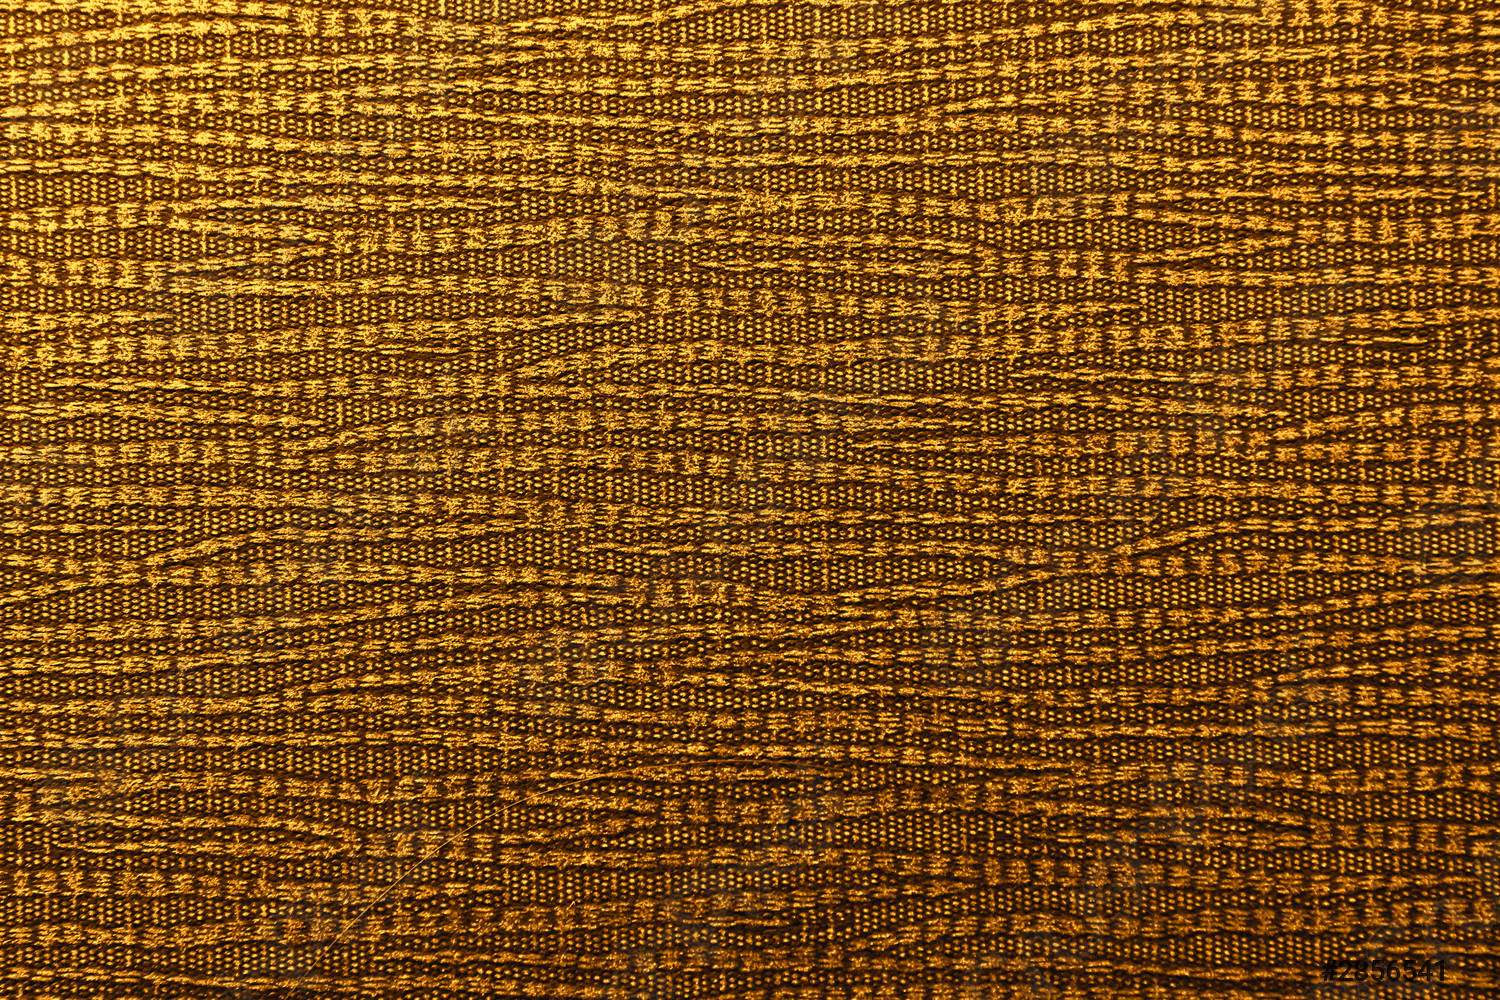
Source: Crushpixel
Before we start in the world of Photoshop, it is important that you understand what we are going to do. To do this, since the protagonist of the post will be the golden texture, we want to explain to you in advance what the term texture is and some typologies that are designed.
The texture refers to an item type where it is primarily displayed, the surface of a given medium or environment. For example, it is as if we were seeing each of the details of an object up close. Let us imagine that we have in our hands a log of wood, the texture would be each one of the reliefs and forms that the wood has.
They are classified into different types, although the most common is to find them as; visual texture and tactile texture.
- The visual texture is that texture that. as its word indicates, we can appreciate with the sight. It is the texture that we usually see if we take the wooden trunk that we mentioned earlier. We can appreciate everything in maximum detail and touch it, in order to appreciate its texture.
- The tactile texture, on the other hand, we cannot touch with the naked eye, but we can see it digitized through a screen. Many interior designers use this type of textures to redecorate interior and exterior environments. In addition, they use programs such as Photoshop to adjust the light and color of the pieces, in this way so that they are as realistic as possible.
According to their origin, they are also divided into two parts; natural texture and artificial texture.
- The natural texture, as its word indicates, means that this group of textures come directly from nature., as is the case with wood, the skin of a fruit, the shell of some food, etc.
- Instead, artificial textures tend to be created with other components for their manufacture, it could be the case of some kind of tile, where a component for its color has been introduced.
It is also noted that there is another small group known as textile textures, are those textures that come from the textile, and we find them in some clothes that we wear, or even in some household items such as cushions or bedspreads.
The most interesting part of the textures is that they are elements where we can simply appreciate the sense of touch when touching and feeling each element that compose them.
Tutorial: How to Design a Gold Texture in Photoshop
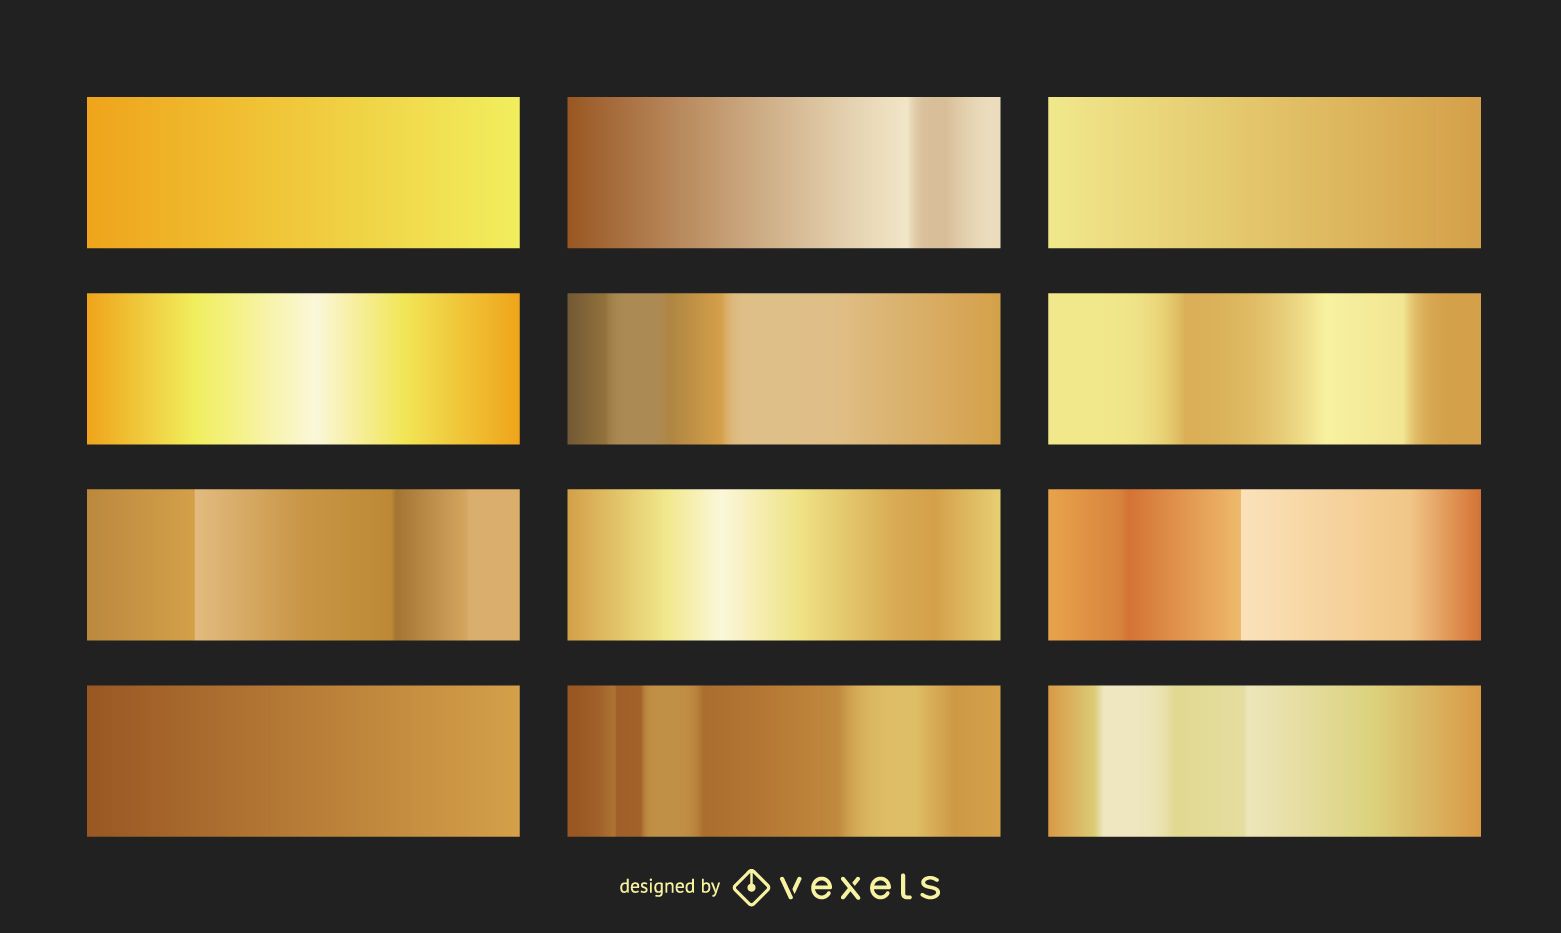
Source: Vexels
Step 1: The Document
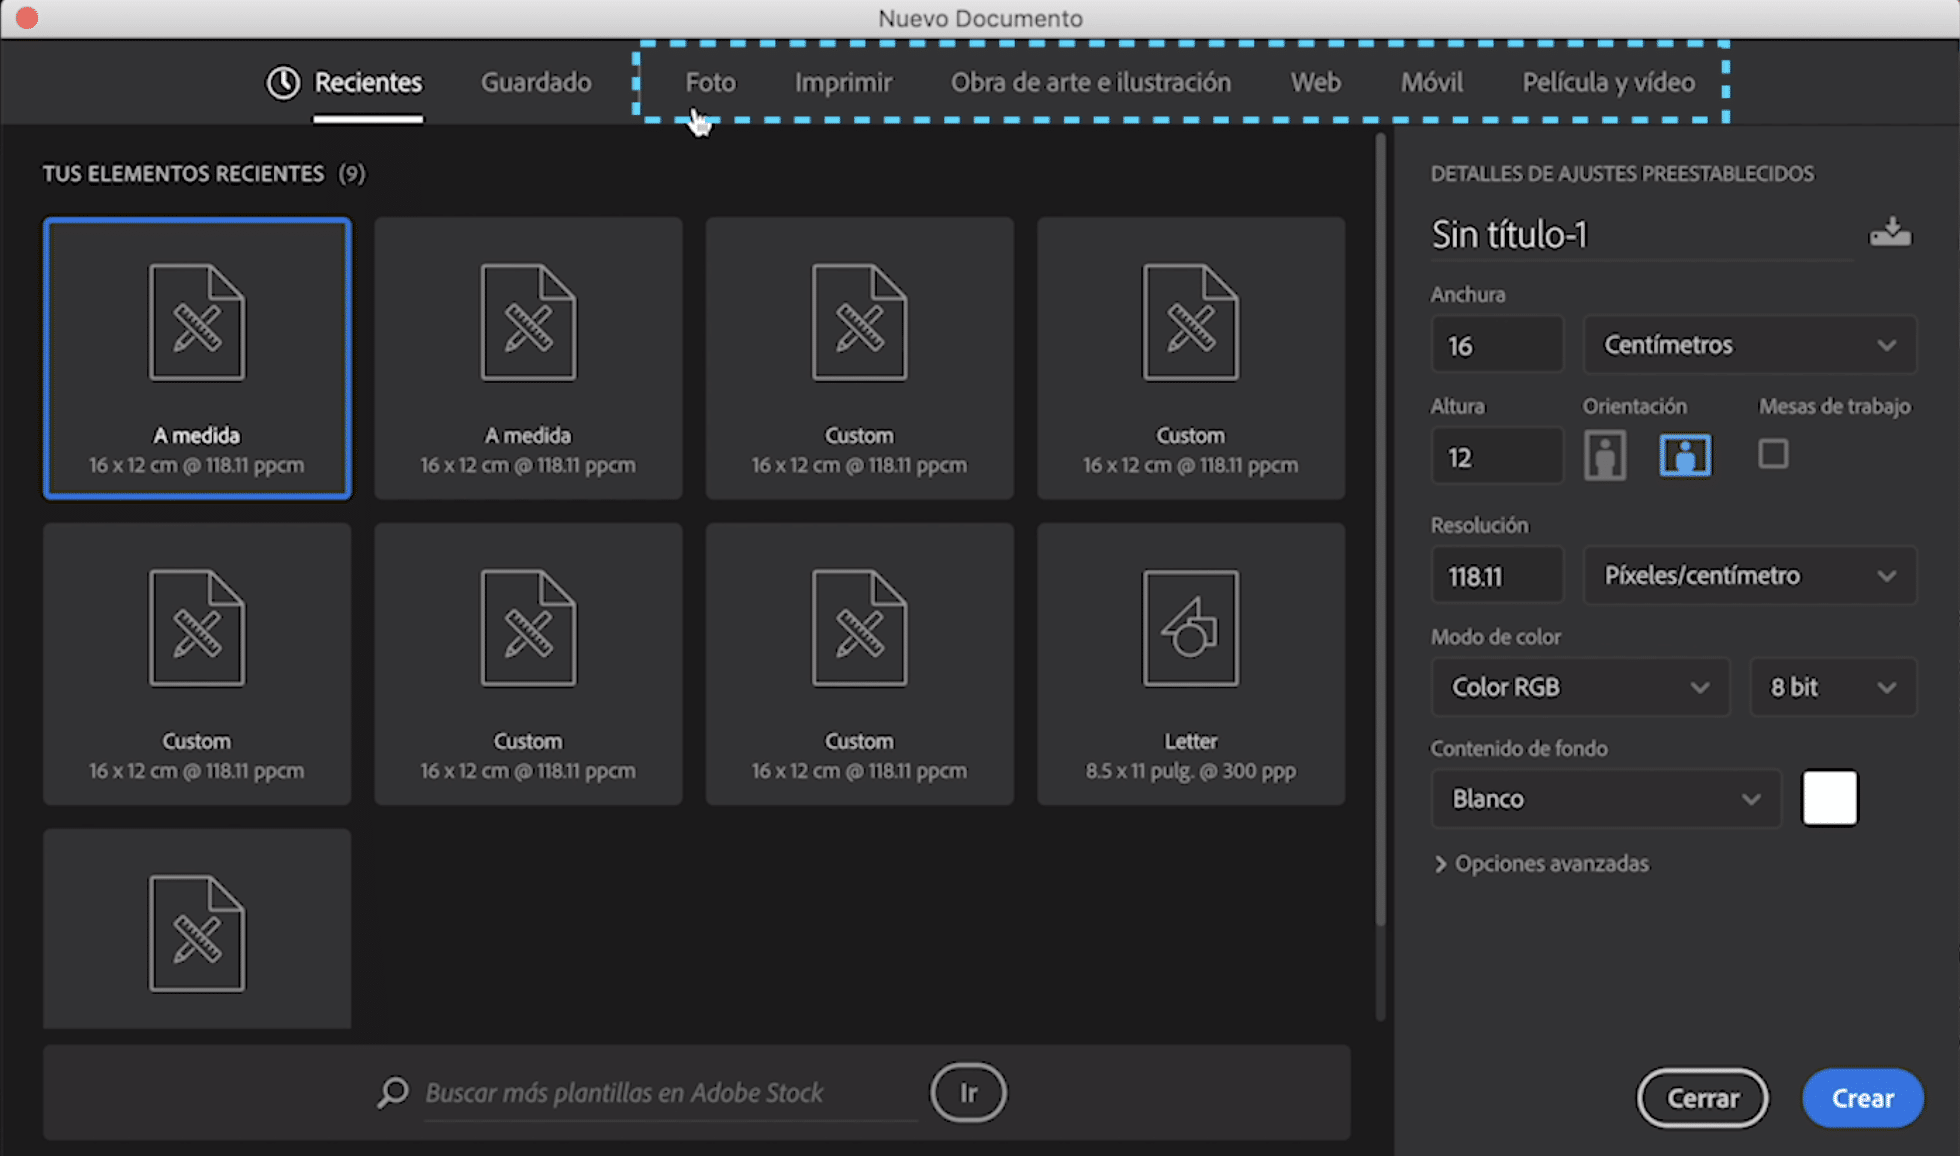
Source: LearnFree
- The first thing we're going to do is run Photoshop, and then we're going to create a new document. In this case, the document it could contain a measurement similar to 800 x 800 px.
- Once we are in the document, we must name the layer and name it background.
- In the background layer, once we have named it, we only have to choose a background color, in this case it will be gold, in this case we will apply the following color profile code: #EABE3F.
- Next, once we have the gold color chosen, and its code, we will apply the paint bucket option to the background.
Step 2: Add other elements
- In the event that we already have our golden background prepared, we will apply a secondary element to it, with the aim of designing an element with its golden background texture.
- For that, we will select the text tool, and we will write the text that we want, it can be the headline of an animated series or a movie, or a word that catches our attention.
- Once we have the written word, it is important that we rasterize the layer in which our word is found, just we must right-click on the layer and then a window will appear where we will look for the option to rasterize layer.
Step 3: Import your texture and adjust it
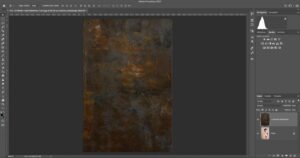
Source: Pelayo Gonzalez
- When we have already designed the word with the text tool and we have rasterized it. We will finish materializing our texture with some elements such as light and contrast. You can also apply a gradient with two different types of gold, one more intense than the other. In this way, you will have a very well managed and designed texture.
- Once we have our texture designed, we proceed to import it and in this way, we will rename the layer where the texture is located as Texture. In this way, we would be left with three layers with the names of Text, Background and Texture.
Step 4: Apply the texture to the text
- Once we have our composition assembled, we just have to convert the text we have created, into a text with the same texture as our background.
- To make it much more interesting in this way. To do the next step, we only have to click on the Texture layer and we will select the option create a cutting mask.
- By clicking on this option,The program itself automatically takes care of converting the text the same color and shape as the texture you created and applied as the background. It is a very simple task that Photoshop is responsible for solving that question in less than two minutes.
Step 5: Export the texture or composition
Fuente: YouTube
- To finish this tutorial, we only have to export what we have designed, preferably in JPG format and at a quality suitable for viewing on screen.
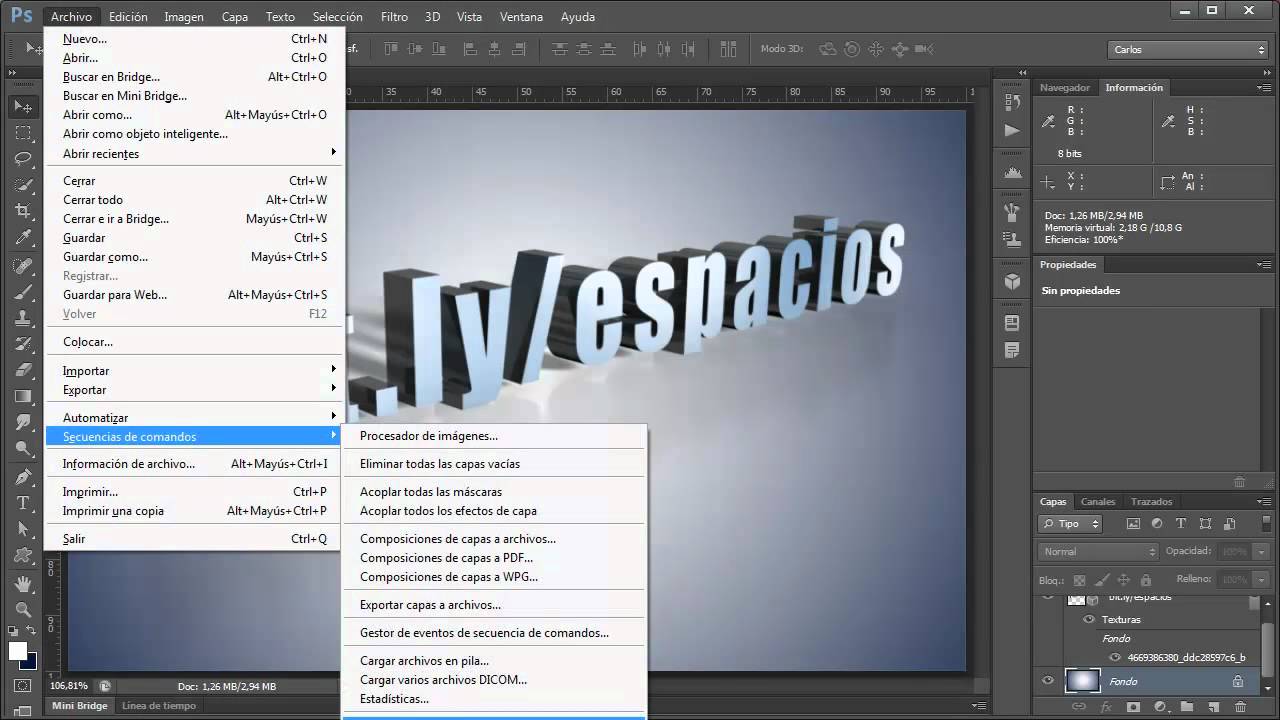
- We just have to go to the option Archive and click on the option to export, the program will open a window for you to choose the format and output mode.
- And that's it, you can now enjoy your golden texture.
Websites to download textures
Freepik
Despite being a web page where you can find images for free, you can also find incredible textures based on the colors you are looking for, for example, if you decide to use the word white when searching, the website immediately will show you some white textures that you may find very interesting. In addition, the images have a very good quality.
textures.com
It is an ideal web page if you are looking for textures for a much more two-dimensional or three-dimensional project. It has many categories of different textures, for example you have the option to look for more natural textures such as flowers or the wood itself. Once you get these textures, you can include them in formats or online media. Or if you are designing, for example, the front and back of a book or magazine cover, and you need a certain texture, you can also apply it in the ways you want and when you want. It is certainly an interesting option.
texture
With Texturify, you can find endless free textures in every possible way. It even also has the possibility of finding them in the form of quite interesting gradients. An aspect that greatly favors this type of resource, since you can apply them in any project, whatever its character.
In addition, the website itself has an excellent organization of the elements and resources it offers, in this way, you will also be able to find an extensive library with similar resources as well. In short, you cannot miss this incredible website where you can feel free with some of its textures.
StockVault
Stockvault is a type of image bank but of textures, so that you understand it better, it is the world of textures in the form of a web page. You have at your disposal all kinds of textures with which you can combine very well in your designs. In addition, each of them is totally free, so you won't have any problem downloading them.
It is also known for being a bank of images of themes such as landscapes. Without a doubt, an image bank that does not go unnoticed and that can be your great ally on numerous occasions.
Texture Ninja
And to finish this list of web resources to download textures, we find texture ninja. It is a similar species to the option that we have presented before, since it is also an image bank. But this time, with even more interesting elements.
On this website, you can find all kinds, from fingerprints, to plant and nature textures. In addition, each of them are also free. In short, do not stay without trying it, since you will have no excuse to add to your designs creative and ingenious textures, that can satisfactorily favor your projects.