When I started working as a designer, I did it in the field of fashion. Not only did he model fashion catalogs, banners or flyers, but he also made prints and presentations of all the collections that the company made.
This work experience is what leads me to write this post, because I consider that the work may be very well done but its presentation is very important.
Possibly if we do not make a good impression at first glance, two things will happen to us that we do not want to happen:
- or we will not succeed
- or it will cost us much more to do it
And the truth is, we don't want either of these two things to happen to us.
For this reason I have thought that writing this post could be interesting, I would like to explain how can we insert prints on our mannequins and thus be able to create a good presentation of our project where we combine fashion design with graphic design.
Steps:
- We will draw our mannequin. I do this step with the help of Illustrator, but you can choose the program that you like the most.
- Once we have vectorized the figure, we save it and open it with photoshop.
- In Photoshop we will work with the "motifs" tool, therefore what we must do first is convert our pattern into a motif.
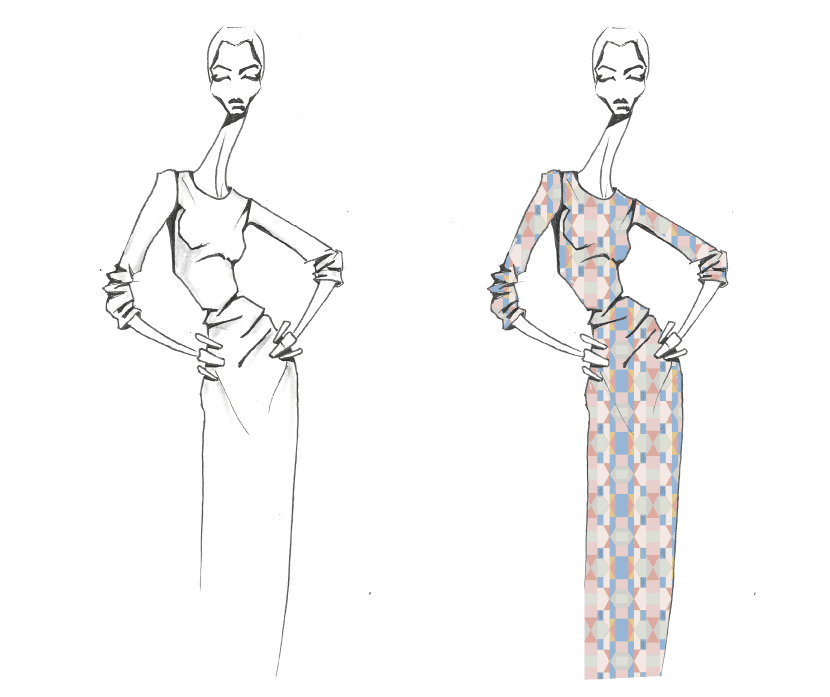
- When we already have our figure open in Photoshop, we will have to select the areas in which we want to introduce the pattern, for example, if it is a shirt, as is the example that I am enclosing, we have decided to print the front of it, so both that will be the selected zone.
- In the options we select "motive" and insert the pattern that we had previously converted. We can scale it to the size we want.
Here is a short video so you can see how simple it is and make it visually easier for you.
Once we have all our mannequins ready with their prints, we only have to make one presentation of the whole that is clean and neat. I recommend you use the Canva program that I told you about in my previous post, to do the layout.