
We all know that, to achieve a unique and well-crafted design or photograph, many hours of work are necessary. They are hours of editing adjusting and looking for the balance between different editing tools, so that the final work has the best possible result. To prevent other users from taking advantage of your work without consent, In this post we are going to show you how you can make a watermark in Photoshop.
Through the use of watermarks we are adding value, property and recognition to our work. Today, we are going to give you two different solutions so that you can create your own watermark according to the process that helps you the most. This watermark will grant our projects intellectual property rights.
There are many users who download images without permissions and for free without thanking or mentioning the creators of the file. We live in a society where it seems that everything is free and effortless.. Protect your images, drawings or any work by creating a simple personal watermark.
What is a watermark?

https://www.istockphoto.com/
a watermark is a stamp, signature or logo that many content creators use overlaying it on an image or any graphic project. These elements play a very important role in protecting said file.
Thanks to its transparency, it usually goes unnoticed, which helps the image or document not to be distorted. When adding a watermark, we have to keep in mind a series of factors to work with it correctly. The better it is used, the better the display of the file will be.
We recommend that you avoid the use of dark colors and no transparencies in your watermark design. Avoiding these two factors will achieve better readability. Experiment with different fonts to find the one that works best, same with size, color and layout.
Remember that the watermark must be imperceptible, that is, you must find the right balance between the opacity and transparency of your stamp. It serves as a protection element for your work, so keep in mind that it should not disturb or alter the image. Above all, keep in mind that the intellectual owner of the piece must be easily recognized, so what the watermark indicates must be clearly read.
Manual watermark in Photoshop
To start creating our own watermark in Photoshop, the first step we must take is make sure that this mark has a high resolution with which to work.
We will open in Photoshop the document where we have our design, remind you that the elements included in this design must be in grayscale. The brighter these colors are, the greater the transparency in the final result.
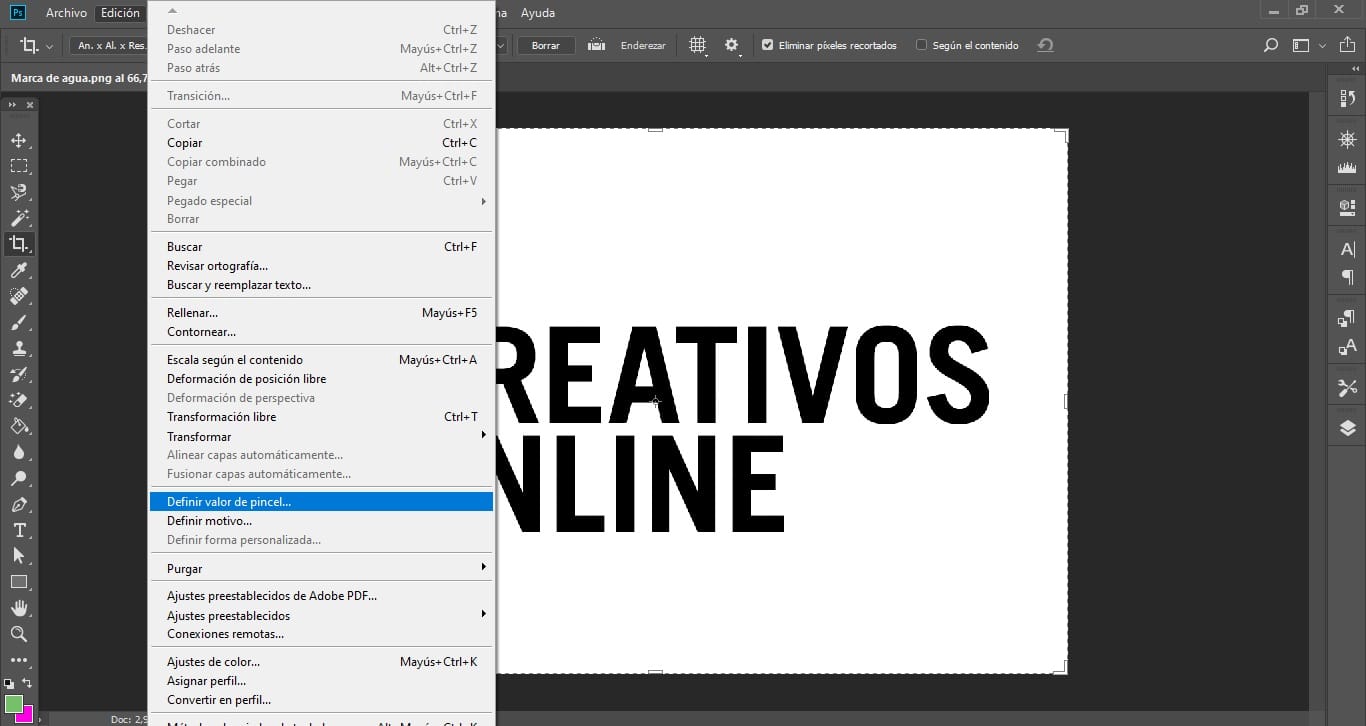
Once we have this first step done, we will go to the top menu of the program and look for the edit option. You will then select set brush value and you will change the name indicating that it is the watermark. As you can see, in our case we have called it “Personal Watermark”.
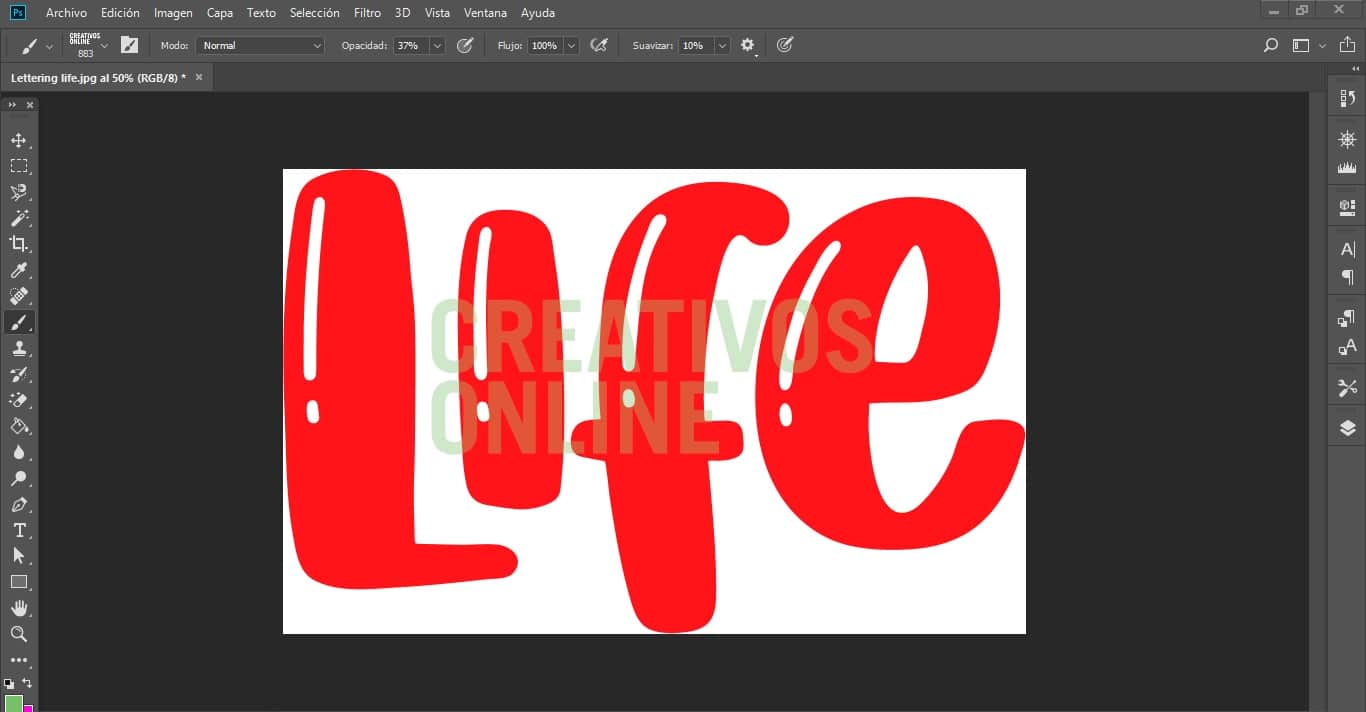
Next, we'll go to the file option and we will open the image in which we want to insert our mark of personal water. Both the photograph and the watermark must have a high resolution.
The next step is create a new layer and with the new brush that we have created try. You should check the size and color that give you the best result for your watermark, if you see that the ones you have selected at first do not work for you, you can modify them without any problem.
For add transparencies to our watermark, the first thing you have to do is with the move tool, Ctrl + V, and the numbers on the keyboard go by changing the opacity of the layer Where is the watermark located? When you find the perfect opacity, just copy the marked value, go to the brush tool again and paste that value.
One of the last steps is to go to the brush settings, in the pop-up window click on the + icon to create a new brush. Save all previous settings and save it.
You would already have your personal brush with your own watermark ready to use. Choose an image, a place and click to place your personal stamp.
Watermark Tool Action in Photoshop
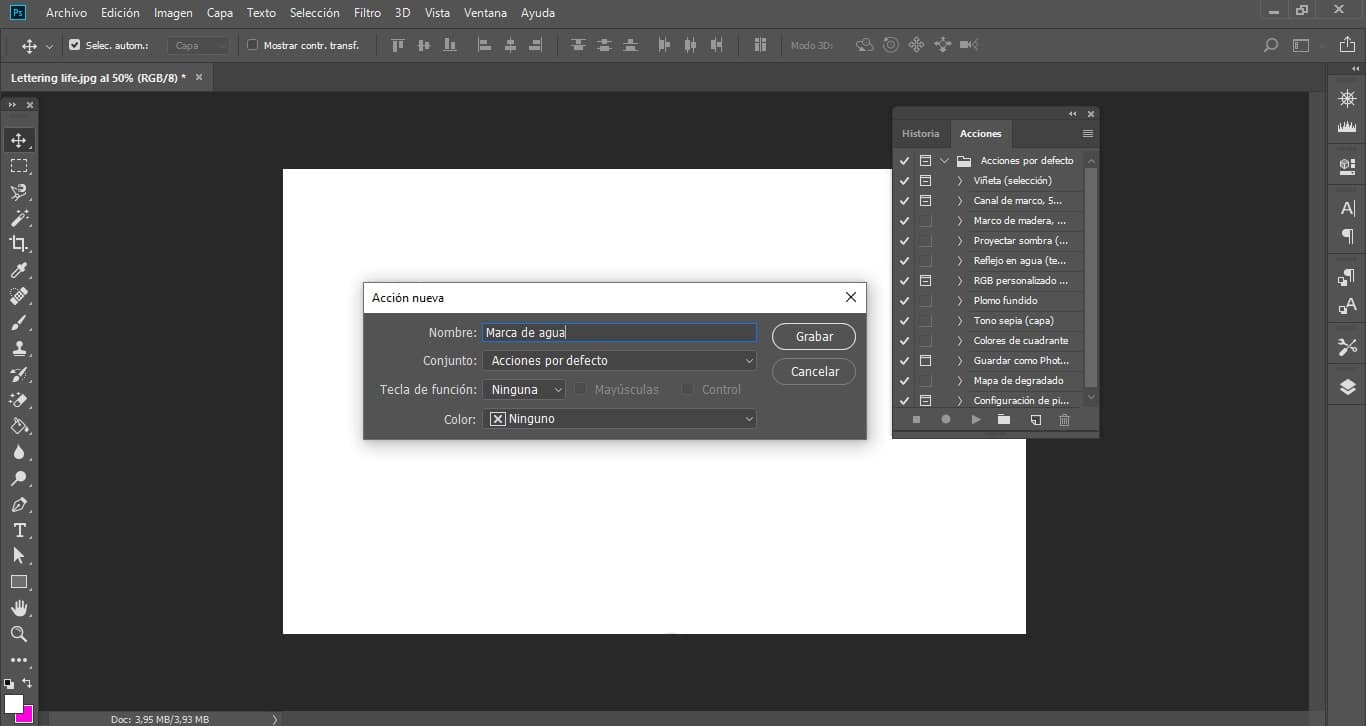
If you have to apply your watermark to many different projects, it is most convenient to use Photoshop's action tool. In order to use it, you must open the action panel and select the option to create a new action. To this new action, change the name indicating that it is your watermark.
The next step you must take is create a new layer. Then go to the edit option, fill and use the color you want. Press the shortcut, Ctrl + T and reduce the layer by 5%. Rename this layer with the name "Edges" and hide it.
Next, go to the top menu of the program, click on the file window and then on place embed element and select the file containing your watermark design.
In the layers panel, select this new layer with the watermark logo, and the layer we have named “Borders”. Using the alignment options at the top of the artboard, place the watermark wherever you think will work best.
When you have the place chosen, double click on the layer where the watermark design is located and point to a color in the Color Overlay option. As well as assign a value to the opacity in the Blending Options.
Thanks to the fact that we are working with actions and not with brushes, you can take your watermark design one step further by adding shadows or even a path.
When you have finished all this process, with the right button of your mouse in the layers area, select the option of attach image. Save a copy of this project and you can use it in all the images you want.
If you want to add your watermark to any image without going through all this process, record the action and add it by pressing the play option.
Two ways to make very simple watermarks, manually and automatically. Remember that adding these seals helps users to know who the author of said work is and that in addition to recognition they add value. If you are one of those people who spends hours in front of the screen looking for the best result in their work and then shares it on different websites, use watermarks so that no one takes advantage of your effort for free.