
If what you are looking for is to take a step forward and enter the world of digital illustration, the application Procreate is the best tool to start.
Procreate, it's the most downloaded app in the App Store, and one of the best rated when it comes to design and digital illustration. It has different functions, which will make you exploit your artistic skills, whether you are a beginner or a professional in the art world.
In this post, we are going to tell you how to make drawings in procreate step by step, in a simple way and giving you some advice if you are new to this sector.
What is Procreate?
You have to start with the simplest, and that is knowing what Procreate is and what is behind this application.
Procreate is a digital art app, created by Savage Interactive in 2011.
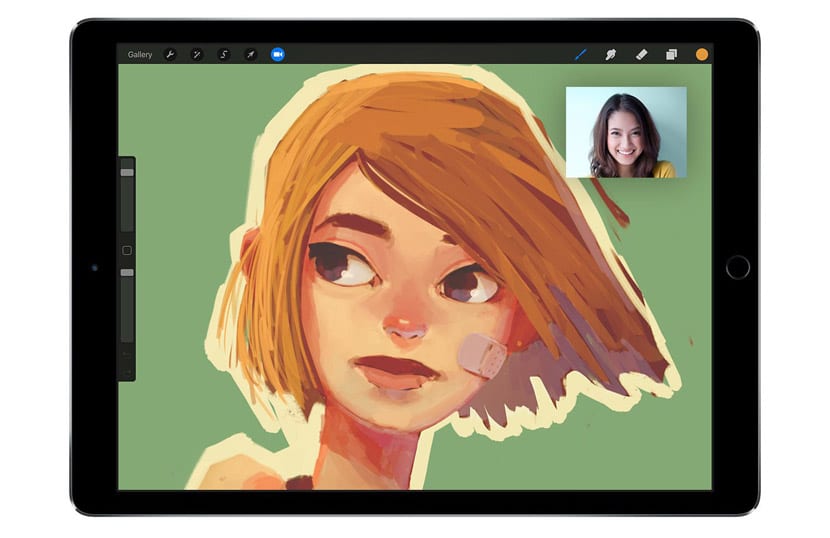
Since it was released, has revolutionized the digital illustration app market, and has become the reference application for the public interested in digital art. And this, it has achieved thanks to its power, its ease of use and its versatility. The interface is very intuitive, so after a little research on it, it will be very easy to use.
It is a app only available for iPad or iPad Pro, with which to make illustrations from simple to very detailed.
How to draw in Procreate
In this post we will see How to make drawings in Procreate step by step in a simple way and follow the next steps:
- How to create a new canvas
- How to change brush or eraser
- How to create a new layer
- first sketch
- Idea development
- starting to color
- Final touches, add shadows
How to create a new canvas
CCreating a new canvas is the first step that we have to know to get started in Procreate.
It is a very simple step, the first thing we must do is open the application on our iPad, select the + file in the upper right part of our screen, and then a window will appear in which we must select the canvas size with which we want to work.
If by chance we want a custom canvas, of a size that the application does not offer us, we can create our own.
We go to the Procreate canvas gallery, and we tap on the + icon at the top right of our screen. After touching this icon, a pop-up window will appear where we will select the option to customize the size of the canvas, and we will give the values that we want.
How to change brush or eraser
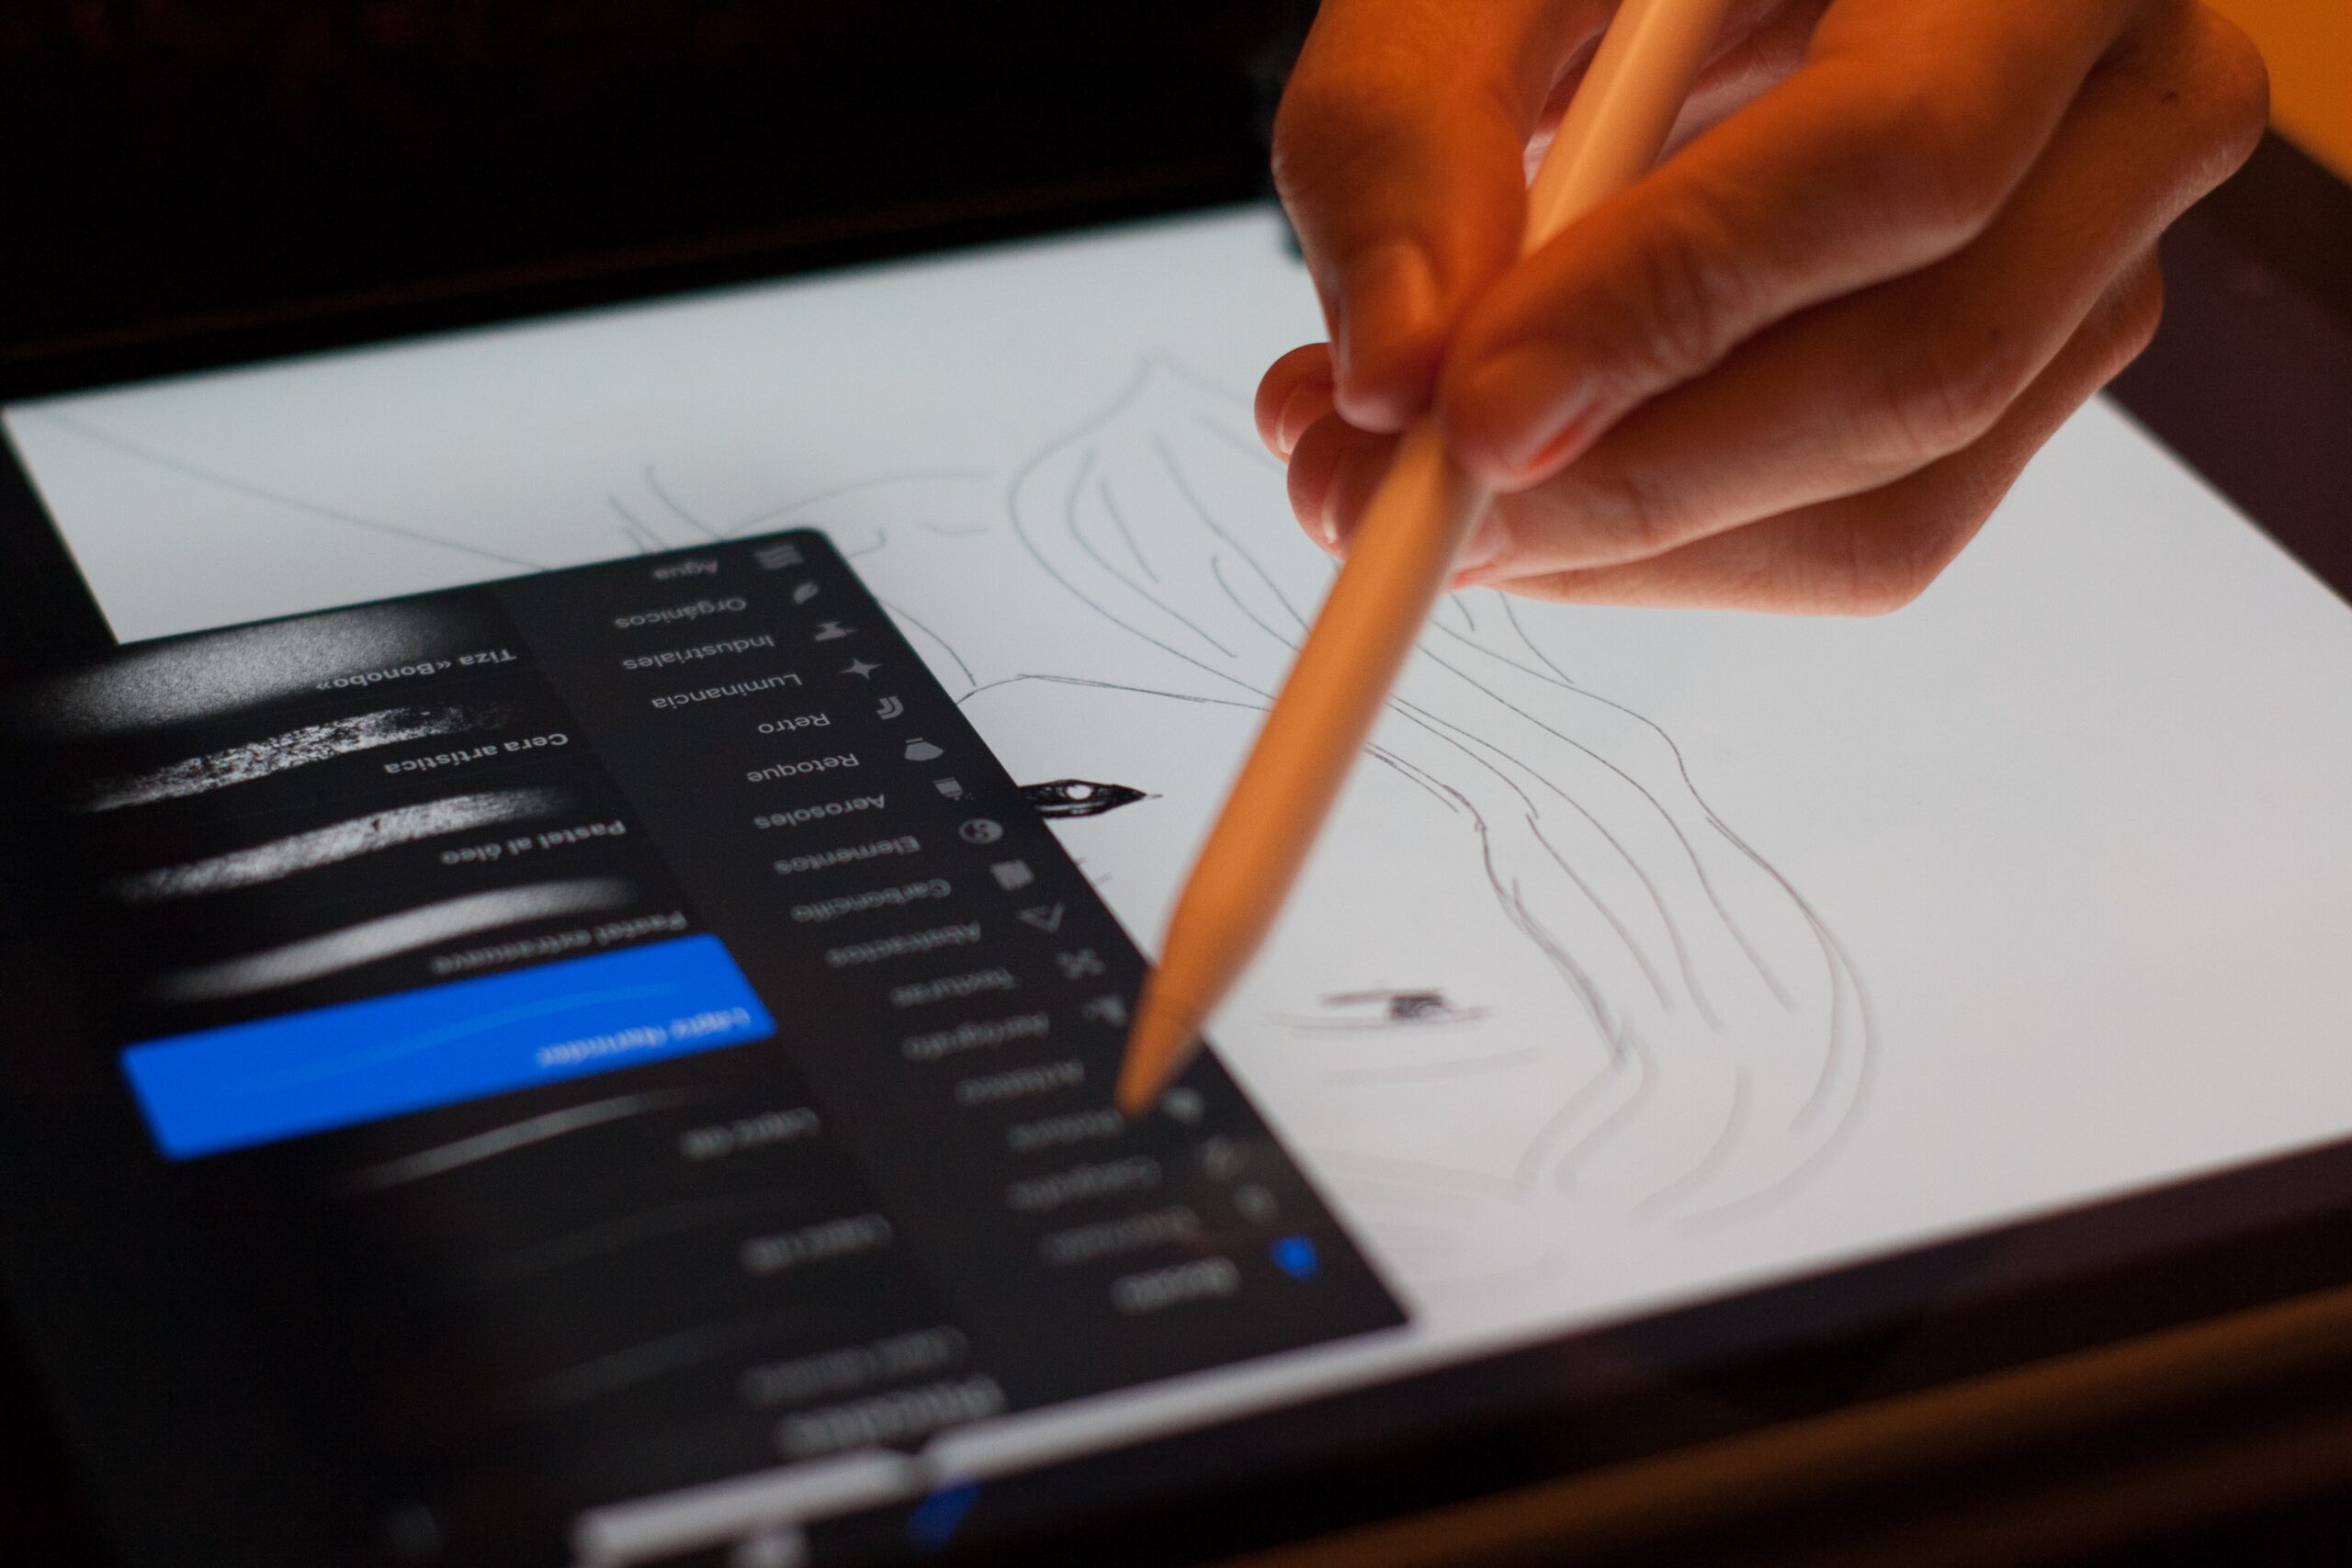
Another of the most important basic points is the following, how can we change the brush or eraser. It is very easy to do and there is also wide variety to choose from.
Once we have our canvas, we look for the brush tab that is in the upper right. A menu opens and we choose the option of the brush that best suits us with the work.
How to create a new layer

Procreate like other design programs, works through a layer system. These layers help to organize the work, and by having it divided, it is easier to make changes, combine them or directly eliminate them.
To create different layers, we have to place ourselves on the canvas, tap on the layer file that is located in the upper right part of the screen, and select the + and Procreate will create a new layer level.
first sketch
The first thing we have to have is one of the idea that we want to give life in Procreate.
We place ourselves in front of our blank canvas, and we touch the key icon in the upper left, we select the canvas option, and below we enable the option of drawing guides.
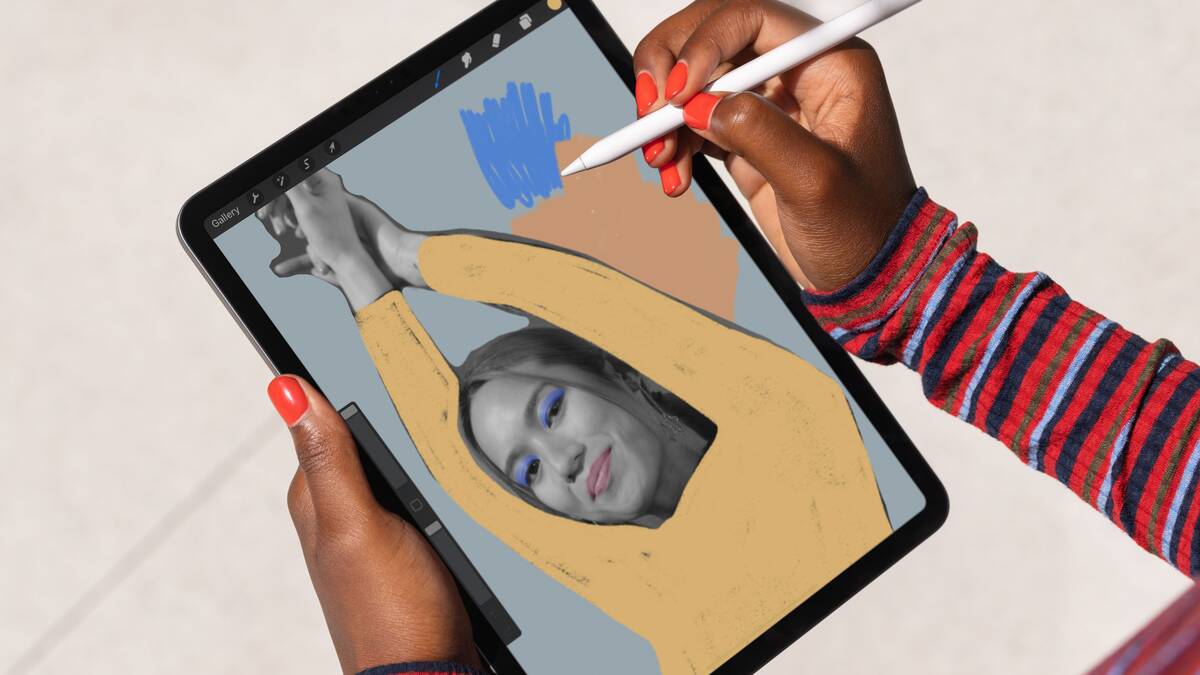
We are going to start making the sketch, and for this we choose a color of grayish hue, it does not matter what color you choose, we touch the icon of brushes and we choose the sketch brush and pencil 6B, and we begin to quickly draw our idea.
Once we have the sketch of our illustration, we will go retouching, reviewing, to define the shapes.
Idea development
As we have said, once we have our sketched illustration, what follows next is define the forms, the elements that compose it. Go giving details.
We will get these details by playing with the different brushes that Procreate offers us, or those that we have downloaded, since with them we can play with volumes and textures.
starting to color
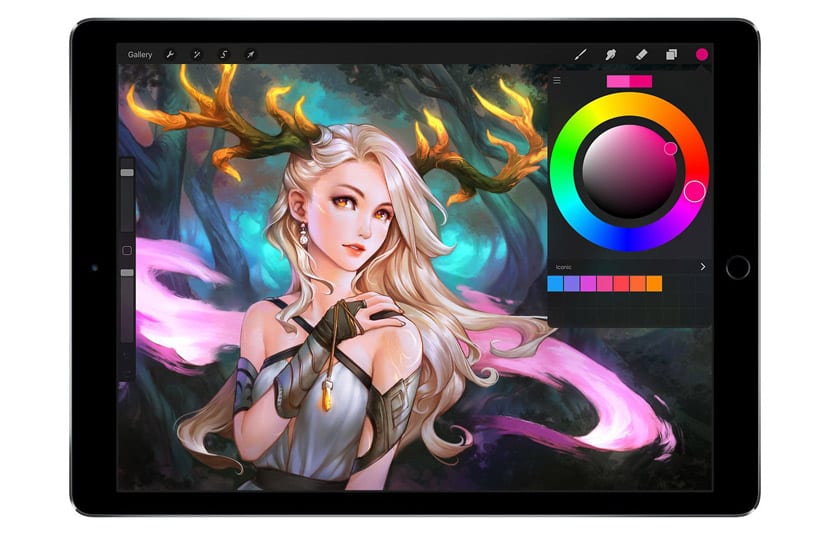
When we already have defined our drawing, the next step we have to follow is coloring, and it is not like in other design programs where you have to select the parts and color them, in Procreate you point to the color you want in the upper right part of the canvas, and drag it to the design and once you release the Apple Pencil or the finger with which you have dragged, the marked space will be filled with color.
It is very important that the area to be colored is well closed, Otherwise, what will happen is that the color will occupy the entire canvas.
Procreate with your clipping mask, allows you to paint without going beyond the limits, that is, you can cut one layer in another but what you can paint in the layer below and not in the other.
To create a clipping mask, first you have to create a new layer, a menu will be displayed, we will touch the clipping mask option and you have it. An arrow will appear on this layer pointing to the layer below. Once you start drawing, you will see only what is inside the bottom layer.
Final touches, add shadows
Source: Apple
Once we have our illustration finished, colored, and with the details that we have given it, it is time to give it the finishing touches.
So that we are not left with a flat illustration of what we are looking for is volume, we have to play with brushes and colors. If we have the option of a perfect shadow brush, otherwise, in a very easy way we will explain how to create a shadow.
First we have to know the area where we want to place that shadow, we select the brush and a color similar to the one used in the illustration, there are two options: either we take a very soft tone close to pastel, or we lower the opacity of the color and color the selected area until we create the perfect shadow.
Procreate is an app with multiple tools and options to help you when drawing. As we already know, it has a wide assortment of brushes, but there is always the possibility to download more varieties of brushes on web portals or import those from Adobe Photoshop if you are used to working with them.
We hope these basic steps have served you well when drawing in Procreate step by step and so you can start letting go of your imagination when drawing.