
Source: Destreaming
The world of technology is so diverse that we can currently choose different options. In this post, we are going to talk about a tool or application that is very fashionable among all those who are dedicated to streaming or also known as live videos with virtual chat option.
Surely you have already heard of it or not, but it is not only capable of creating live online videos, but it also goes beyond what we thought.
Therefore, We have devised a kind of short tutorial where we will explain how to create emoticons or emojis also known, to make the chat or your videos, a more animated and interactive way.
We do not want to make you wait any longer, we begin.
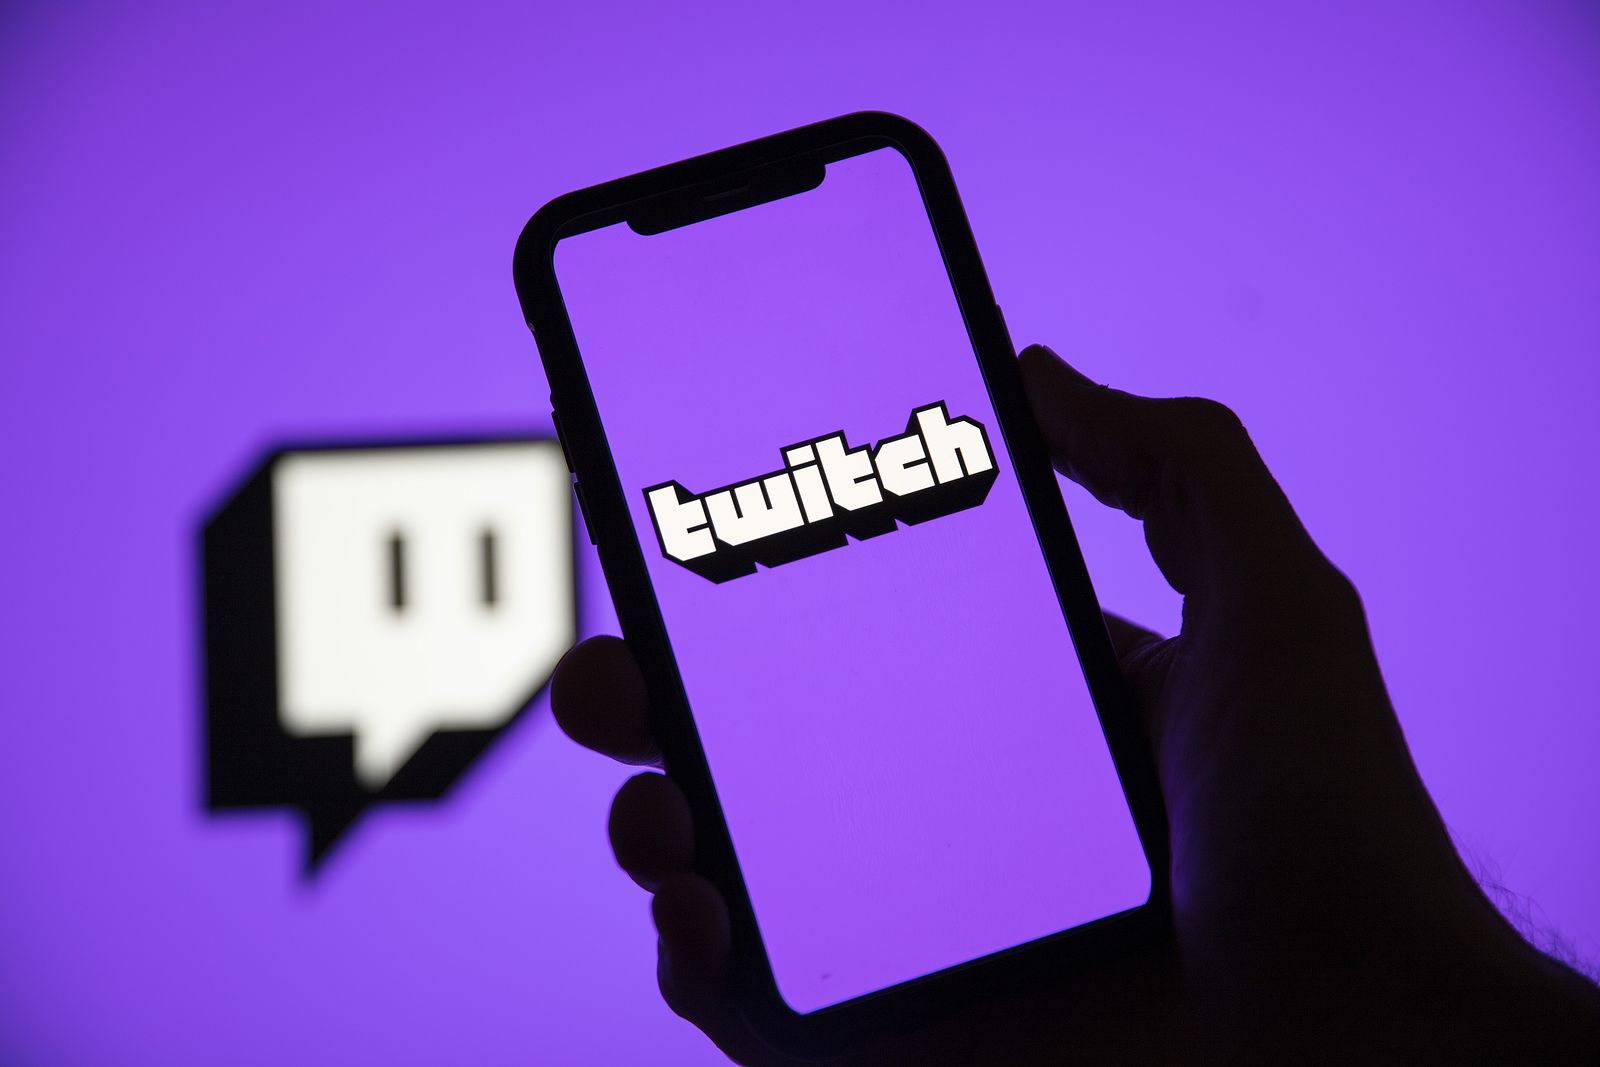
Twitch: what is it
Source: 65 and over
For those who still do not know what this platform is about or how it works, do not worry because we have designed a brief explanation so that you do not want to know what it is and how to later be able to design the emojis.
Twitch is defined as the most important streaming or live video platform to date. Let's say that it has been designed with the aim of making live videos or broadcasting some video game matches. For this reason, it is widely used by many youtubers who have channels where they play and create this type of video.
We not only have a single type of audience, since more and more companies or institutions use this platform to broadcast their videos and in this way, everyone is aware of your news. We are talking about famous people (artists, singers, soccer players, etc.)
Even many NBA football or basketball teams have also joined the success of Twitch, which has drawn quite a lot of attention from users.
General characteristics
- Currently, this famous platform, receives a total of 17,5 million visitors a day and has an audience of millions and millions of visitors.
- What few people know is that this platform was bought by Amazon in 2014 and for this reason, it is a good reason for it to be very much included in the Amazon prime subscription package. Without a doubt, it is one of those applications that grow over time to large scalesIn addition, by offering exclusive and unique content, it makes it even more special from the rest, and that is what its viewers like so much.
- The Twitch interface can be very similar to YouTube, especially since it also incorporates the option to chat while you're live. In addition, you can also visit the direct ones of those users you follow, a detail that means you don't miss any of their news.
- As they are also channels, you have the option to subscribe to those that most call your attention and immediately, the platform places its videos in the main area of the platform so that you have them at hand.
In short, a new way of entertaining.
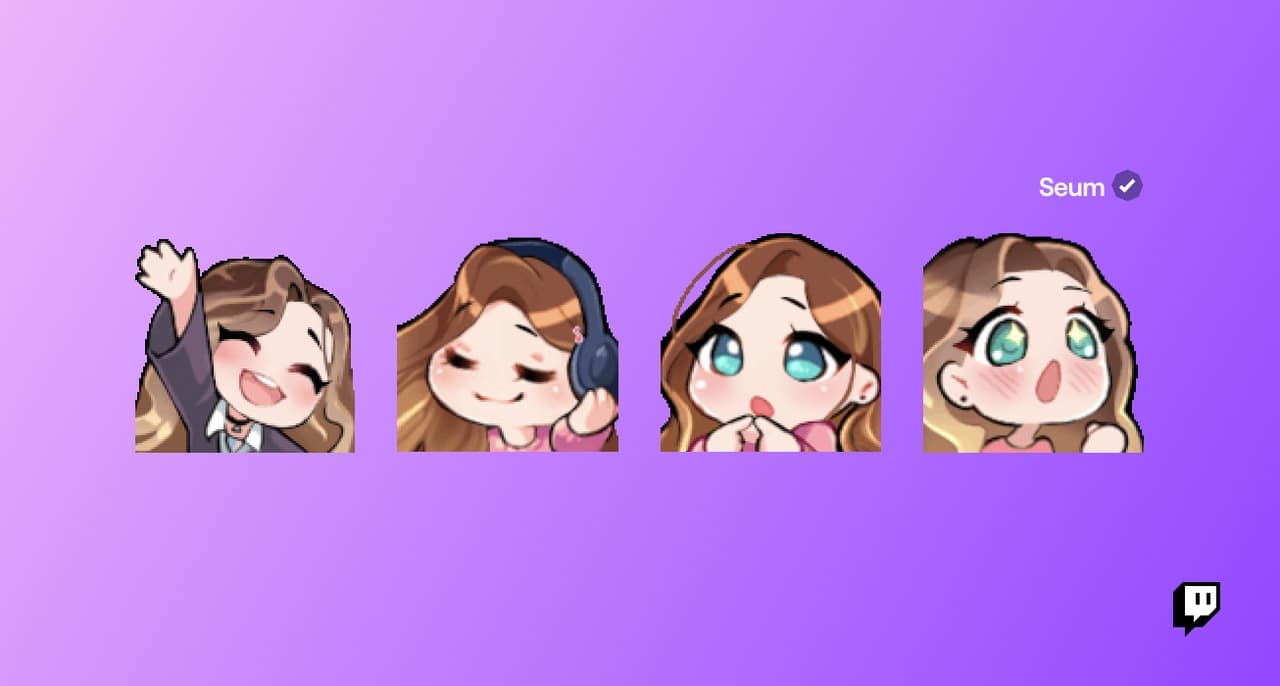
Tutorial: how to create emojis on Twitch
Source: Twitch Blog
For this tutorial, we are going to use the clip studio paint tool. It is a good way to draw and create vectors and illustrations quickly and easily. In this way we can export them later in PNG or in any other valid format.
Once you have the tool downloaded and installed on your device, we move on to the first step to start the tutorial.
Step 1: Create a file
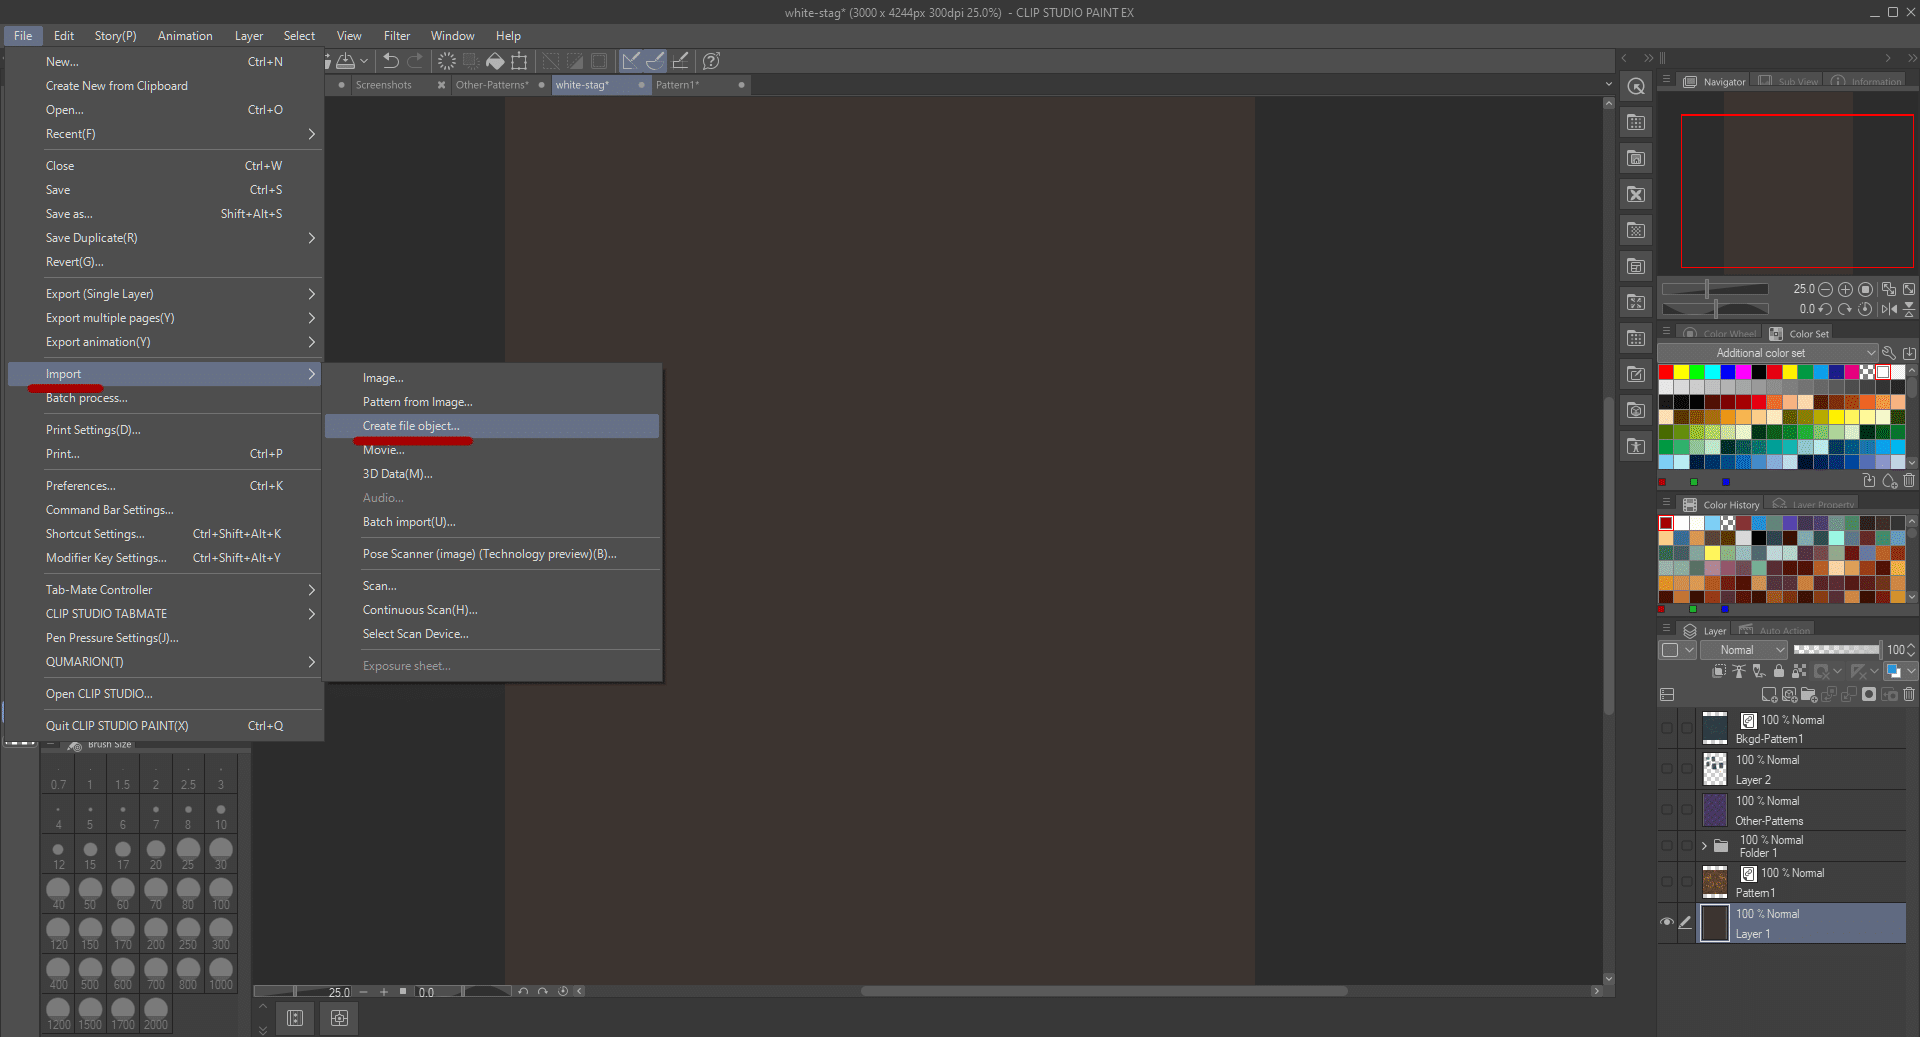
Source: Clip Studio Tips
The first thing we are going to do is create a new file. To do this, it is very simple, we just have to press the icon in the form of a folio or paper that we have in the upper bar, just on the left.
Once we have pressed the icon, we must make sure of the correct measurements, on which we are going to work and project our drawing. In this way, the correct thing would be for the file to have a square aspect or shape, with which only the emoji can work.
Once we have the measures, we proceed to modify the resolution, which is normal and the correct thing would be to have it at about 300 dpi. We make sure that the background of our artboard is white and move on to the second step.
Step 2: Start drawing
Once we have our table ready, we proceed to try the brushes that the tool offers us. To do this, it is advisable to use a pencil that is neither too thick nor too thin, a 17mm nib would be ideal to start with, in addition, it would also be interesting to use a warm color that you counted well as an initial template, for example an orange or red.
Before drawing, we will create a layer with which we will project the first strokes that we make. The interesting thing is that the strokes are not very thick either, but have a normal size. To do this, you will have to do a preliminary study of each of the brushes shown.
Once we have already reviewed our template with a darker color. We will go on to eliminate the layer that has remained below the dark one, that is, the orange or red that has served as a tracing. To do this, we will click on the eye icon that is shown right on the layer where we have worked on the template.
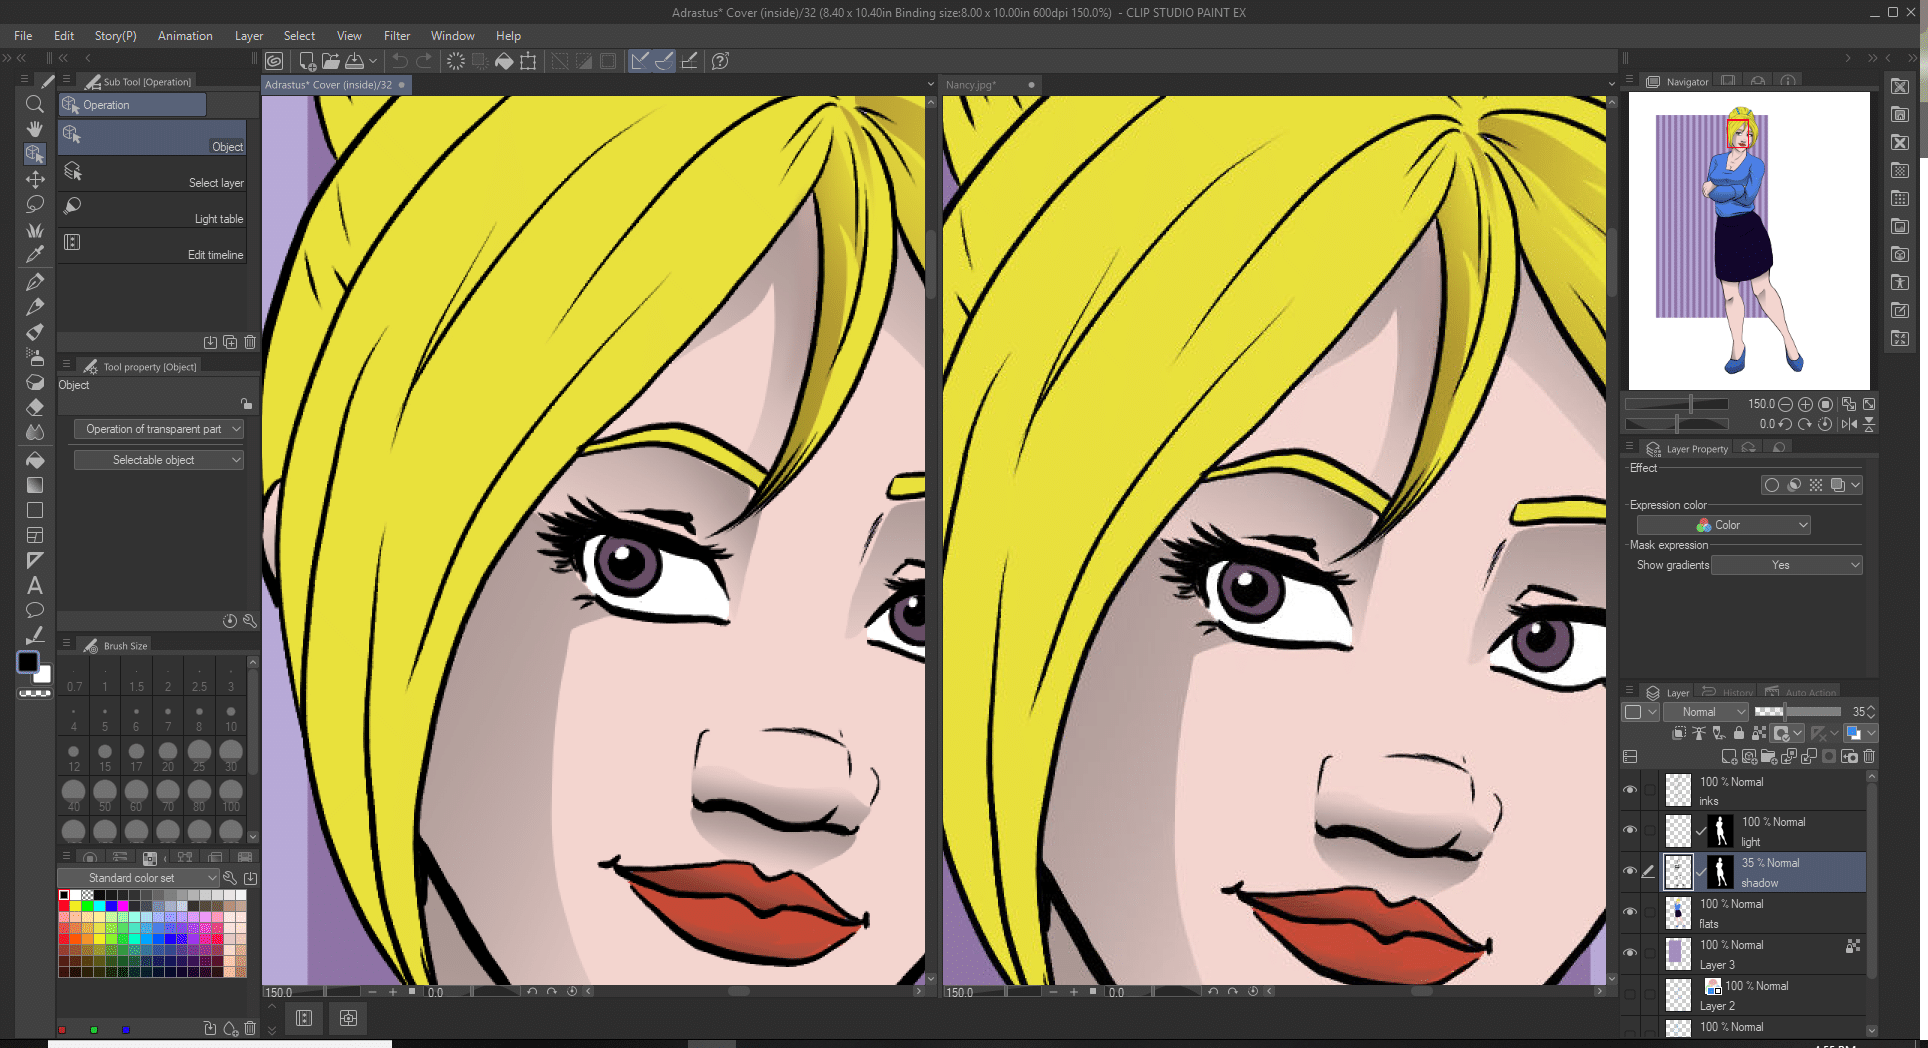
Step 3: Bring your emoji to life and color
Source: Clip paint tips
Once we have the shape of our emoji, we move on to giving it life and coloring. To do this, you will have to find another type of brush, this time with thick strokes to be able to fill each stroke of paint. In case you want to obtain a special ink, you can use the eyedropper tool, With this tool you will be able to take the exact color profile that you want and with a click on the layer, you will have filled in the part of your emoji that you like the most.
Step 4: Make the final touches
Once we have our emoji ready, we go on to adjust what the brightness and contrast would be, so that in this way, it is much more realistic. To do this, we will create a new layer and we will put the option to multiply, once we have adjusted the layer, we must use the white color in the area of our emoji where we want to obtain more light than in the other parts.
Do this as many times as you want to apply more light or less light and do the same for the shadows, it's exactly the same process.
Step 5: Export your emoji
Source: Domestika
When we have our emoji ready, the first thing we are going to do is save it so you don't lose anything in the process. For this we will go to the option of archive and we will give save as. The best and safest thing is to save the file twice, once with the extension of the program to be able to modify the emoji whenever you want, and another with the extension in PNG to be able to use it.
Once we click on export, it will redirect us to a window where we will have to configure the output sizes, the most optimal is a size of 112 x 112 px. Once we have the output measurements and the extension, we will save it in a folder that we will create on our desktop, so that it does not get lost among the multitude of our files that are not important.
Part 6: Upload it to Twitch
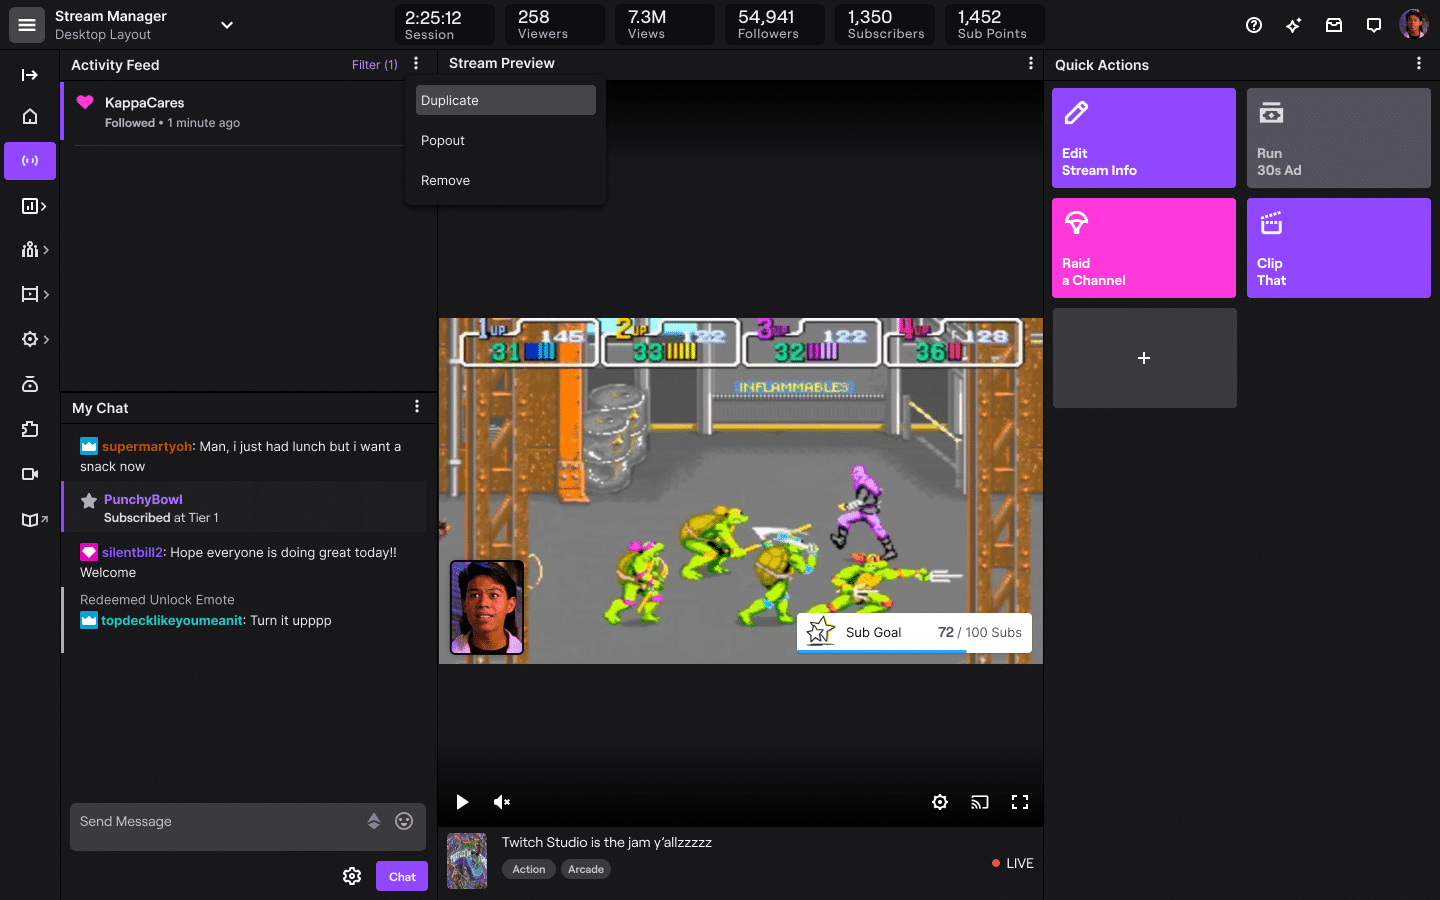
Source: Twitch help
To upload the emoji to Twitch is very simple, we just have to go to the platform and open the creator panel that is also known as streammanager. Once opened, we will go to the stream manager option that is also indicated when it is displayed, then we will go to preferences and then to affiliate. We will click on the option emotes and we will only have to upload our files in PNG format. Once uploaded, the program itself will read them and accept them if they are correct.
As you have been able to verify, designing an emoji and uploading it to the platform is very simple. With this tool you can find different ways to design your emojis. Also note that you do not try some of his brushes, since they are very interesting, the final result is incredible. You can design emojis in all possible shapes and possible colors, in addition, with the hashtag #twitchemotes you will have access to thousands of emojis with which you can inspire your designs and let your creativity run wild.
Conclusion
We have already seen that Twitch is a platform that surprises its users more every day. It is very common to see streaming videos on Twitch on other platforms such as YouTube. And it is that more and more users decide to join and start their adventure in a specific channel of this application.
We hope that the tutorial has been of great help to you to start your first emoji designs. Now it's your turn to be the artist of the month and in this way, project all your artistic skills.
Designing emojis has never been so easy.