Sometimes we need to pixelate areas of a photograph (faces, license plates, addresses ...) or we just want to do it to give our images an artistic touch. In fact, there are graphic designers who use pixels in their designs, as we will tell you in this post about Yuni Yoshida. In this tutorial I show you how to pixelate parts of a photo in Adobe Photoshop, easy and fast Do not miss it!
Open Image in Photoshop and Convert to Smart Object
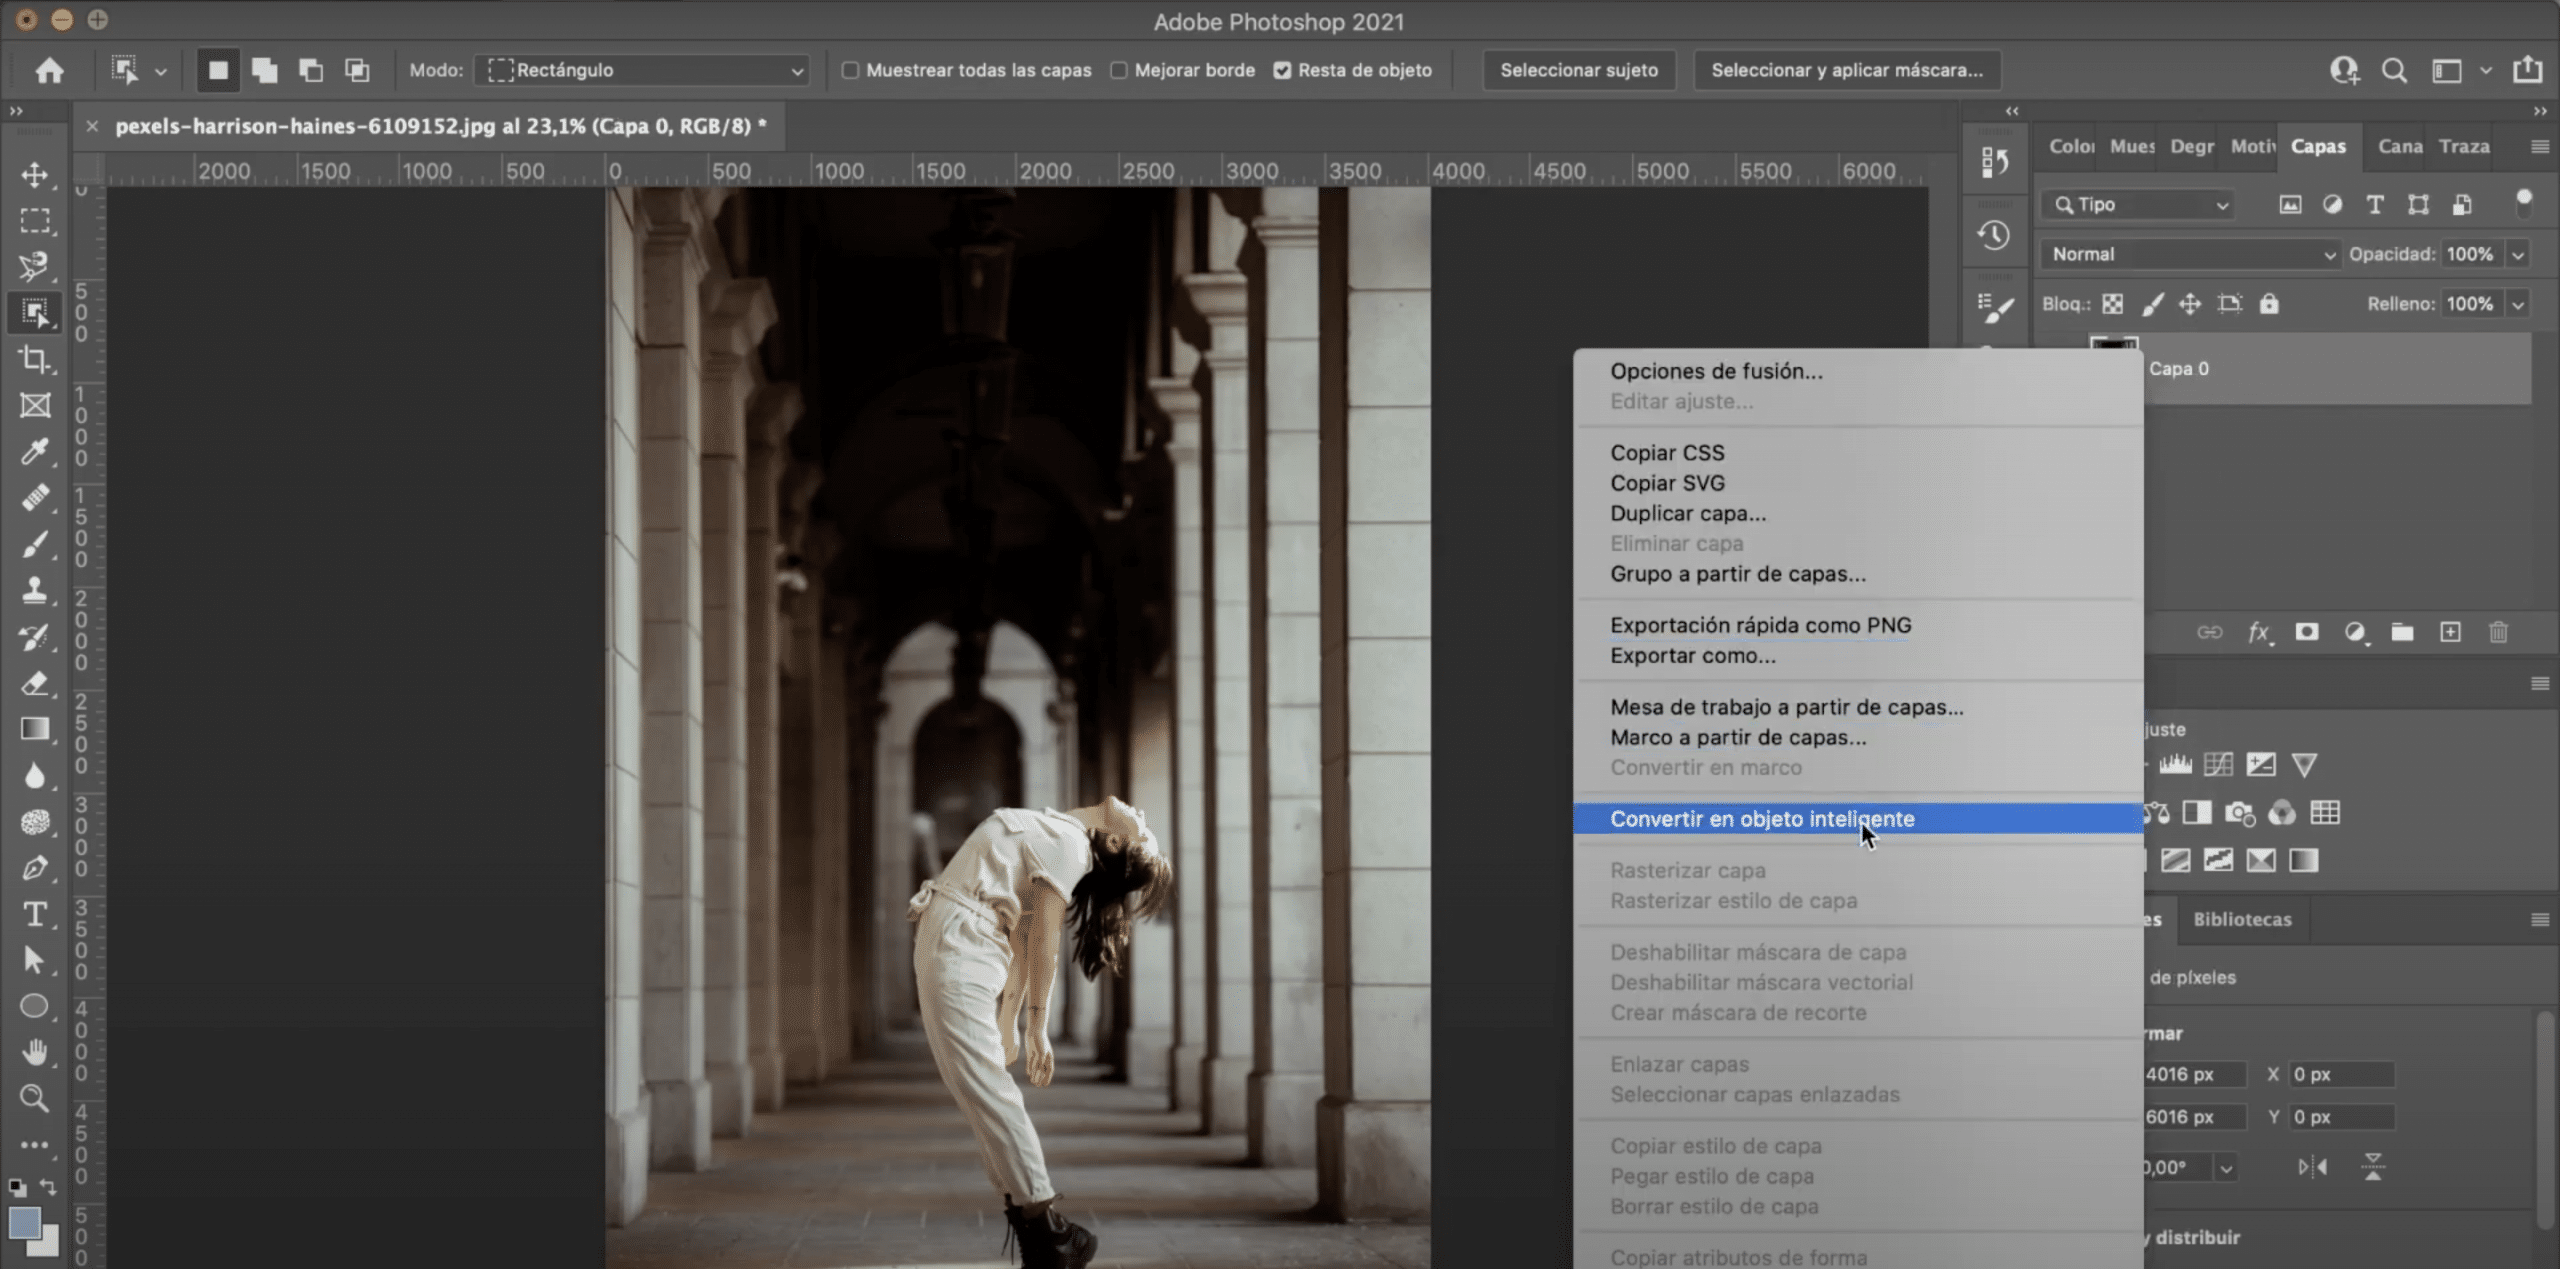
Let open the photo in Photoshop that we want to pixelate, for the example I have chosen this but it can be done with any image. Next, we will unlock the background layer and clicking on it the we will turn into a smart object
Select the part you want to pixelate
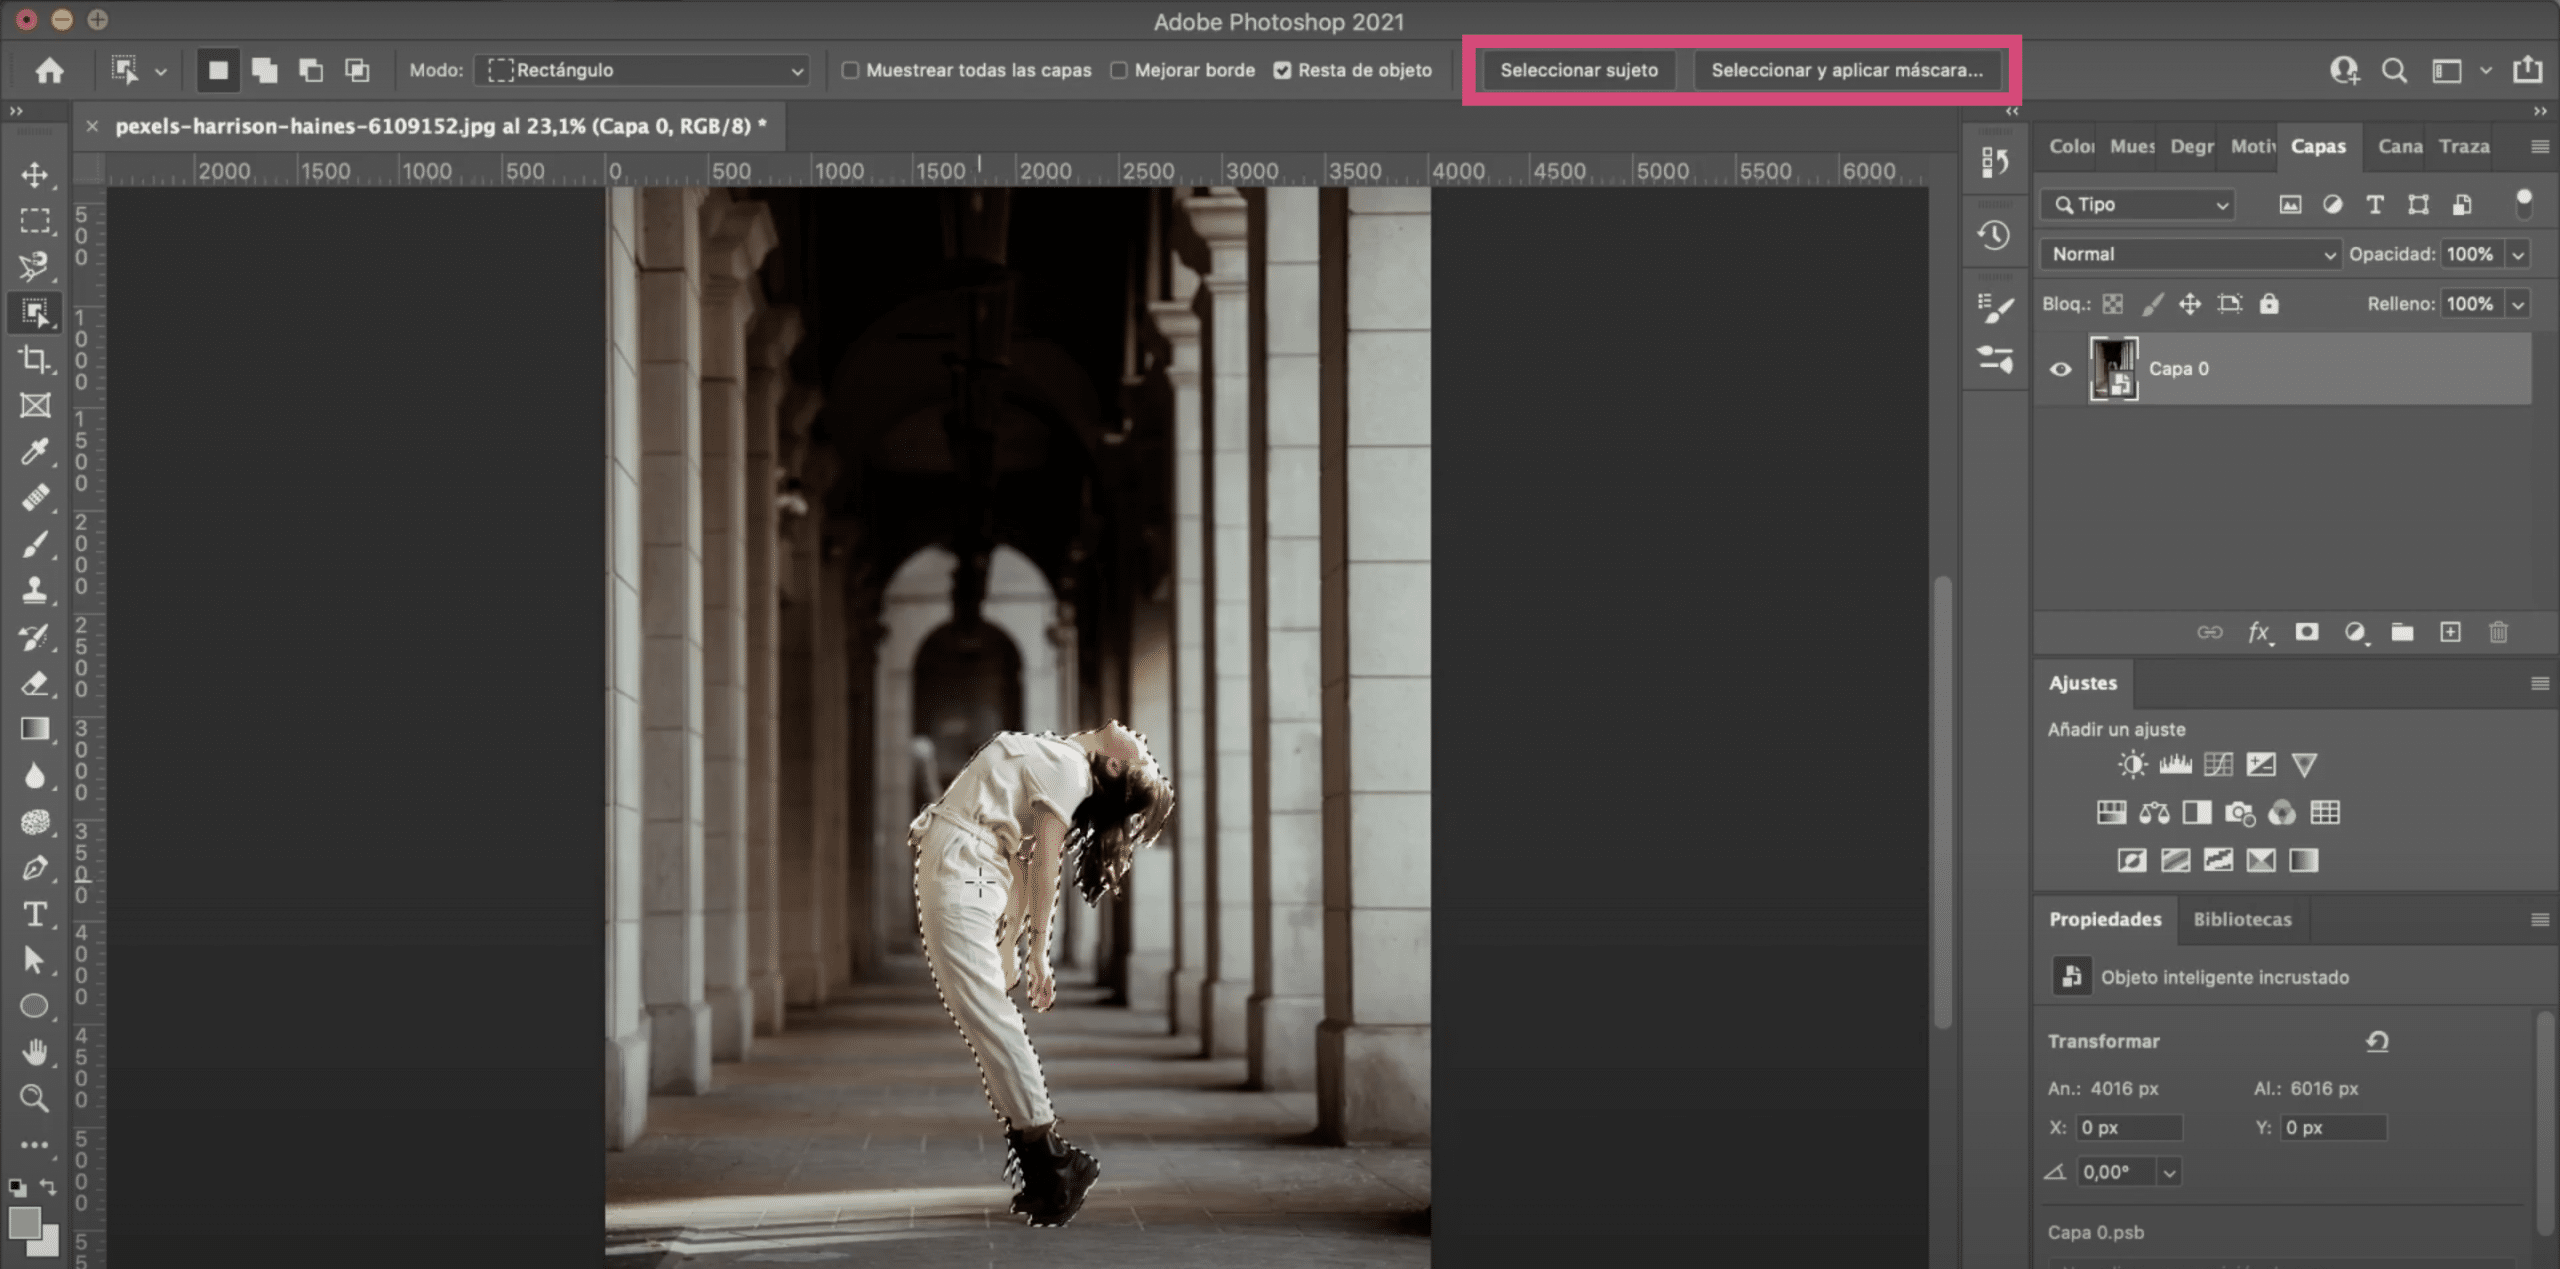
We are going to select in this layer the part of the image that we want to pixelate. You can use the tool you prefer, the one you master best (the quick selection tool, the wand, the object selection tool ...). In these cases, in which we do not need the selection to be clean and perfect, I recommend that you use the option select subject (which appears in the tool options menu when clicking on any selection tool). When you apply select subject, Photoshop automatically locates and selects quite accurately.
If you see that there is some big mistake, you can always correct using selection mask, here on this button. For example, I am going to improve the selection of the arm. I will lower the transparency and with the brush I will color this part that has escaped.
Apply the filter pixelize
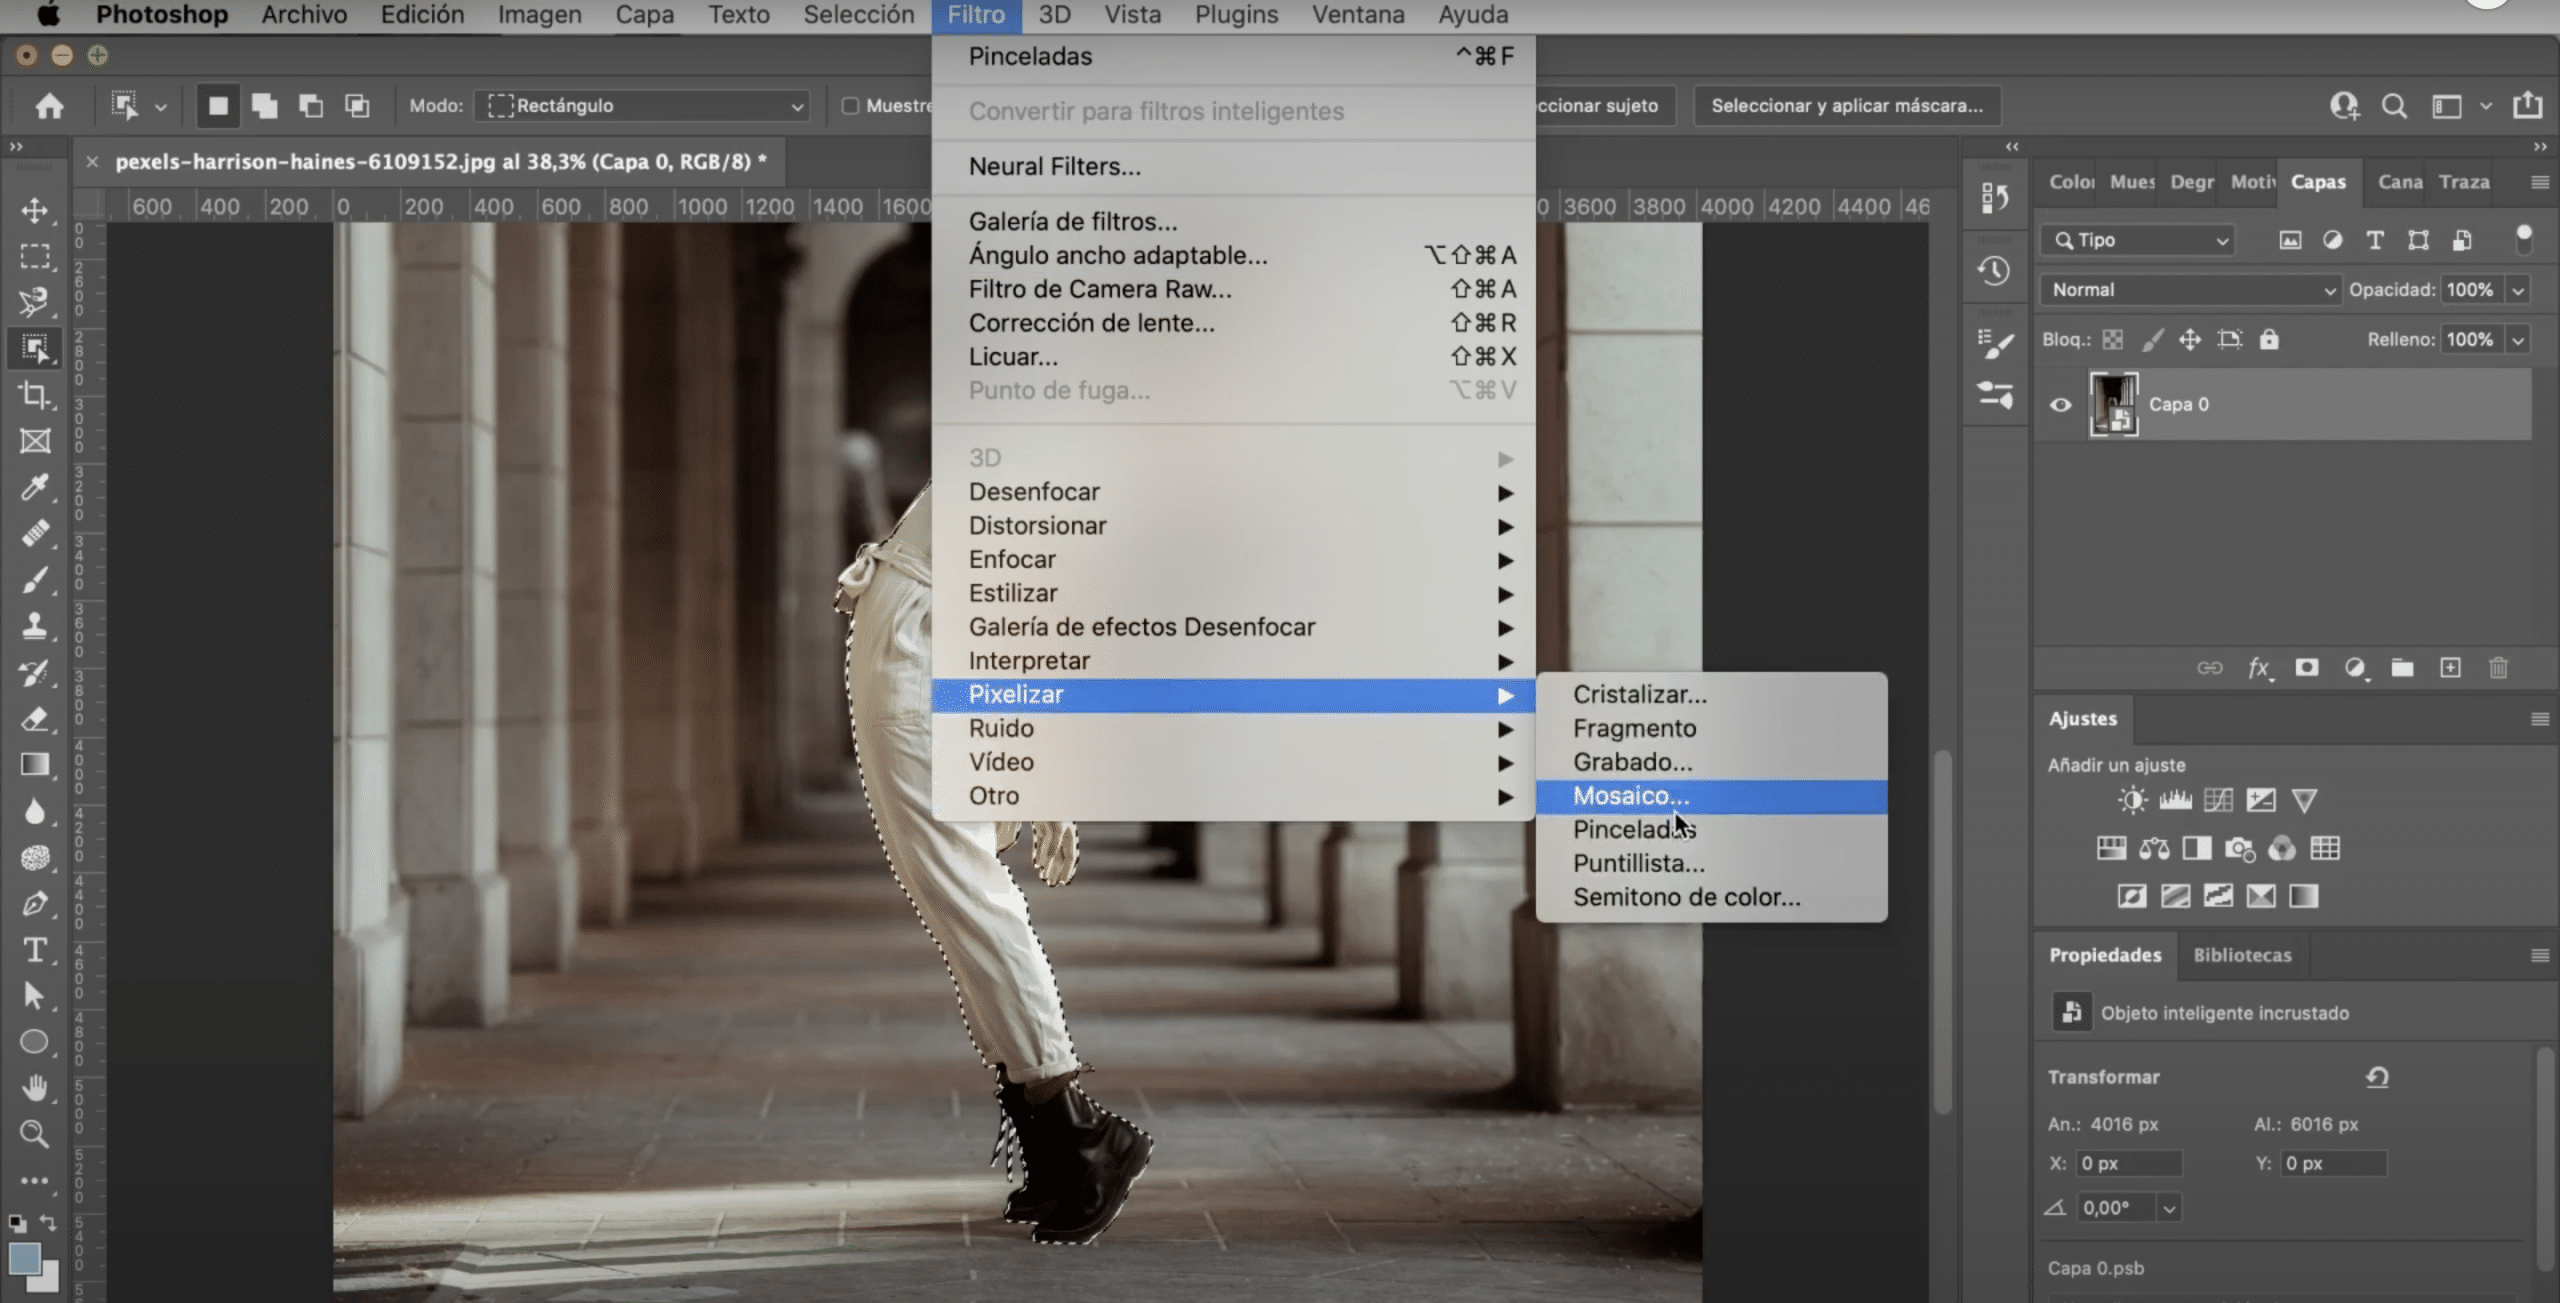
Once you have made the selection, in the top menu look for: Filter. Go to pixelize and choose the option mosaic. A window will open in which you can modify the pixel size. Adjust it to your liking and press preview to see how it looks, I'm going to leave it at 35.
As you see, as soon as you press OK a filter mask will automatically be created, so you can apply this filter to the image and still keep the original. Also, if you want to pixelate only part of the selection pYou can select the filter mask and with the brush include or add zones. With black, you will remove from the selection and with white you will add areas to which the pixelation will be applied.
This is the final result:
![]()
Another pixelated effect
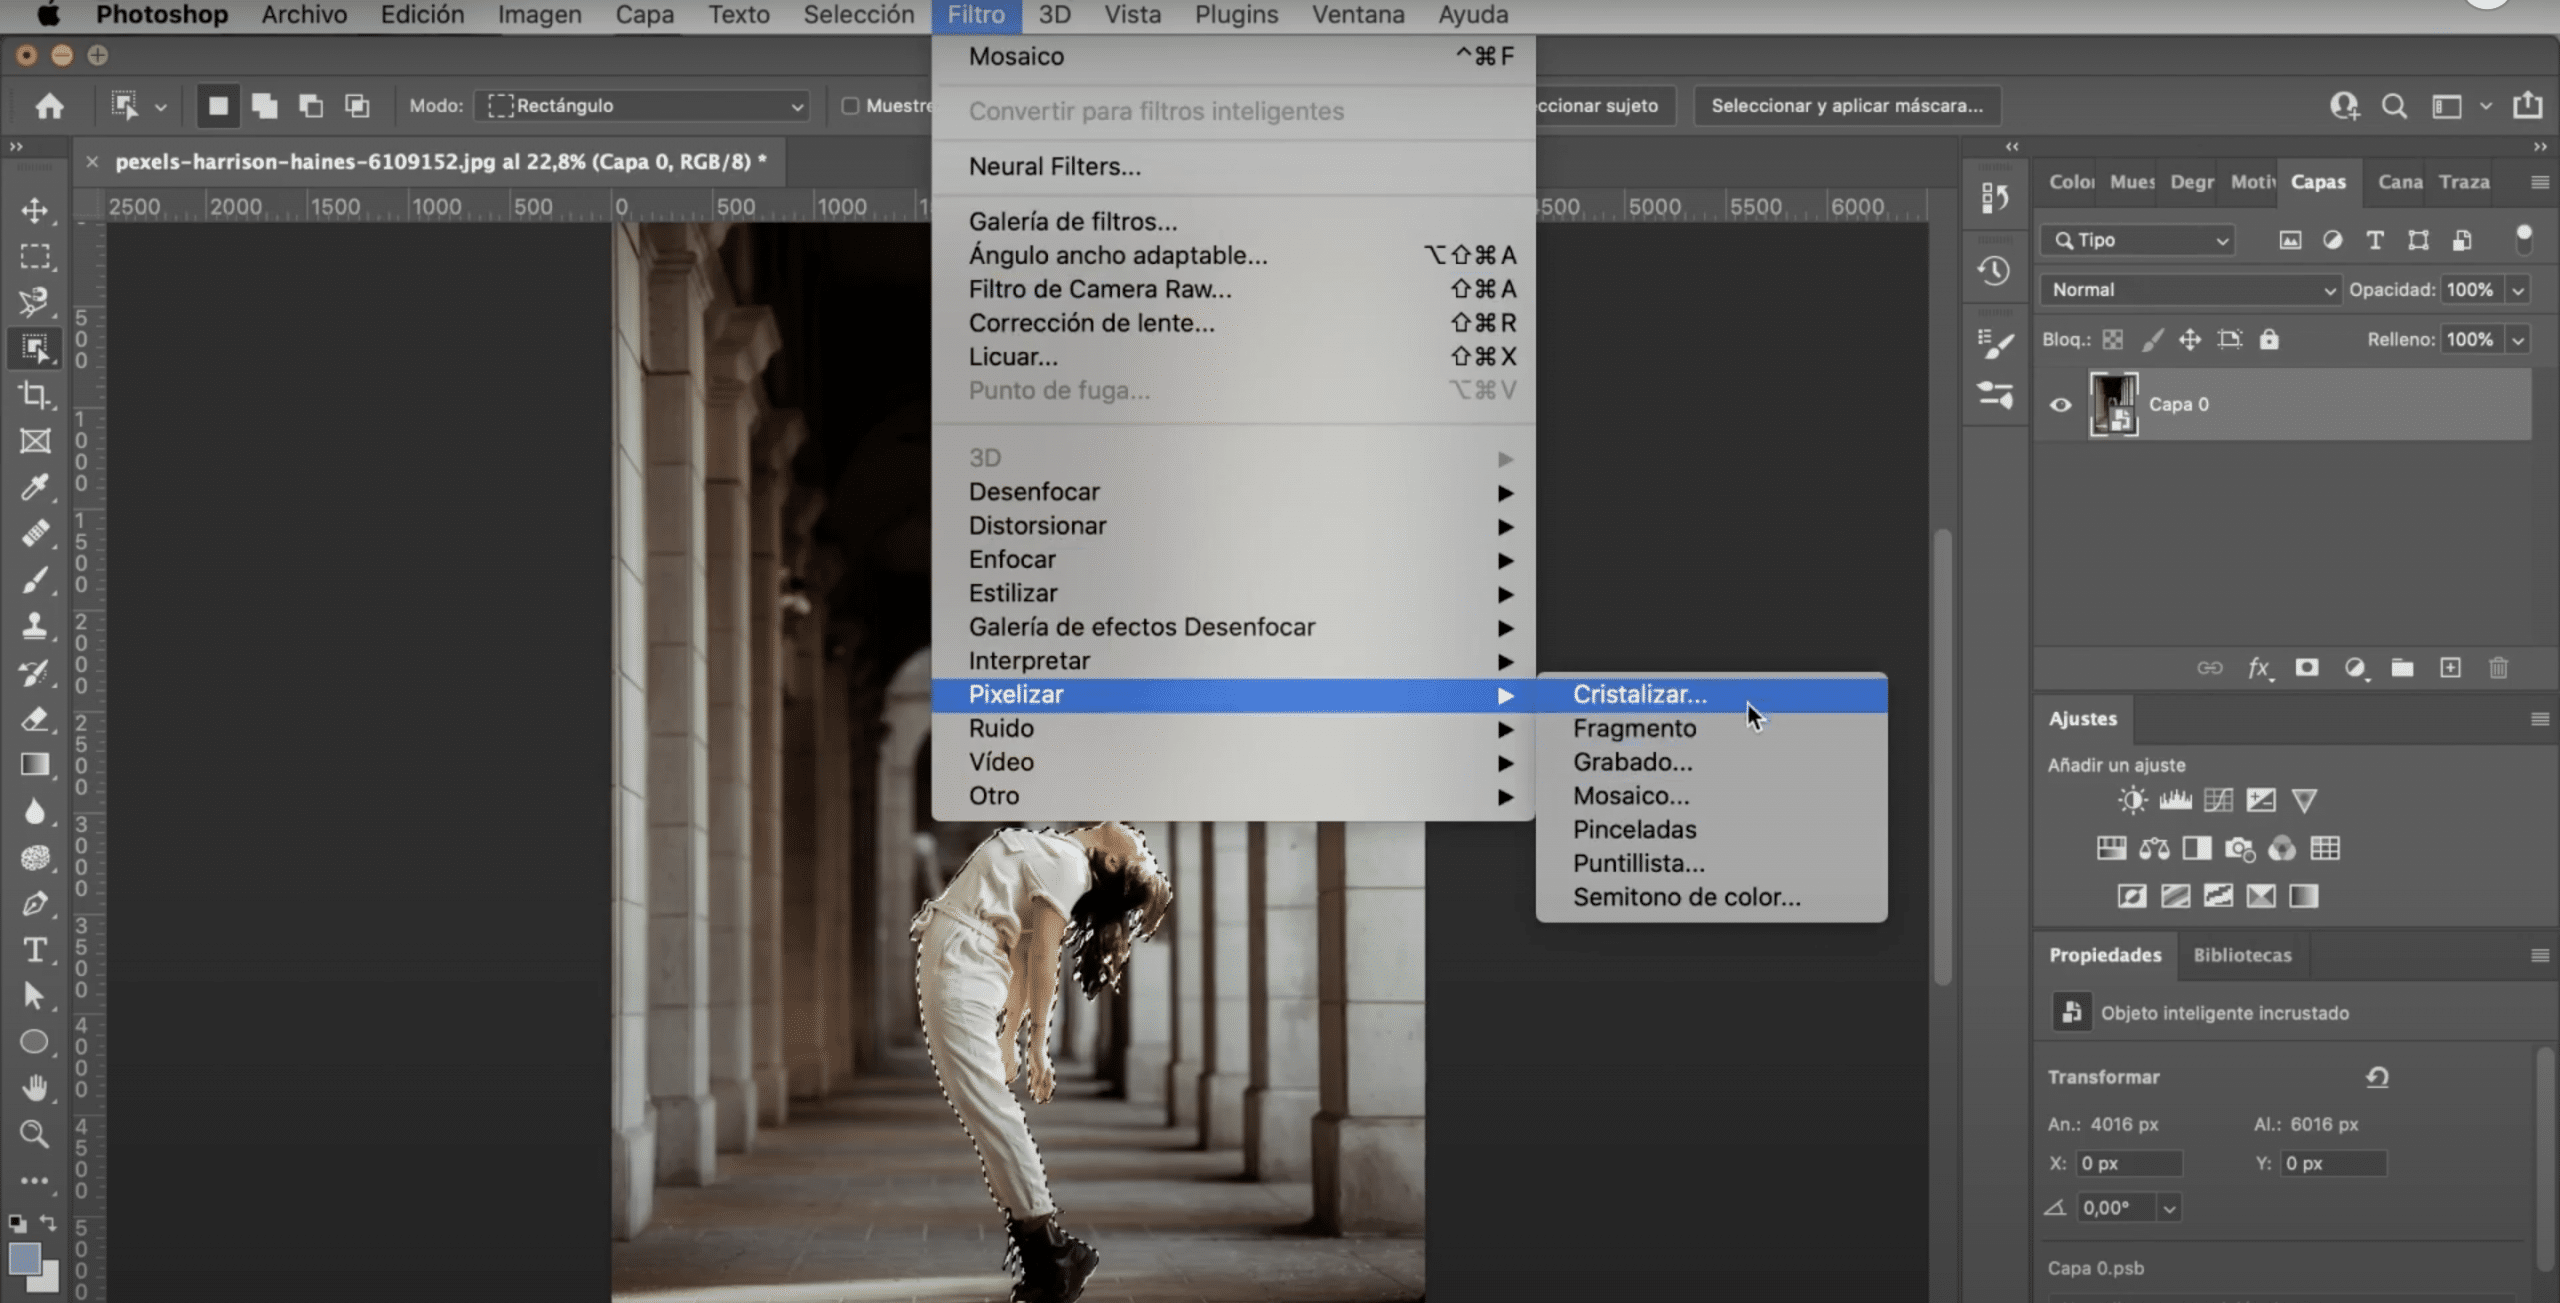
I'm going to show you another very interesting pixelated effect. We will repeat the process. In the smart object we will select the desired area and go to the tab Filter> Pixelize. This time, instead of mosaic, we will click on crystallize.
Once again a window will open for you to determine the size of the pixel, this time it will not be square, define a size and clicking OK will create the filter mask.
This is the final result:
