
There are many tricks of designers that make the results they obtain cannot be compared with those that an amateur does. However, on the Internet you can find some of them that, following the instructions, are very easy to do. For example, when smoothing edges with Photoshop.
If you have always wanted to do it but have never known how, here we are going to leave you what are the steps, explained one by one, so that you can smooth edges with Photoshop like a true expert. So the result will be much better than if you don't.
What is the smoothing effect for?
One of the resources that many graphic designers use in their projects is anti-aliasing. What this effect does is that the corners of an image are lost, leaving more a fade effect, or clouds that seem to hug the image itself.
Why is this used? Well, because aesthetically it looks much better; in fact, the results make part of the image stand out, those in which you want to give more emphasis, which is why it is used to focus attention on a specific point. Now, it is necessary that this image centers the object, since, otherwise, the effect can make the photo lose intensity, especially if it is used with a strong effect (instead of soft).
For example, imagine, if you are building a web page, that you have to put the photo of the products. These will be much better if you put them with photos in ovals, centered on the products, than if you put photos with backgrounds that have nothing to do with, or that being rectangular, it will seem that it has been done with very little care in the design.
How to smooth edges with Photoshop
Smoothing edges with Photoshop is one of the easiest tasks you can do with this professional image editor, and the steps are few. But if you've never done it, it can give you a little respect. Therefore, here we are going to guide you step by step so that you can do it with your own photos or images.
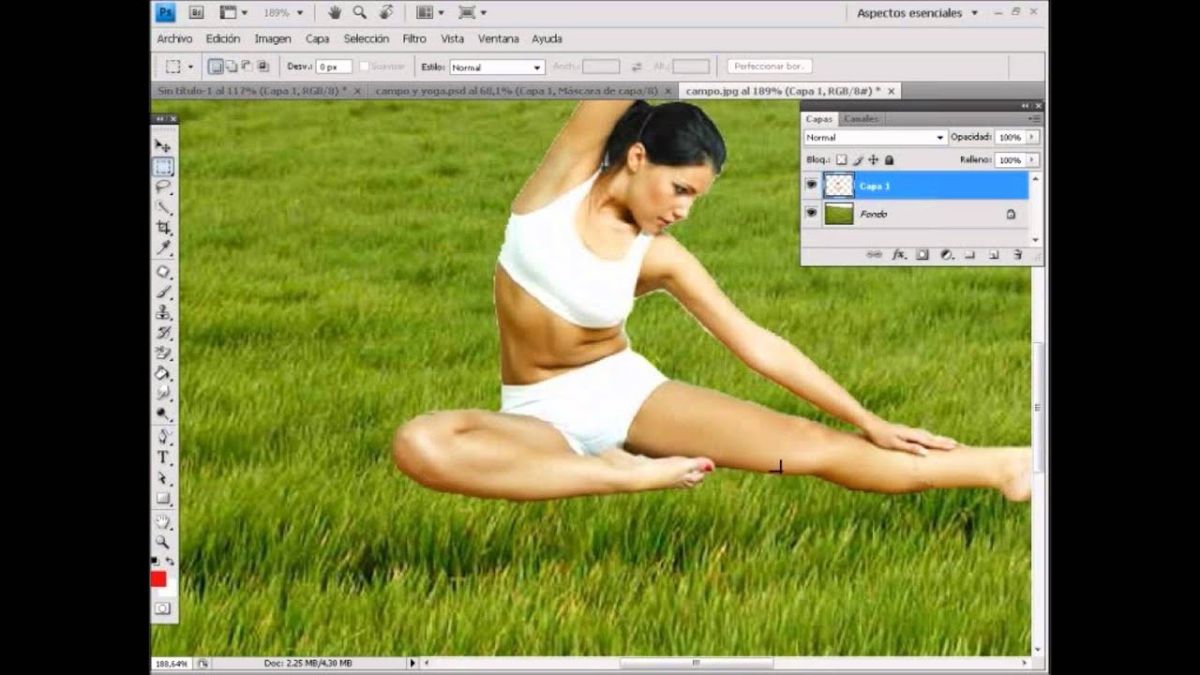
Open Photoshop and a file
The first thing you have to do to smooth edges with Photoshop is open a program and, with it, open the image you want to work with. We recommend that you have that image on your hard drive since this way it does not use up so many resources and you will have less chance of getting errors, especially if the image is too heavy.
Once you have it open, we move on to the next step.
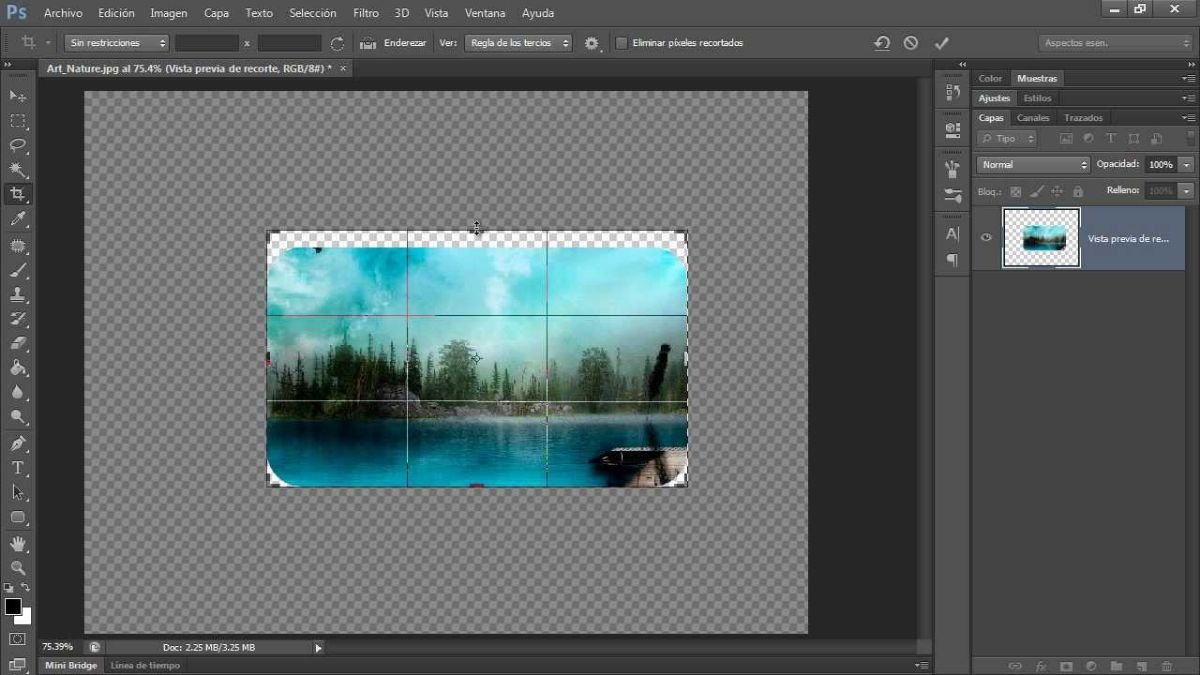
Frame Tool
One of the most important buttons when it comes to smoothing edges with Photoshop is Frame. If you have the Photoshop toolbar you will find it in it. What you need is to click on it and keep it pressed so that you get a Rectangular Frame. The word "smooth" will appear at the top, so you just have to indicate the smoothing radius (if you want it to smooth a little or a lot).
Starts to smooth
To begin to soften a photo, what you will do is create small rectangles, especially in the corners of the images, so that they can fade and, with it, lose sight of it (it blends in with a transparency or even with the color white).
Once you do, don't worry if you get dotted line rectangles, it's normal (and what should come out).
How to smooth edges with Photoshop: Invert
Once you are done, you have to go to Select / Invert. This is because we want the selection to affect only what you want, not the entire photograph itself.
When you hit it, the corner part will stay between the dotted lines.
You need to set the background color to a white (or another color based on the photograph you have and the effect you want to create with it).
Press Delete
The only step left is to delete it so that the final result can be left. Of course, if you give it to erase several times you will continue to eliminate the edges as far as you want.
Fade the edges
There is another way to soften the edges of a photo, although it can affect the photo itself, especially since it can practically erase the background of the photo. It's about fading the edges.
This is done, with the image open, by selecting the part of the image you want (the one you want to remain).
Next, hit Selection / Modify / Fade.
There you will see a fade radius. This can be set from 0,2 to 250, depending on how much you want the image to soften.
If you see that, when you hit Ok, what happens is that the element you wanted to remain disappears is because the tool has misinterpreted it. For that, before hitting Fade, hit Selection / Invert. Thus, when it is time to fade, it will eliminate everything that has not been selected before.
Is there another way to smooth the edges with Photoshop?
The truth is that yes, there is another way to do it, and it is by playing with the filters and effects that the program has. For example, imagine that you have a photo in which you have an image of a person (animal, object, etc.) and you want to focus your attention directly on it.
Therefore, you want all the rest of the image to appear blurred, or simply not appear. To do this, we recommend you go to Filters / Light. Why there? Well, for several reasons:
- With the lights you can create shadows that make the image only get the light in the part that really interests you. Also, it does not have to be a dark background, depending on where you place the lights, you can play with the contrast.
- You will have a more original effect. And it is fine to soften the edges with Photoshop, but they have a problem when those photos have a background and that is that, if you do not do it well, it can be cut very abruptly.
- You give a more "mystical" touch to photography.
When it comes to seeing the different beams of lights, we recommend that you try all of them to see which is the most suitable for the result you are looking for. In addition, you can change the intensity of the light, the orientation and the effect you get (because you can modify the values).
It is not properly smoothing edges, but by opening the radius of the light more, you could achieve that effect you are looking for and, sometimes, it is much easier to do it this way than the one we have explained before.