
Source: Graphic Design
Technology has provided great mechanisms that. At first glance they make people's work easier. They make it more enjoyable and above all, they save time, which, for a designer, is very valuable time.
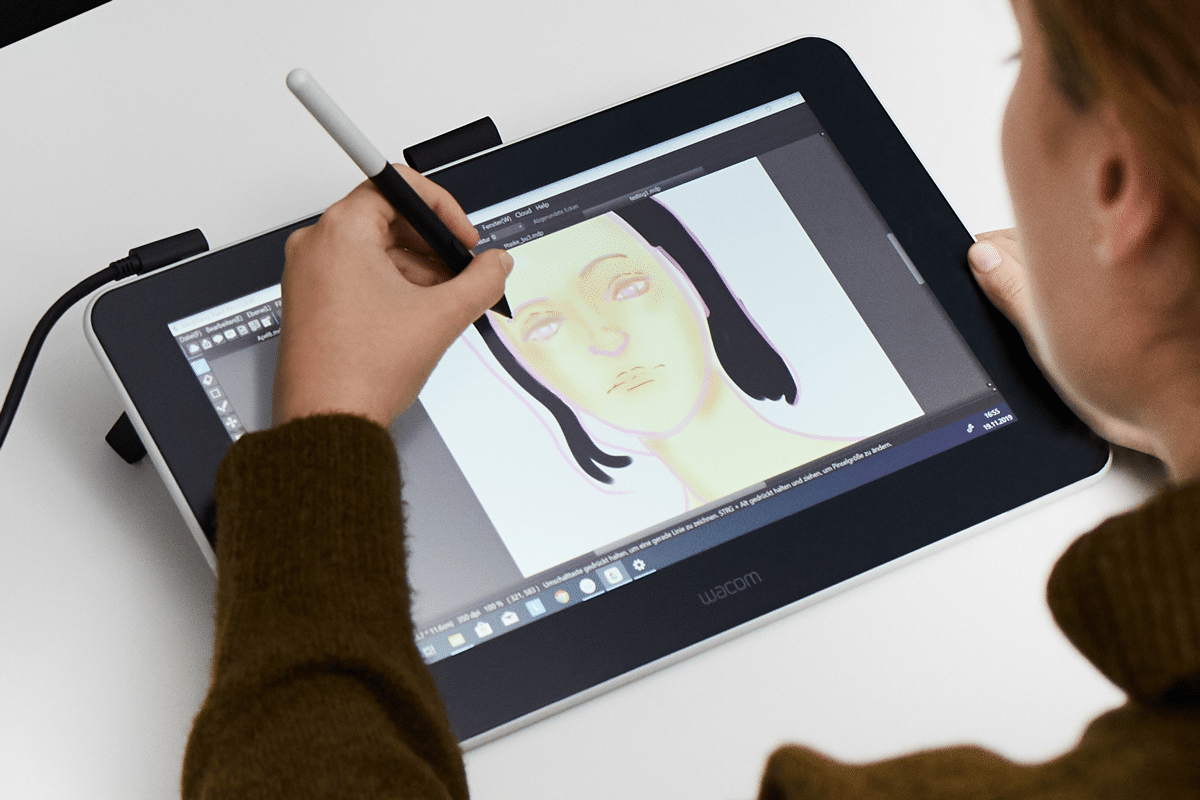
But we do not want to talk to you about time, although technology has to do with this matter. We want to talk to you about how important the use of the graphics tablet has become today. Thus, We are going to show you how to use a graphics tablet in applications like Photoshop. A tool that requires a good tablet to be able to work with graphics or vectors.
We will also show you some of the best brands or models so that they can be of great help to you.
Graphic tablet: what is it
Source: The world
A graphics tablet is defined as a kind of device that is mainly characterized by being connected to a certain device. Normally, this device is usually a computer and does so through a USD cable or, on the other hand, there are others with more advanced technology that connect via bluetooth connection.
They also have a kind of digital pencil or pen incorporated, two elements that allow you to draw freely and easily on the screen of the graphic tablet. By incorporating technical elements of great importance and interest, they thus allow the stroke to be as comfortable as possible, simulating in this way, the manual movement with the traditional pencil.
Features and functions
- Among its functions, it stands out that it is a device that mainly It has been designed to be able to draw, write, design, paint etc.. Everything we usually do with a pencil and a sheet of paper but digitally. It is an element that was created for a certain public, this public is characterized by being; designers, artists, architects etc. It is even used by users working on 3D modeling as well.
- They are usually elements that do not require an excessive cost, which is what has made it an important resource to be able to work comfortably and have it at your fingertips. There are many models that exist, each model is designed in a different way, which makes it a new way of working with new technology and facilitating your work on a large scale.
- More and more users prefer to use this type of help for their projects, in addition, many illustrators achieve great results through other applications or tools like Illustrator. In short, the easiest way to work.
Next we will show you a short tutorial on how to use your graphics tablet in applications like Photoshop. We also remember that this tool is dedicated to retouching images, working in this way with illustrations and animations.
Without a doubt, you can already get a small idea of how much you can work with this tool and the projects that you can carry out just by sliding the stylus on the screen of the graphics tablet. In short, we hope that this little tutorial that is to come will be of great help to you.
Tutorial: Using your graphics tablet in Photoshop

Source: Muycomputer
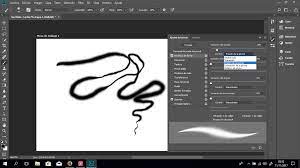
Step 1: The Brushes
Source: Adobe Support
The first thing we must do and take into account before working, is to correctly calibrate our device and the tablet so that there are no differences when working. Calibration is subject to something very personal, since each device and tablet is calibrated in a different way and that varies according to the model.
Once we have calibrated tablet and pen, we proceed to show you the first step you need to know, Photoshop brushes. You may already know or understand the subject at first glance, but you need to take it into account for your tablet as well.
- For that, we will open a new document, the background or the work table will be completely white, we will proceed to press on the option of brushes, and we will begin to draw with the simplest one that we have available.
- Once we have made the first stroke, we have to take into account the smoothing, so we can configure them according to the percentage that we want at that moment.
- Once we have already tested all the brushes and we know which one to work with best, We proceed to start drawing.
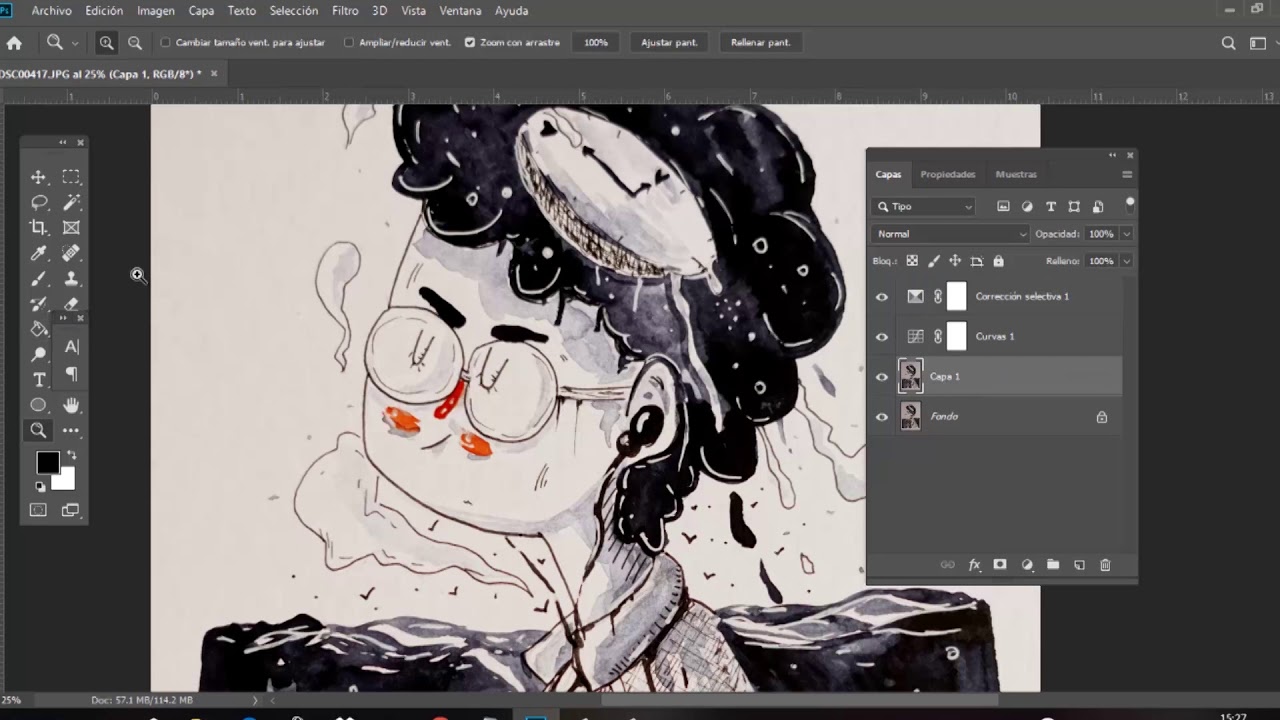
Step 2: The Drawing
The drawing is the most important phase of this journey, so we must take into account how we want to work with the line, and how we want to work.
- The simplest and fastest is to start with an initial figure. Lightly draw a small sketch, to do this, use a fine brush and lower the opacity or intensity, so that the stroke is barely visible but you can work comfortably at the same time.
- When we already have the sketch, we will use a second brush, this time much thicker and stronger and more intense. And above the strokes of our sketch, we will begin to correct the first irregular lines, we will perfect some angles, and we will give our drawing a much more realistic shape.
Step 3: Delete the main sketch
Fuente: YouTube
- Once we already have two overlapping layers, we will remove the first layer what we do for the initial strokes.
- To do this, we will select the eraser tool from the toolbox and then we will use a type of eraser that is very thick, enough that we only get a single layer and some correct initial strokes.
- Once we have this step, we will move on to coloring.
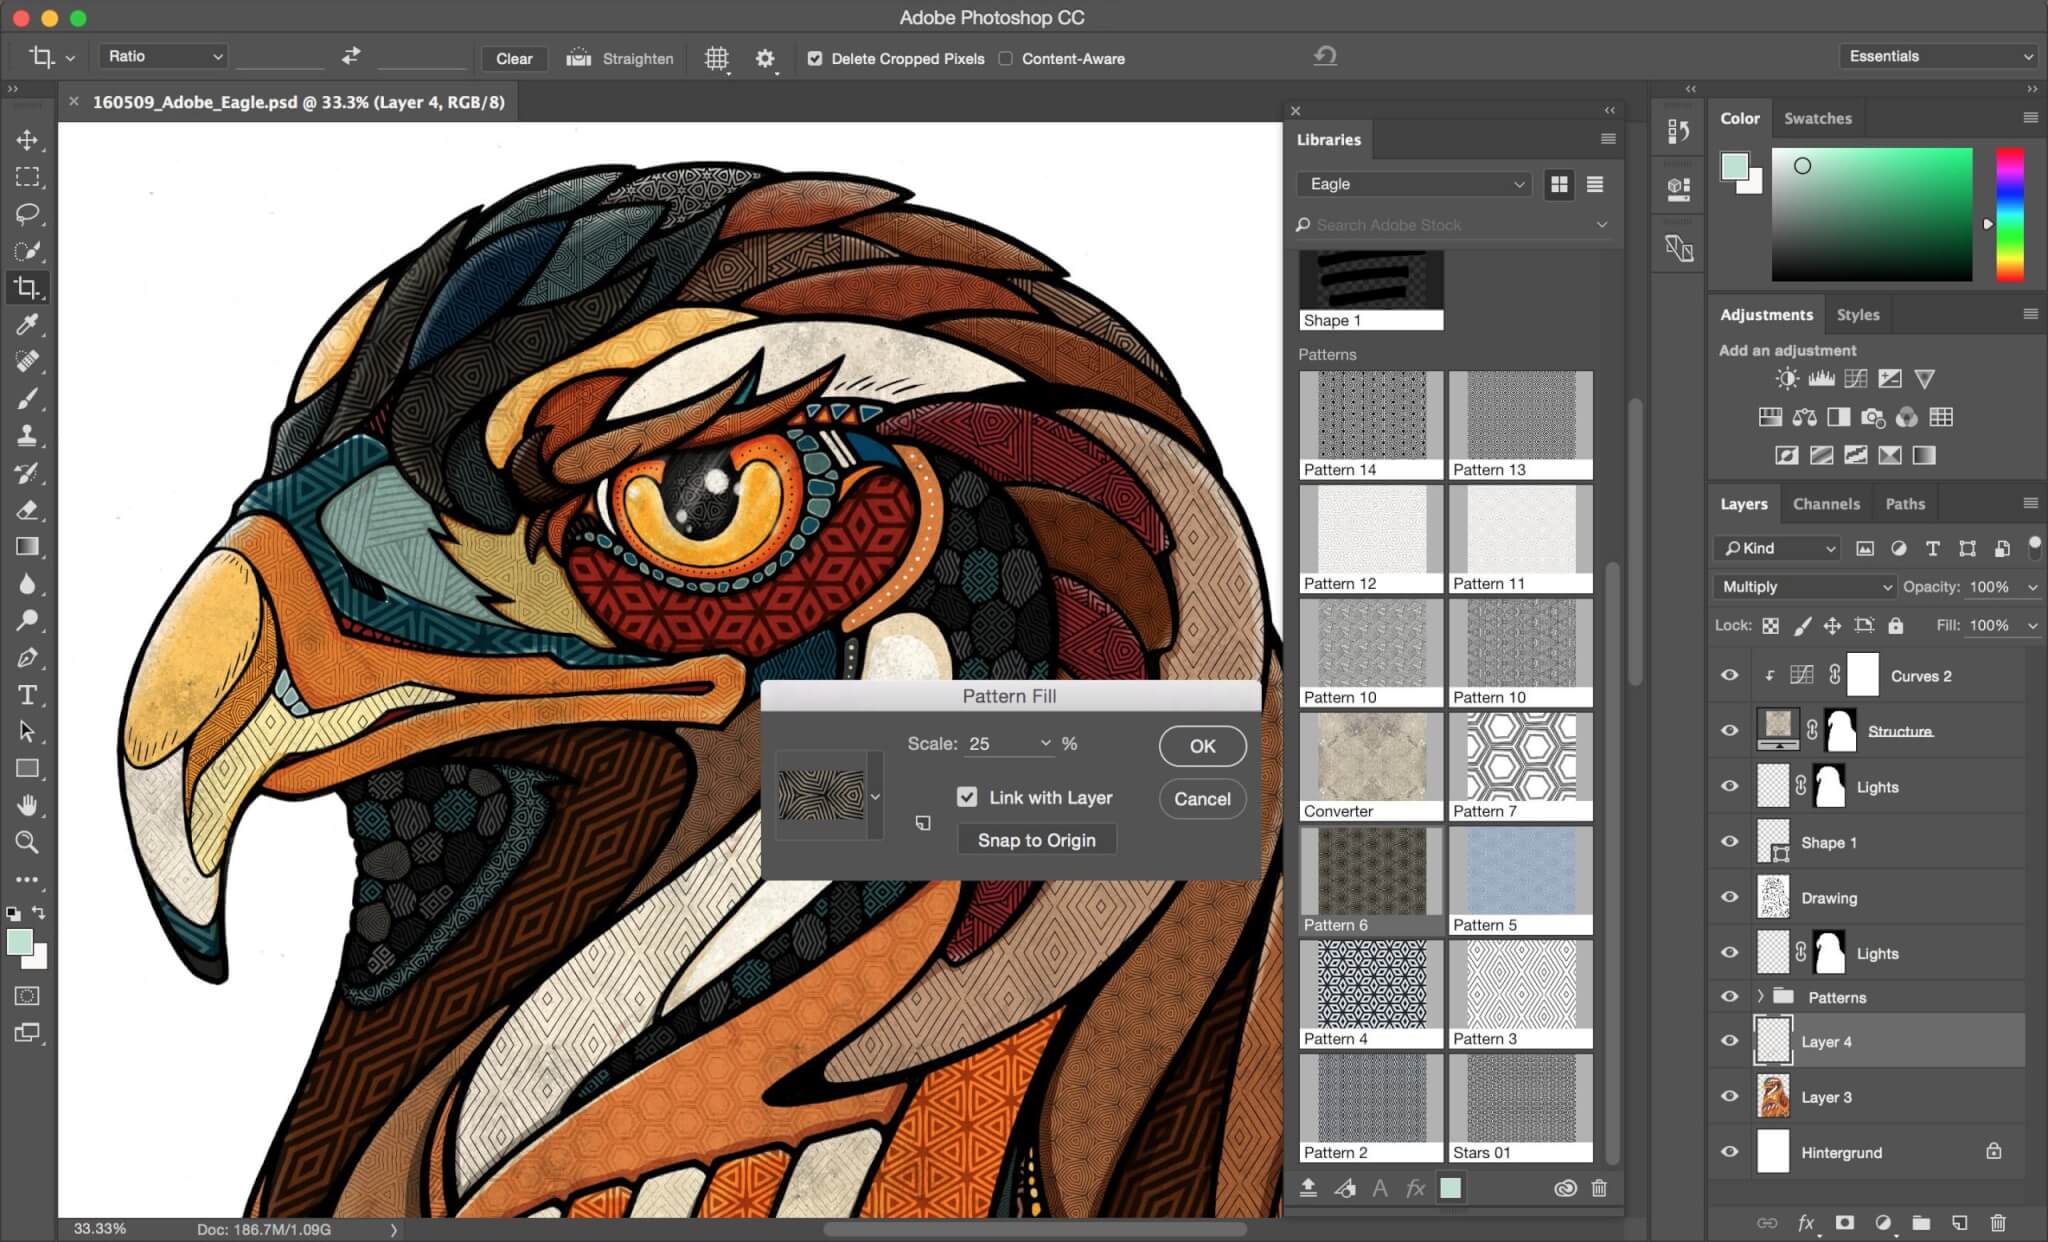
Step 4: Fill your drawing with color
Source: IndustryAnimation
- For the inks or colors it is very simple, it is enough to be clear about the color profiles with which we are going to work and select them. The difficult part of this process is choosing the correct brush with which to color each stroke, since each stroke is different, one will always be straighter or more curved than another, so we will have to use different brushes.
- Once we have the chosen brushes, we will color our figure. Remember that you can also configure the intensity of the color, something that may be interesting if you want to make mixtures or great contrasts.
The best graphics tablets
Huion 1060plus
It is the perfect graphics tablet if you want something standard with a not very high cost. It is characterized by containing a size of 10 x 6,25 inches, measures that will allow you to work without problems.
In addition, what best characterizes this device is the speed of action it has, you can instantly draw each stroke you make or action you perform in the most automatic way possible. It is without a doubt a perfect option if you are looking for perfect results.
Wacom Intuos USA
It's the perfect tablet if you are new to the design sector and have not worked with one before. It will help you with your first steps and also, in a very professional way.
Another detail to keep in mind is that it is a reversible graphics tablet, which makes it not difficult to work with it if you are left-handed or left-handed.
And finally, if you don't know how to start or with what, several applications are included by default for you to try and start drawing or designing for the first time.
Wacom Cintiq Pro
It is the perfect tablet if you are already a professional in the design and handling of graphic tablets. Its quality is impressive, the price is somewhat higher than established, but it is normal taking into account the elements that compose it.
It contains a stylus that works completely without a battery, it also contains several buttons with which you can customize them and not only that, it has a perfect pressure adjustment and indicated for the design.
If we talk about the screen, it leaves us without a doubt with our mouths open, since contains an incredible 4K display with which you can work your graphics in a spectacular way.
Ugee M708
It is another of the tablets that has been designed for design beginners. Its spectacular design makes it one of the best graphics tablets in the entire market. In addition, it should be noted that it contains a low cost with which, your chances of being able to obtain it easily and quickly increases.
It connects through a USB cable that goes directly to the device, and also includes various details and aspects such as 8 hotkeys and a pen with enough battery to work with it.
Conclusion
The graphic tablet is necessary in your life if you dedicate yourself to graphic design, even if you are a photographer or photographer. Since you can not only invest time in your most artistic projects, but also, it is possible that you reinforce your creative side by editing images, adjusting the luminosity and contrast, or you can even create your most editorial and corporate designs.
Without a doubt, a good way to be able to work that, we hope you have learned the most basic of the world of graphic tablets. Now dive into one and start moving the pencil back and forth.