
If you are learning to use Illustrator and want get the most out of your tools, this article offers you the possibility of designing a poster full of color in an easy and simple way.
You don't need a lot of knowledge to get a good result, you have to use your imagination and know how to take advantage of resources. We show you in this little tutorial.
If you want to create a simple but impressive design, be aware because the "appearance" tool gives us a wide variety of options for us to play with the elements.
The first step is to open is to open the Illustrator program and decide the canvas size, this way it will be easier for us to adjust the design. It seems logical, but depending on the format we will have to adjust the size of the elements, the typography, and we will have more or less freedom to organize the workspace.
The basic elements
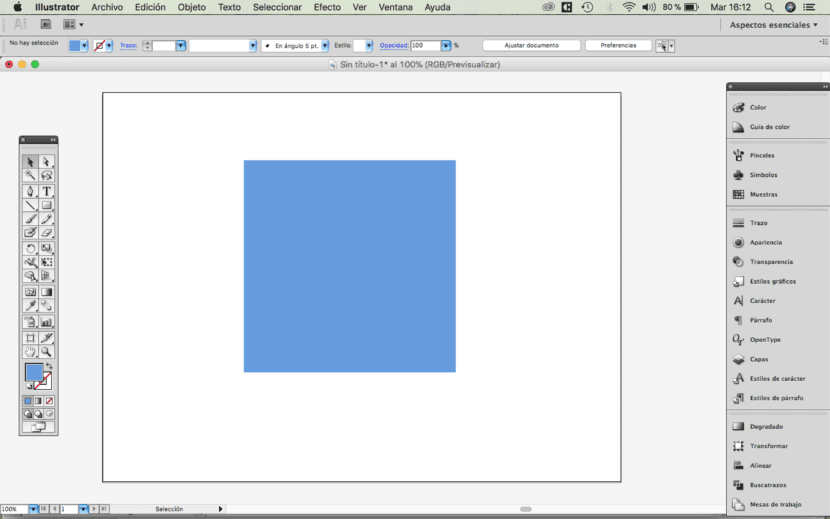
Continuing with the design of our poster, we will make a square. With the direct selection tool (white arrow) we can modify the vectors, in such a way that we will convert the square into a triangle.
Duplicate and organize
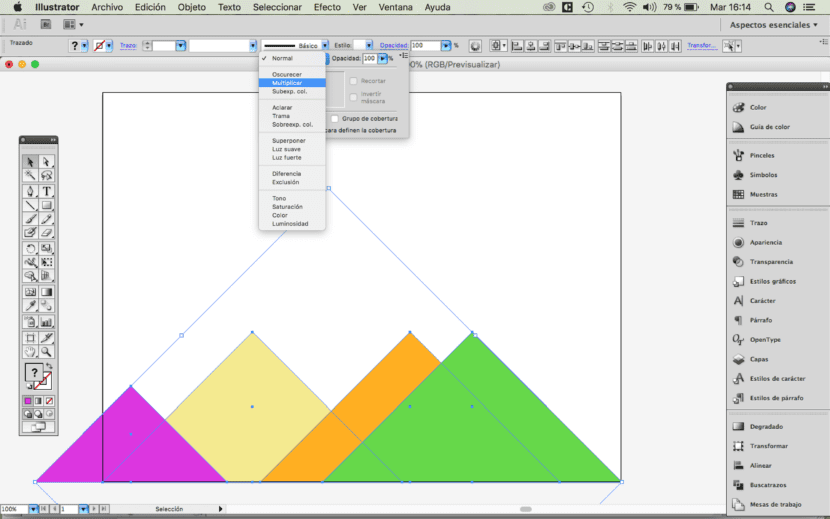
The next step is duplicate the triangle as many times as we want, we can even modify its size. We can place them in an orderly way on the canvas.
The choice of color
Next we will apply a different color to each of the triangles. The choice of color is essential to mark the style and the message that we want to convey to the recipient. In this case, the choice has been for bright colors. We can also play with a single color and change its shades. Do not forget that when we export our project the screen color must be RGB and if we want to print it it must be CMYK.
The final touch with Illustrator
El key step of our design is the following, we select all the elements and in the menu we follow the following path: window - appearance. A window will appear where we can apply the type of opacity we want, we will select the "multiply" option.
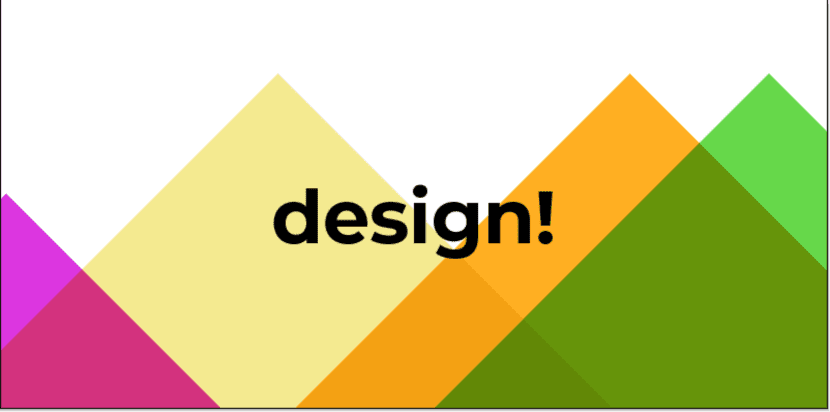
Finally, we place the elements in the correct position on the canvas and with the clipping mask we eliminate the objects that protrude from the margins. Once we have the design we will have to add a title or text.