
Source: Clubic
Photoshop is currently the star tool for many designers. Many people use it to edit images, create creative mockups that show the identity of a possible brand, create fun collages, etc.
But what few are unaware of are the many options that can be carried out through the tools that this application has. In this tutorial we are going to teach you a new trick that you may not have known, We are going to show you a mini guide on how to integrate both images in Photoshop.
In addition, we are also going to show you other tools in case you do not have Photoshop.
We start
How to integrate both images in Photoshop
Source: ComputerHoy
Before starting the tutorial, you will need to prepare two images, the ones you like the most and the theme that is most creative for you. Once you have them downloaded and prepared in a folder or on your computer's desktop, open them.
Step 1: Prepare the first image
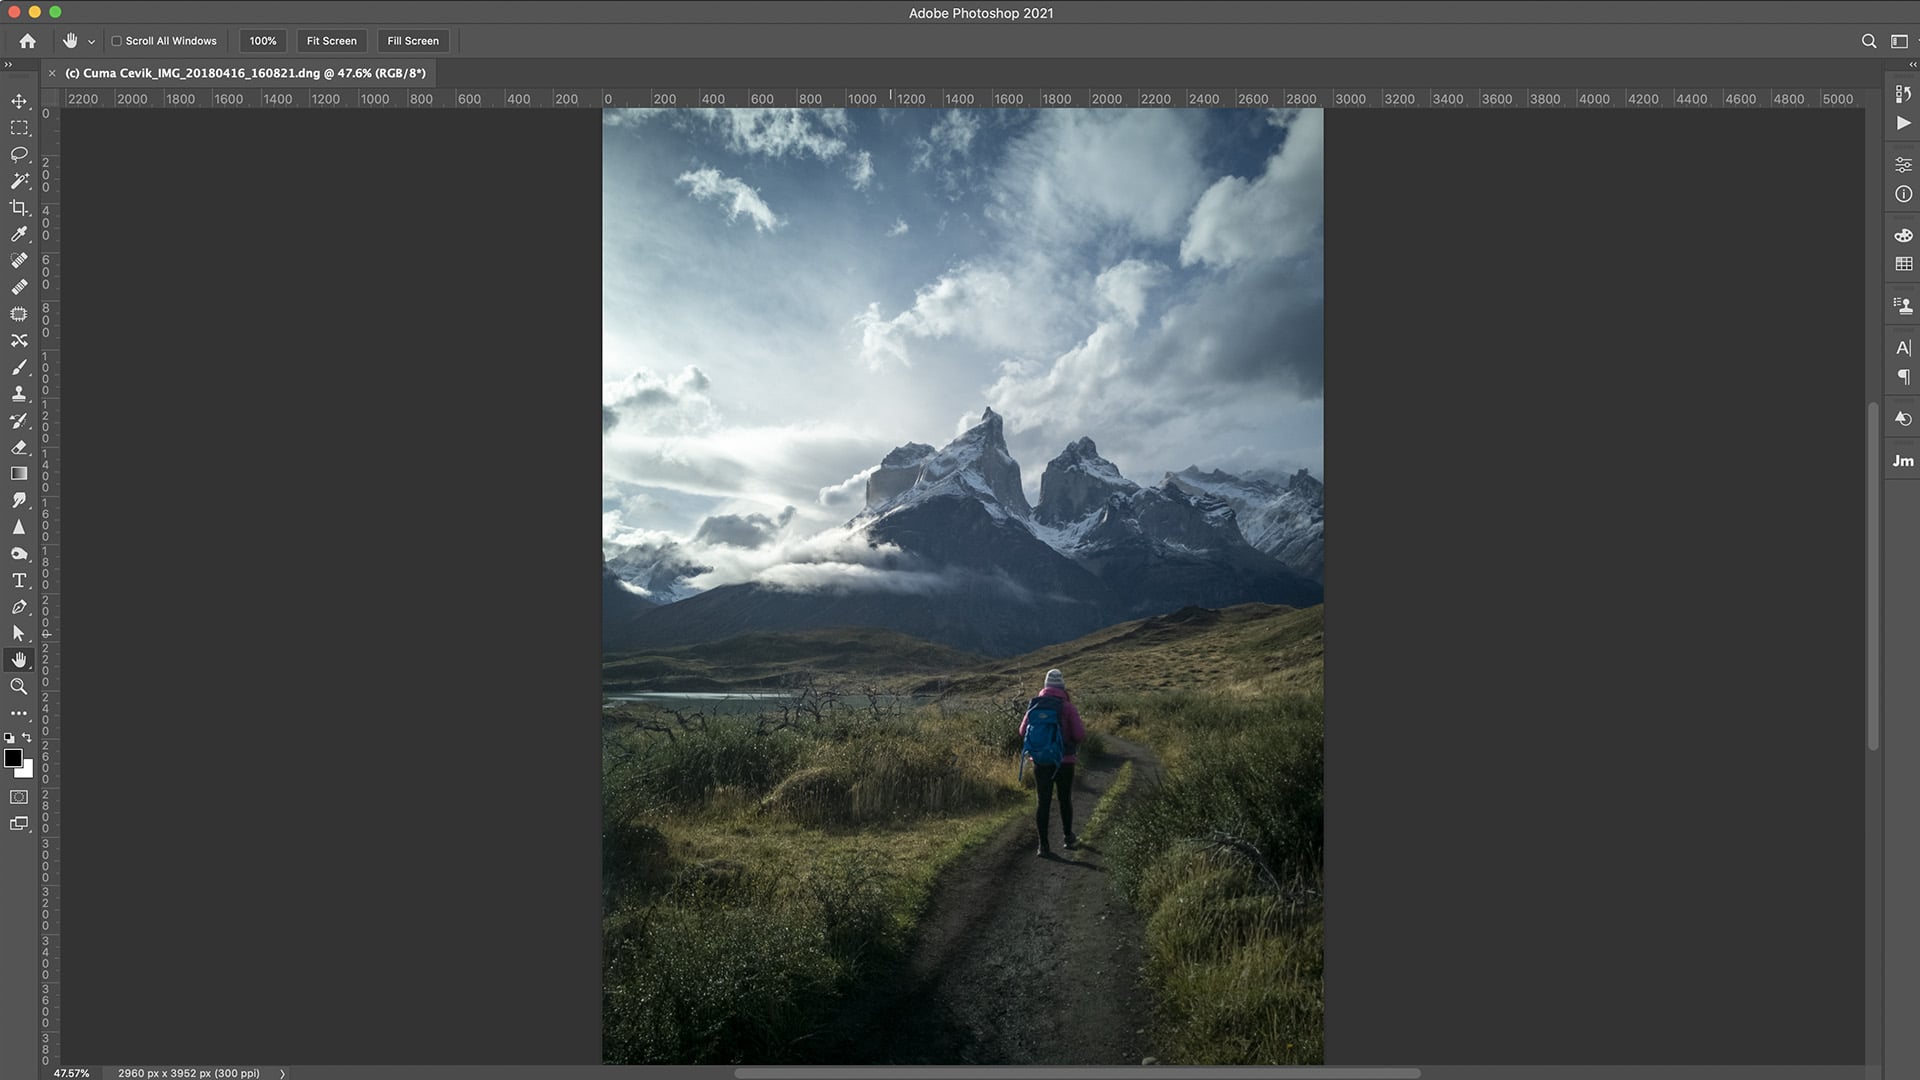
Source: Luminar Al
- The first thing we will do is open the Photoshop program.
- Once open, we go to press Control + O or in the upper panel we will open the image that we want to modify.
- With the help of the mouse, by right clicking, we will duplicate the layer so that we have copied the same layer twice.
- We name the first image with the nomenclature that best suits our way of working and then we will go to the background layer and delete the layer.
Step 2: Prepare the second image
- To prepare the second image, we will access the open option from the top menu and then we will go to the second image and open it.
- With the «Minimize» button, we will leave the image in the background.
Step 3: Join both images and merge them
Source: Photolog
- To join both images, we will click on the first image and then on the second.
- We will activate the first image since it is the one that interests us.
- If we have the image activated, we can then proceed to close the second image.
Step 4: Delete the background of the first photo
- The first thing we will do is look for the delete tool or we can also delete it by pressing the E key on our keyboard.
- The second thing we will do is choose a brush whose opacity is minimal and whose thickness exceeds 100 points.
- In this way, we will erase the background.
Integrating both images allows you to merge them and also create possible interesting collages for your projects. The steps to follow are simple and brief, which allows the work to be done not to be expensive or hinder your process in learning this brief tutorial.
other alternatives
Photor
Fotor is characterized as an image editing tool. In addition, it is also available for both Windows and Mac.
If you are a designer and you need to work with a tool that does not require a high monthly cost and with free options, this is your ideal tool.
Furthermore, with fotor, you can not only edit images but also allow you to eliminate backgrounds and in this way be able to work better with vectors that require the use of possible marks or eliminate anything that annoys or annoys your image.
Befunky
BeFunky is one of the apps that offers a variety of filters. This allows the change from image to illustration to be satisfactory.. In addition, it also has different drawing modes: oil, watercolor, etc.
It is without a doubt what you need to give a more creative touch to your photos.
Lunapic
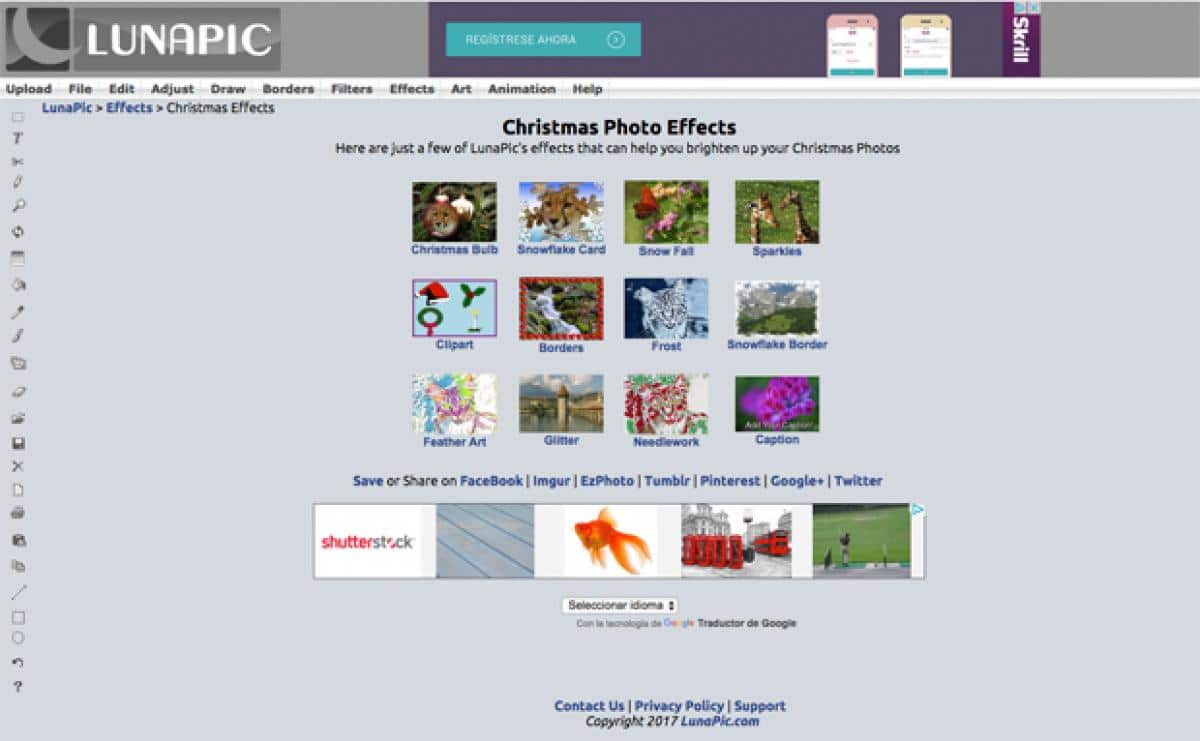
Source: ComputerHoy
Lunapic is one of the free tools that allows image editing without the need for a monthly or annual payment. Its interface not only resembles programs like Lightroom or Photoshop, but also allows you to create various image creations and manipulations.
In short, it is one of those tools in which it is ideal if you do not have the complete Adobe package, which also allows great options if you do not have editing programs that have a high cost or require a mandatory subscription.
Conclusion
In Photoshop you can not only integrate both images but you can also combine them, or even merge them. Many of the famous collages have been made with the same tools that have been used in the tutorial, so it is important that you know about the many options that this program has.
In short, we hope that this mini guide has helped you and cleared up your doubts. In addition we have also left you a series of alternatives to Photoshop, some of them totally free so you can enjoy them and use them in your next projects.
We also suggest that you investigate and look for different options that help you better locate your projects and your way of working. There is no excuse for not being able to edit images or design with them.
Now is the time for you to try the tools that we have shown you and put it into practice.