Master Photoshop professionally Through the use of groups, layers and other tricks that will allow you to improve your working method with this incredible photo retouching program, achieving graphic projects with an orderly and clean work style. This system is essential to adapt to the pace of work in the real world.
Working in an orderly way can be one of the best qualities of a designer when entering a new project, locating the elements of a design quickly without getting lost among thousands of layers can be our best ally if we want to avoid going crazy to when it comes to locating that part of our design that we can't find anywhere. Learn to work with layers duly named and placed within groups so as not to get lost among them. In this tutorial we tell you how layers work in Adobe Photoshop.
Learning to work with groups and layers in Photoshop is essential to be able to properly master this graphic design program. A orderly work methodology It is a positive point to get the most out of our graphic projects without losing our minds because we will not always work with two or three layers, in some projects we will have to work with thousands of layers and elements that will make life impossible if we do not have our properly ordered work space.
To get started with groups and layers in Photoshop we must do the following processes:
- Name the layers
- Create groups and name them
- Mark the most important layers with colors
The first thing we will do before starting to create groups and layers is decide how many elements will have our design. For example, if our design has text and image we will create two groups: one for the text and one for the images.
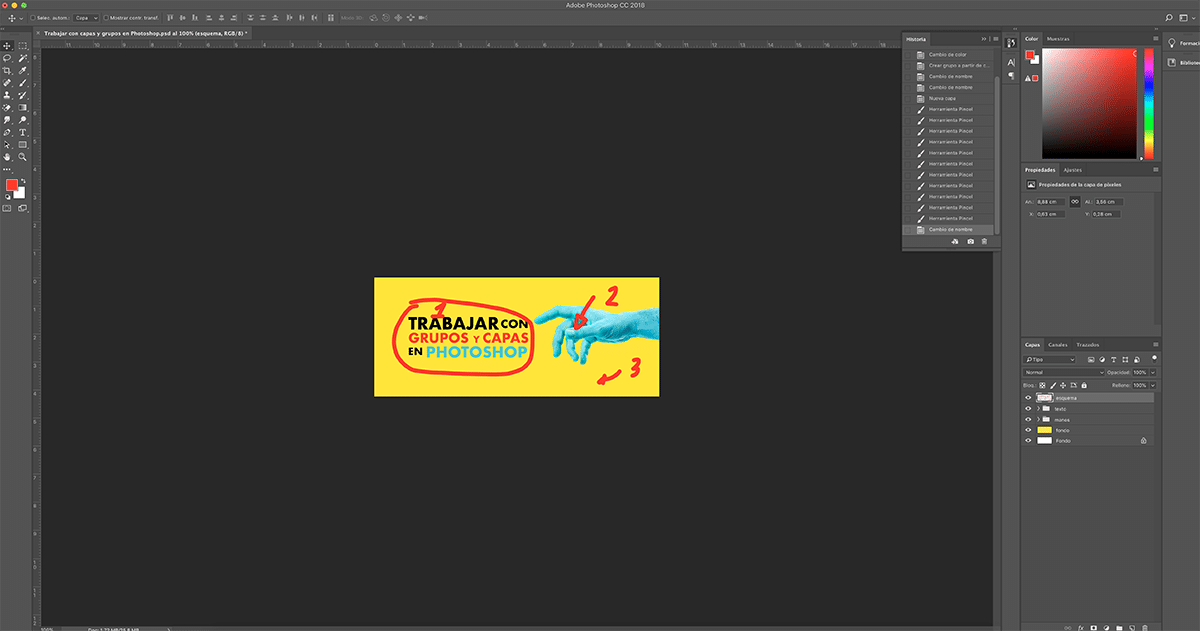
In the example of the image below we can see a small diagram with the parts of our design and the layers and groups that it must have so that the workspace is ordered. One layer for the outline elements, one layer for the background, and two groups for the text and the hand image. We click on the folder that we see in the layer area to create a group, later we double click to be able rename it.

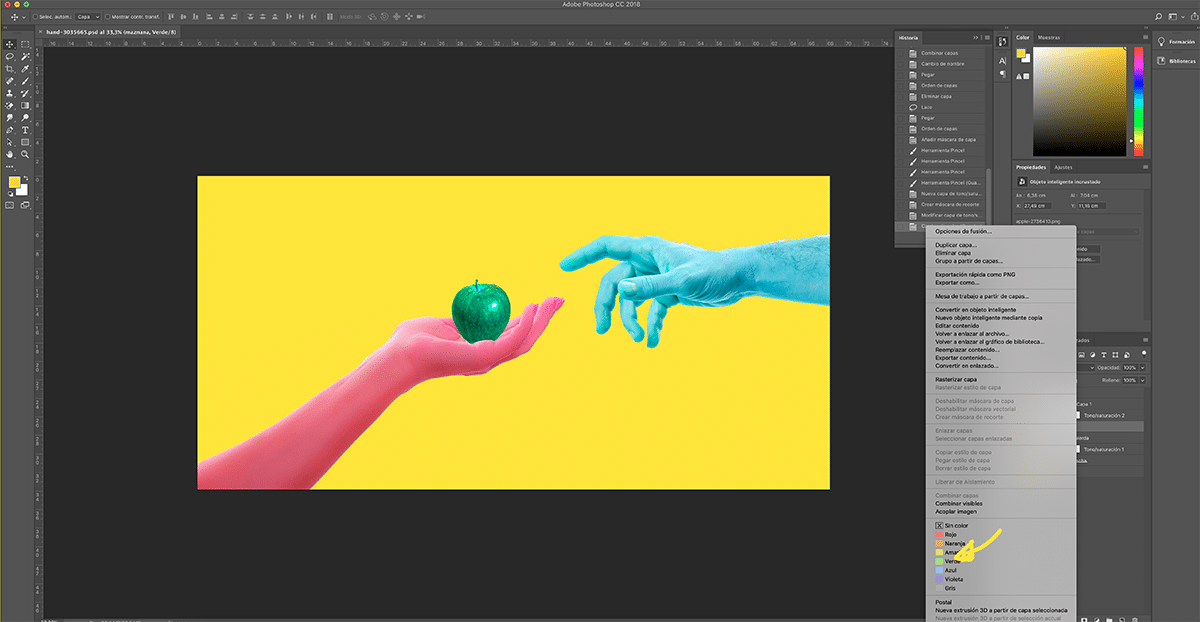
If we want color a layer what we have to do is click on the layer with the right button of the mouse, a window will open where we can see several colors for the layers. The ideal thing in this part is to put a color in those groups that are very important in the design, for example, in the design of a book, I usually put a layer of color in the area of the ISBN (barcode).
In the image below we can see the colors that Photoshop allows us to put.

If we want to create a group with layers that we already have in our layer area, what we have to do is select multiple layers at the same time and then we create a new group so that automatically all the layers in the same group are put inside. This process comes in handy for when we have a lot of loose layers that we've created over a long design process. Imagine a drawing with many parts: clothes, body, lights, shadows ... each part would be a group and within the layer group many layers with colors, shadows ... etc.

Once we have all the layers named correctly, the groups created and the important layers, we will be ready to say that our workspace is professionally ordered. This system of order and planning in the Photoshop work area is made in the professional world of design every day because on many occasions graphic projects will be played by several designers and everyone must be able to locate the different parts and elements of the designs.
In the publishing world when several designers have to touch the cover of a book, this process is essential to not get lost between layers and layers and end up totally crazy when it comes to having to make changes to the designs.