
These are the steps to follow to make your self portrait in geometric styleUsing Adobe Illustrator.
How do we make a geometric self-portrait?
1: Choose a photograph where you can see the face and shoulders.
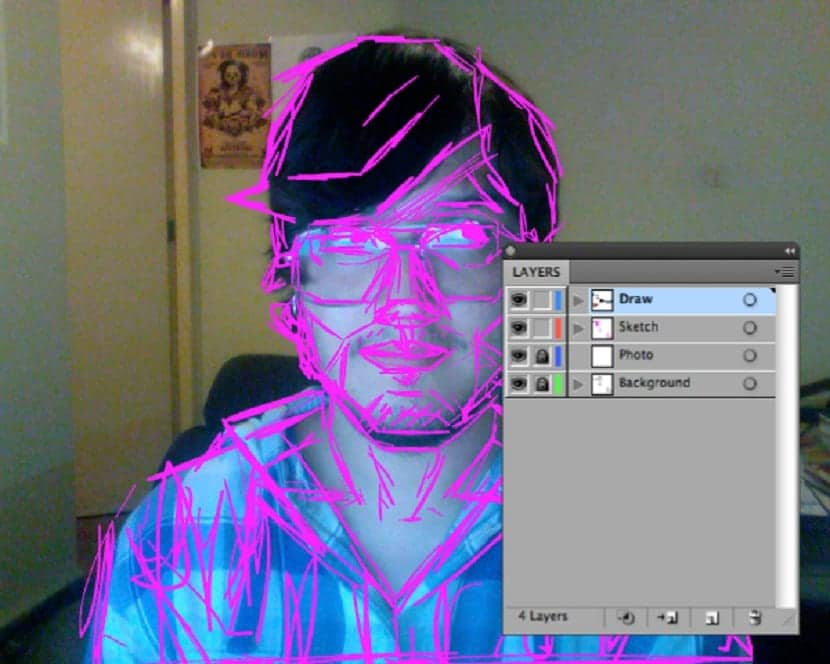
2: Make a new 600x480px document in Adobe Illustrator and arrange the layers in this order:
- Drawing where you will make the illustration.
- "Eraser".
- Put a photograph as a guide.
- Sketch a square with the same measurements as the document, painting it gray.
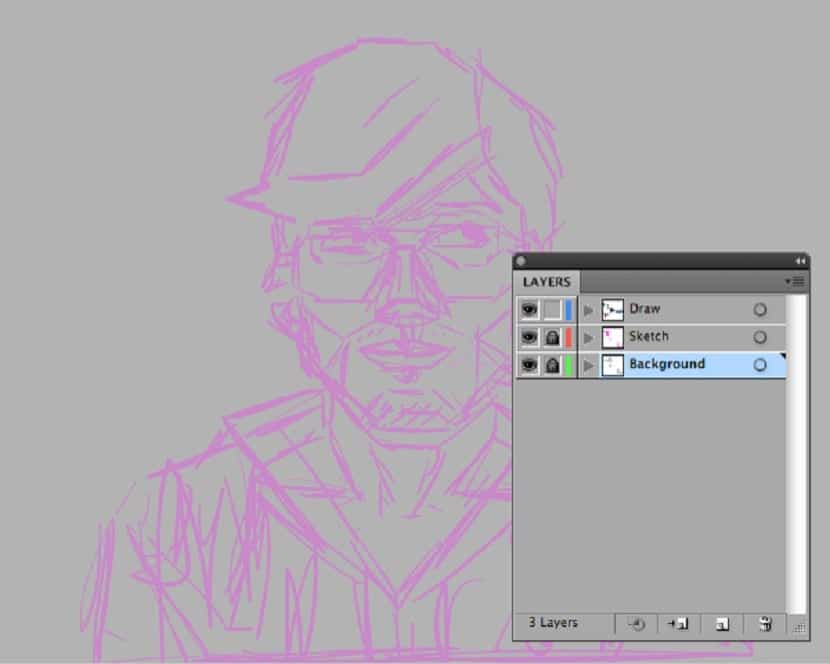
3: Using the reference photograph, design your draft in "Eraser", using the tool "Brush". Make straight lines, simplifying as many details as possible and delete the third layer.
4: Set the eraser opacity to 30% and lock the layer using the padlock. Start drawing from the bottom to the front using the pencil tool. Using 1pt thick and black, outline the hair using straight lines.
5: Draw half of the shirt, then copy and paste in front, use the “Repeat” tool and rotate what was duplicated. Choose both paths and use Pathfinder> Unite Option, in order to join both shapes.
6: Sketch the collar of the shirt using the polygon tool, then place the shapes on the base of the neck.
7: Use the same process for the face shape; sketch an octagon and choose the upper crossing points.
Move them with the white arrow and / or adjust them using the scale tool, being possible to duplicate this format and use it for the face, then in another duplicate, use Pathfinder> Minus Front to cut the neck format.
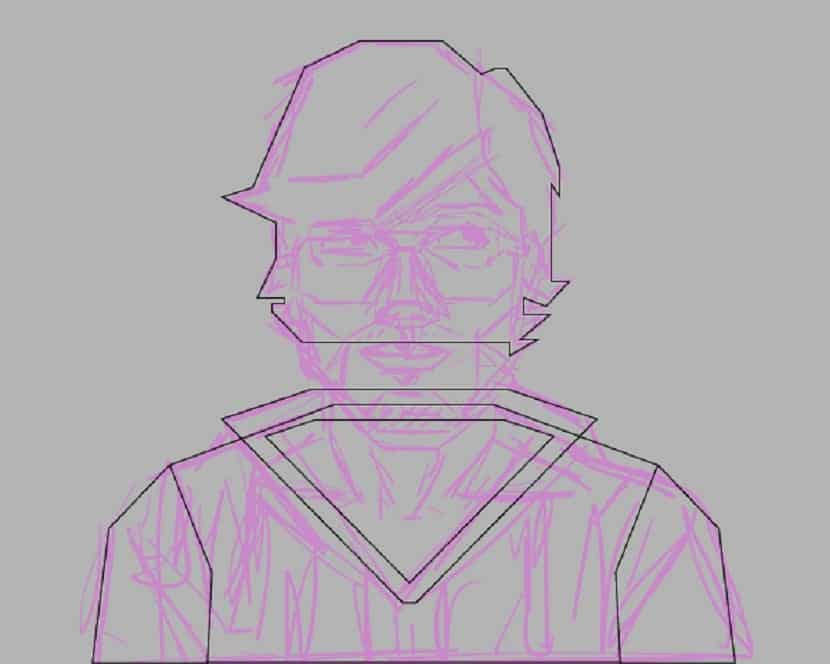
8: To add details, use Shape Tools and the pencil tool.
9: Press D and the illustration will appear.
10: To make the lips use a hexagon. Stretch the sides and use the scale tool to change the format. Then draw a triangle and align it in the middle.
Use Pathfinder> Minus Front to delete the triangle at the top of the lips, then copy and paste it in front of the lips, change the format measurements for the center.
11: To make the eyes, use an octagon using the -Shift + E-Eraser Tool-, remove the bottom section of the format.
Then move the format using Shift + Alt to copy, duplicating the basic shape and using Minus Front on the Pathfinder, which will be the eyeshadow, duplicate again to make lashes. Sketch a small octagon for the iris, then transform it to make the lower part of the eyes.
12: For the nose, make an octagon again. Modify various points and add some anchor points at the base of the nose, then sketch out several octagons and some other simple formats, adding detail and volume.
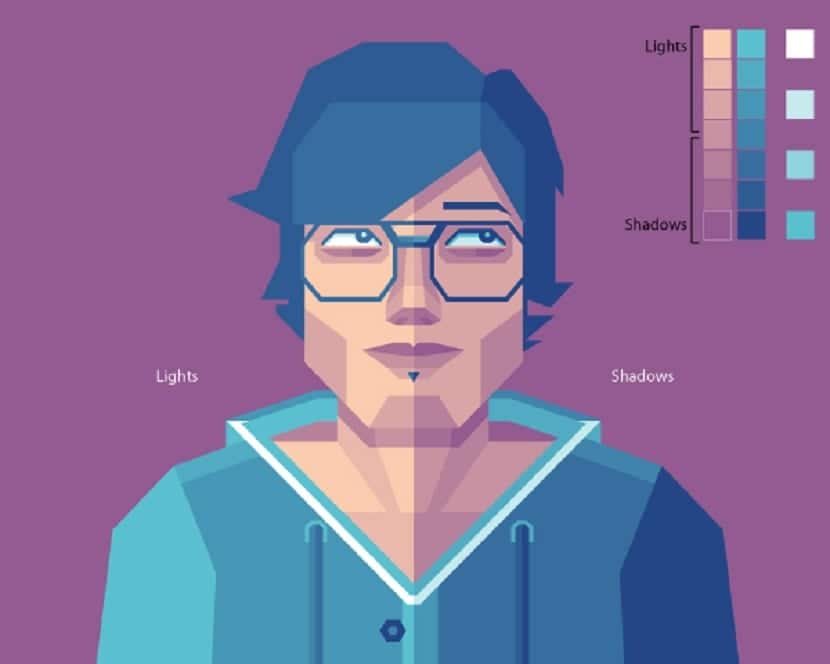
13: Finish the illustration, adding color and details you want.