
Source: PCworld
If you thought you knew everything about Photoshop, you may not be entirely correct. Photoshop has endless tools that help us design the projects we carry out. But not everything is there, since we can get to modify and manipulate your tools to get an efficient and fast job.
In this post, we show you with simple steps how to merge the layers in Photoshop, a tool that is the basis and key for many designers around the world. Stay with us until the end and rediscover once again what this program is capable of.
Merge layers
Fuente: YouTube
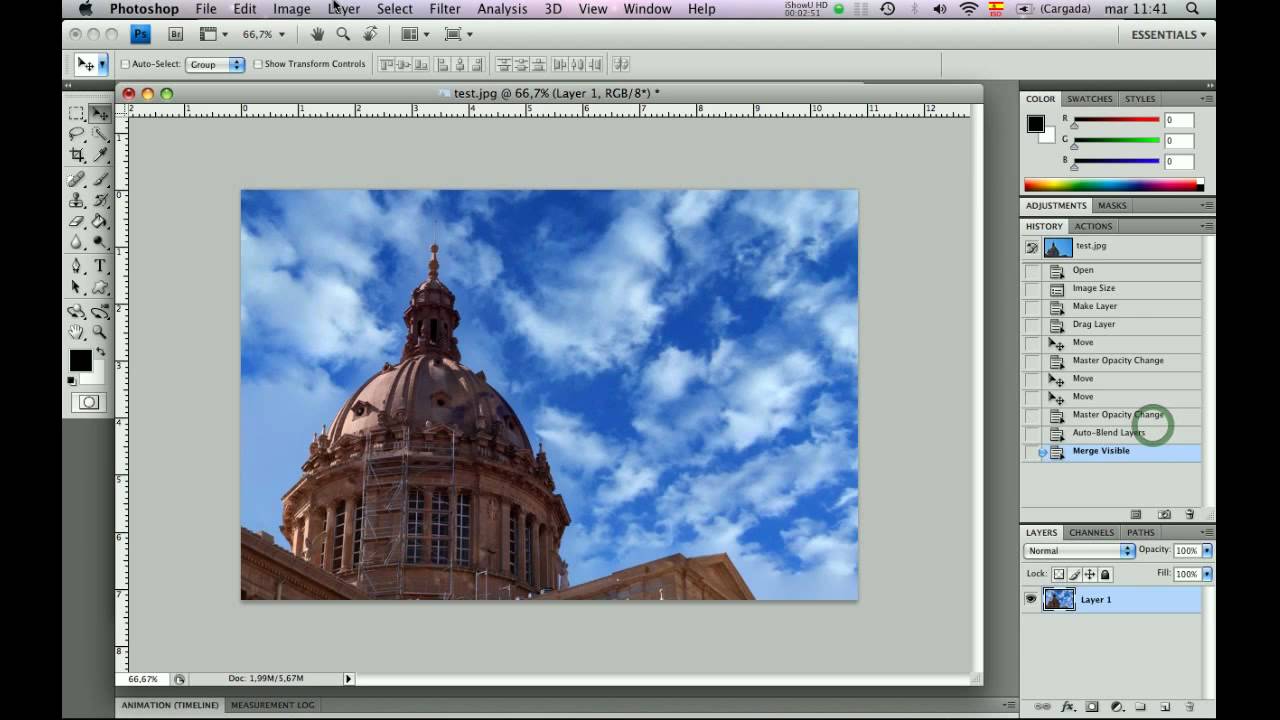
To merge layers in Photoshop, it's as simple as using the Merge Layers command to join or combine images with smooth transitions in the final composite image. With the Merge Layer option, apply the required layer masks to each layer to mask dodged and underexposed areas or differences in content. The Merge Layers command is only available for RGB or grayscale images. It does not work with smart objects, video layers, 3D layers, or background layers.
The first thing we have to do is open Photoshop, then the images that we want to merge and put each image in a layer, then we select the layers with the images that we are going to merge and from the Edit menu the option to Merge layers automatically will be activated.
Merge images
In Photoshop, merging layers is not the only thing you can do, but also merge images. Between the multiple uses of the Merge command layers automatically, is to merge several images of the same scene focused on different areas to get a composite image with a greater depth of field.
Similarly, you can create a composition by merging multiple images of a scene with different lighting. In addition to combining different images of the same scene, you can join multiple images in a panorama. Although it is more advisable to use the command Photomerge to create panoramas from multiple images.
A good utility is when photographing fireworks with a tripod, since we will see different images without moving the camera. By merging we will achieve very interesting effects.
Other characteristics
- Photoshop allows the composition and editing of raster images, supporting different color models such as: solid color halftones, CMYK, RGB and CIELAB. Photoshop uses its own PSB and PSD file formats with which it supports these features.
- It allows formats such as:
PSB
Large document format that allows documentation of up to 300,000 pixels in all dimensions. It makes use of all the features of the Photoshop program such as filters, effects and layers. You can store high dynamic range images, PSB files that have 32 bits per channel. It only opens in Photoshop CS or higher edition. Documents saved in this format do not open in other applications or in older versions of Photoshop.
PSD or PDD
It is the standard Photoshop format that has layer support.
EPS
PostScript version. Used to place images in a document. It has support for desktop publishing and vector programs.
PostScript
It is not a format, but rather a language to describe pages. It is possible to find documents in it, it makes use of drawing primitives for editing.
EPS EPS TIFF
Allows viewing of EPS files that cannot be opened in Photoshop.
DCS
Created by desktop publishing software company Quark. It allows the storage of typography frames, among others. Used for filming in desktop publishing.
GIF
Very popular on the webs. It allows the storage of an alpha channel that is provided with transparency to make saved as interlaced that is later uploaded to the web in different steps. Allows use of 256 colors.
BMP
It is a standard format belonging to Windows.
TIFF
Elaborate solution to switch from MAC to PC and vice versa.
JPEG
It is also very popular on the web. It has good image quality and a high compression factor.
PNG
It has the same use as GIFs but with a higher quality. Supports 24-bit color and transparency. It is only supported by browsers that have recent versions.
Free Resources
If you need to carry out this type of process but you do not have Photoshop, we offer you the possibility that you can do it since we have created a small list where we show you some totally free resources.
Brusheezy
Source: brusheezy
This page contains hundreds of free resources perfectly organized by categories according to the type of resource, without limit of daily downloads, nor need to register. In addition, Brusheezy has a fast and precise search bar that allows us to locate that resource that we were looking for everywhere. But yes, remember that if you use any of these resources you must give credit to the corresponding author.
Apart from the typical brushes and textures here we can find complete psd files to download and thus learn the tricks of the artists who have kindly uploaded them. And if you can't get enough of all the free resources, Brusheezy offers to create a paid account with more content to download, higher speed, and royalty-free.
All-Silhouettes
If vectors are what you are looking for, look no further. All-Silhouettes is a page with a huge file of vector shapes grouped in packages. These files usually come in .ai (illustrator) and .csh (Photoshop forms) formats, so regardless of the Adobe program you usually use, you will not have problems using these resources at the size and resolution you want.
This website is an initiative of a single individual with the aim of sharing with the world a library of free vectors and free to use but, as is customary in this type of website, there is a Premium version.
skalgubbar
It is a simple page where they exist. Skalgubbar is a website created by an architecture student from Sweden, Teodor Javanaud Emdén, in which he offers us hundreds of cut-out images of people in multiple situations. All images can be downloaded individually and for free in .png format and with large size and resolution.
If you are going to use any of these images, keep in mind that they are solely and exclusively for use in non-built architecture photomontages. It may sound a bit strange, but the author of the page reminds us in it that this is the goal of these cut-out characters and that if you intend to use them for anything else you must ask permission in advance, perhaps a bit extreme, but he has clear ideas .
Freepik

Source: Freepik
If you don't know where to find a resource, your best option to find it goes through Freepik. This website has one of the largest free libraries of graphic resources in the world and, according to them, they are also the largest community of graphic designers in the world. These assumptions are not so far-fetched when you see the figures handled by this website of Spanish origin and based in Malaga. With 20 million monthly visits and clients like Google or Adobe, Freepik's extraordinary growth is no wonder.
But not everything is so good on this website, as they themselves say, the page works with a freemium business model, that is, free but not entirely. Most of the resources can be downloaded for free by attributing rights to the web, but the full experience is accompanied by a subscription.
DeviantArt

Source: Frogrx
Is considered the largest social network of artists in the world not only serves for young artists Show off your works for comment and criticism from the rest of the community, deviantArt is also a place to share your own resources.
This website that has been active since 2000 long ago created among its multiple categories, the category of resources, which has resulted in artists from all over the world sharing their resources so that others can use it completely free of charge. Within the category of web resources there are 6 subcategories specially designated for Photoshop: psds, brushes, gradients and motifs, actions, custom shapes and color palettes.
Although deviantArt is not a resource page as such, the huge number of users it has makes this website does not stop growing day by day, adding more and more free material for artists, graphic designers and architects, among others.
Conclusion
In this post, we have not only explained how to merge Photoshop layers, but we have also wanted to help you and we have shown you some free resources in case you do not have Photoshop.
These resources are increasingly present in us and we can access them in a much simpler and faster way. We would like you to continue investigating much more about the tutorial and especially in the many resources that the internet offers to be able to follow the steps that we have indicated.
Design is today in the palm of our hand and the tools we have at our disposal are a good resource for our future projects.