
When we think Design programs, the first thing that comes to mind is the adobe package. This is a set of very specific and functional programs that help us to edit and create our content more easily. However, not everyone can afford subscription from Adobe, or maybe at some point we need to edit something and we don't have our equipment on hand.
Well, I present to you Photopea, an online application for free one that will allow us to edit and create images with tools very similar to those used by Photoshop, in a very simple and fast.
Knowing Photopea
Photopea is a tool created entirely by Czech programmer Ivan Kutskyr during the years that he studied his career. The application is available to anyone who needs it for free, and allows working even on .PSD files. Photopea's success has been overwhelming, reaching the million and a half users monthly. It also has a version Premium payment with more options, and with a renewable subscription every 90 days. The creator of the tool chose that time instead of annual subscriptions so that users who do not use it do not have to pay for a service that they do not take advantage of.
The popularity of Photopea is largely due to the fact that it is very intuitive and easy to use. The interface is very similar to Photoshop and it is also Delivery to Italy takes one or two business days. The workspace and the icons of the tools are quite similar and this helps us to adapt if we already know how to use Photoshop, unlike other editing software.
Learning to use Photopea
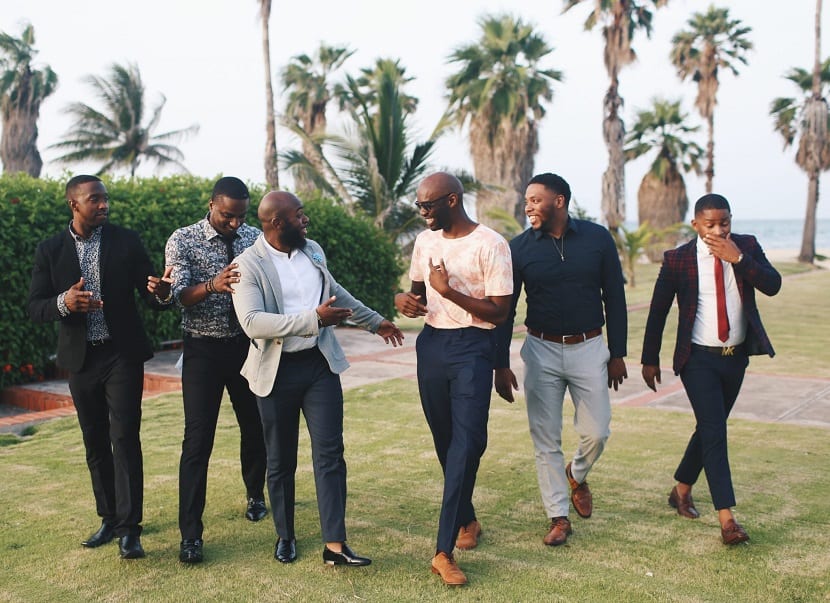
To test how the tool works, I have decided to do an edit tailored of this image.
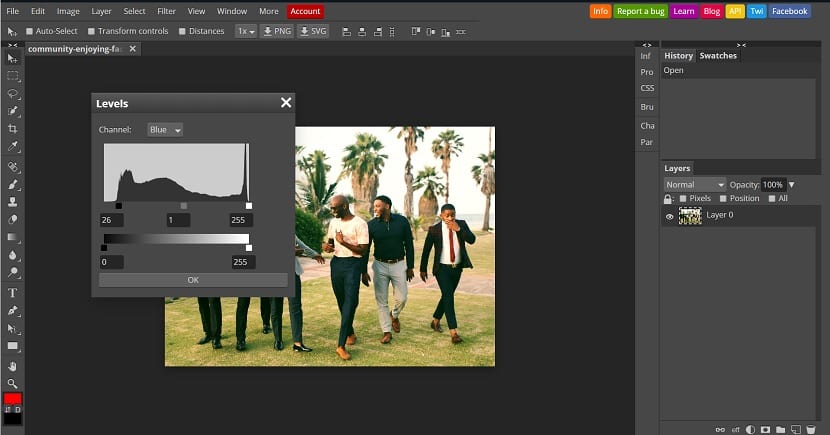
La saturation of the colors seems a little low to me, so I have changed the niveles of all channels and emphasized the red channel.
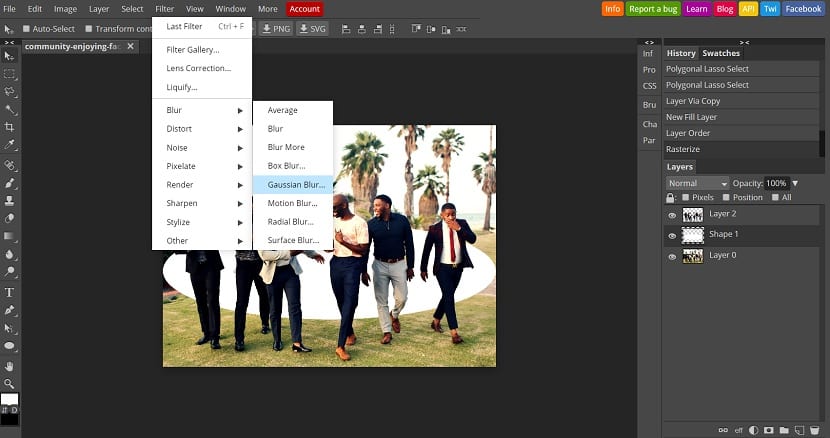
Then I used the tool Quick Selection to select people and I have created a new layer with that selection. The command to create a new layer from selection is Ctrl + J, the same as in Photoshop. After selecting it, I created a white oval without an outline and placed it behind the people. After, I have rasterized the layer and applied a gaussian blur oval to create a halo effect that highlights the figures.
Finally, I have chosen one lighthearted typography to add a text in a color present in the image, and finally a rectangle of a neutral color with transparency behind the text to make it stand out a bit more. This is the final result.
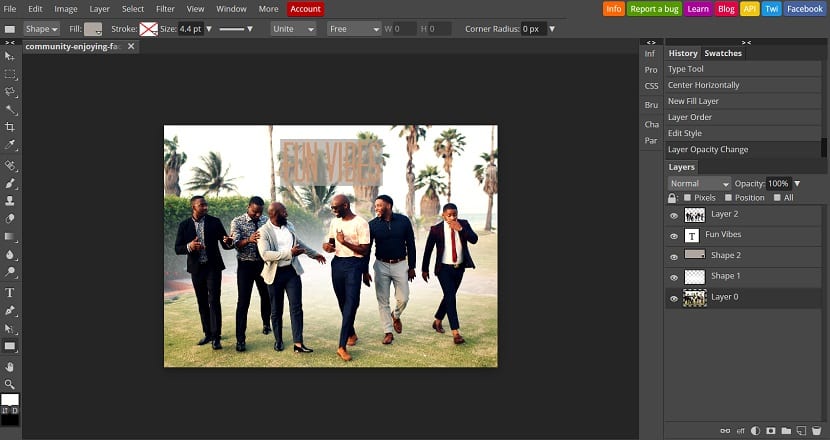
As you can see, the tools and the result are very similar to what we would get with Photoshop, but for free. I recommend that you try Photopea, because in my opinion, it is worth it.