
Image I: This is one of the landscape photos that I chose to develop the tutorial
That the Adobe Photoshop it is a very complete program is something we all know. The technological advance that the treatment programs of images, has supposed a revolution in graphic products that have been developed in the world in the last decade. That is why there are thousands of pages that are dedicated to trying to explain the operation of the program via Tutorials and video Tutorials, with sometimes greater and other less success.
That is why we are going to start offering a series of Tutorials for this great program, in which we will make a difference with other pages, teaching essential aspects of the use of the program, from the correct use of the tools to how to handle workflows, going through other more creative and focused on digital art. Today I bring you a Tutorial Photoshop: How to apply the same effect in several photos working in batches.
The power of Photoshop, is beyond doubt, however many times by ignorance of cause We do not work with him correctly, subtracting him with our clumsiness born of not knowing, to work several levels below the threshold of his capacity. The program was developed to be able to have profiles developed according to the needs we have, depending on our professional profile (it will not use the same Photoshop a cartoonist than a web developer), and thus ensure some work flows or dynamics more productive, having the program regulated for it. Within the program there are several groups and subgroups of tools, and there are several aimed at making workflows more effective, saving time and task for the professional who uses it.
Within this group of tools, there is one that is particularly useful if you have to give the same treatment to several photos, since it allows you to work a batch of photos without having to do it one by one. This is able to simplify work that would otherwise be days or weeks to a few minutes or sometimes seconds (depends on what your computer is capable of doing)
Let us begin:
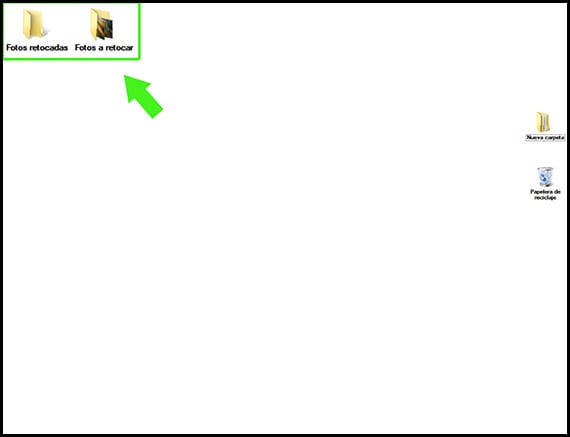
Image II: The first step is to create two folders
In order to be able to work with the tool Batch automate, we will have to have the photos that we want to process in a folder, and have another folder ready to receive the photos already processed. To do this, we will create a couple of folders (image I), named in the example as: Photos to retouch y Photos already retouched.
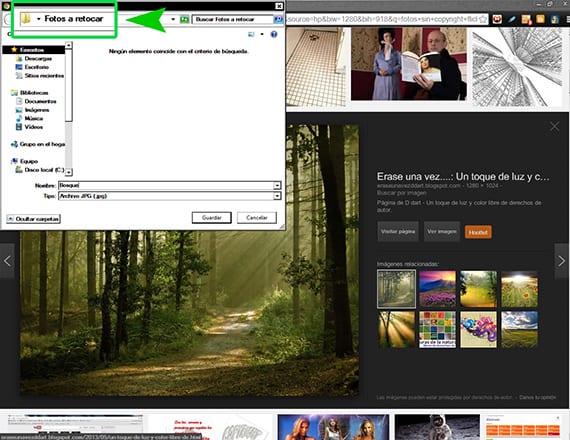
Image III: To use them as an example, download a series of images (without copyright), and put them in the folder Photos to retouch
I have downloaded about 4 or 5 photos about forest landscapes in the folder Photos to retouch, and from there we will start working.
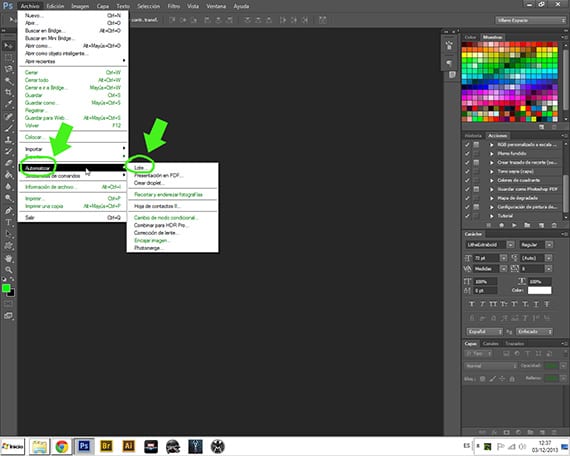
Image III: The route to reach the tool.
First of all, we have to know what process we want to apply to the photos o images what we have. The automation that it offers us Photoshop, basically comes from requesting it to execute an action on a content and pass it to another folder, after renaming the images. This means that we can only automate our work if we have previously developed or chosen an action and saved it in a group of actions. We will go to the tool following the file-automate-batch path, and there we will open the menu of the tool that will be where we configure it to work automatically.
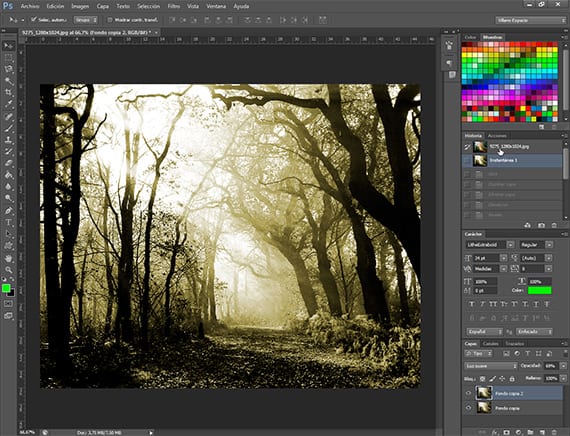
Image IV: Final result of the action programmed for the batch.
Once the box of menu of the tool, we will have several elements to configure:
Reproduce: From the set options and actions, it is where we have to choose the group of actions from which we will choose the action that we want to apply to the images, which we will have to have loaded in the window actions from our tools menu, and the action we want to apply to the photos that are inside the folder. This action may be one of those that brings Photoshop from home, unloaded from Internet or created by us.
From: From this option, we will choose from where the program has to take the photos to process, which can be from a folder (in this case Photos to retouch, which we have prepared before), with which it will request the route, from a device such as a digital camera, to some images open, or from the Adobe Bridge. We can also suppress some processes that may be redundant within the action, such as saving as or dialog boxes.
Destination: In this option we will choose the folder that will receive the photos already retouched, and it also gives us the possibility to rename those photos as we want and with the extension that we want, including a good number of options preset as date in different formats, serial numbers , etc.
If you have any questions, tell me at the entrance and I will clarify it for you.
Hello good Morning. In my ps CS5 I see the option file> automate> batch (but batch does not appear eligible) or in other words, I cannot choose that option, do you know what happens?