
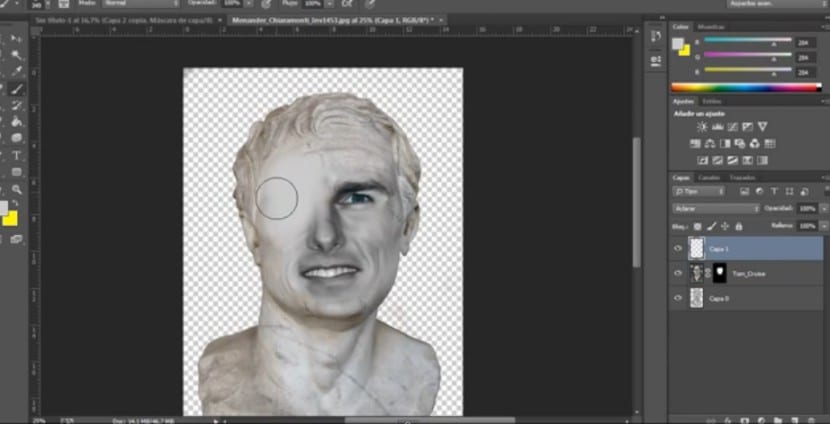
The next step will be to create a new layer and select the tool brush with a gray foreground color (We can try various shades until we choose the one that suits us best and the one that best suits our image). We will paint on Tom's face, what interests us is to work on that area because there is still a palpable difference between the bust and the face. We will select a fusion mode cape Lighten and we will modify the Opacity until satisfied, in this case we will give you a 20% opacity.
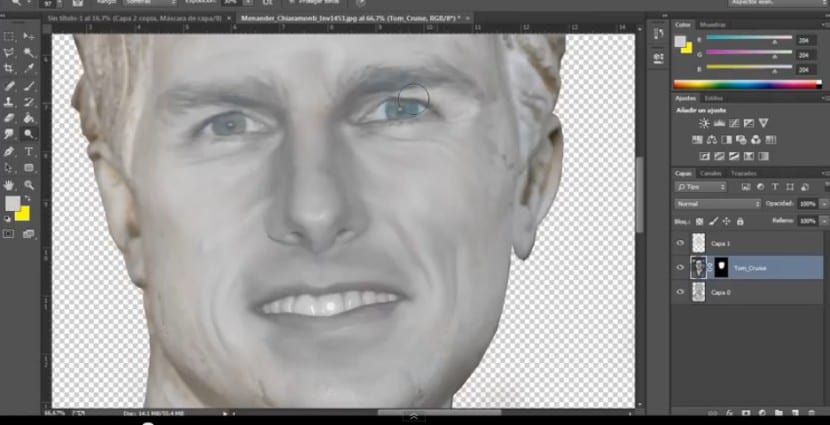
Once this is done, we will perfect our texturing in all those parts that seem unrealistic such as the eyebrows or those areas that have an excess of contrast. We will do them through the tool Overexpose and we begin to review all the areas that we see dark and working on the shadow range. What interests us is to create a balance, a homogeneity in all fields of the image. Our goal will be to steal all the nuances that are typical of a photographic portrait so that the sculpture texture is realistic.
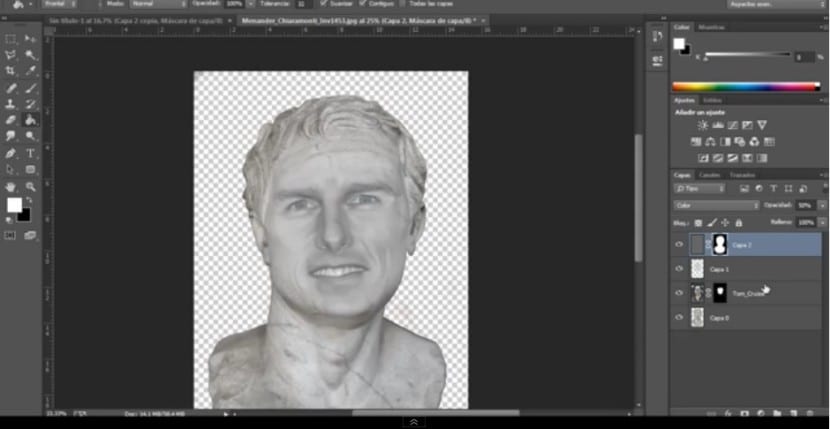
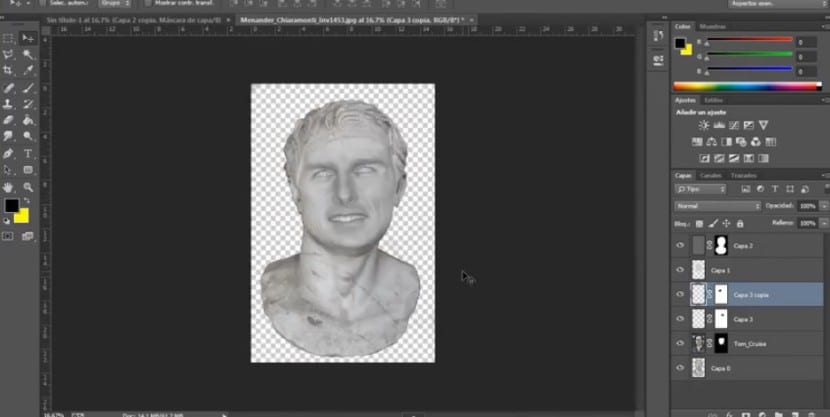
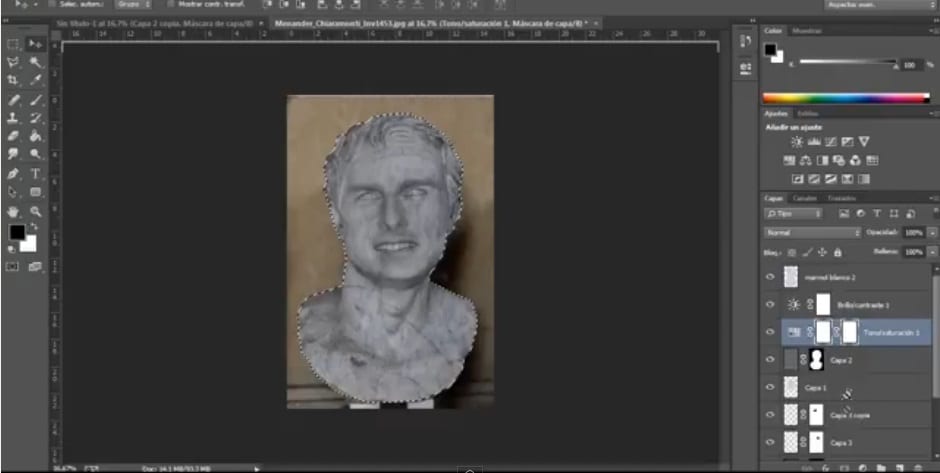
The result is gradually becoming more homogeneous and unitary, but it is not enough. Now we will create a new layer, what interests us is to create a greater unity in the whole. This time we will ink the whole layer, we will go to the paint pot tool and select a grayish hue (to our liking) and tint the entire layer. This layer should be located above all the others because we want it to exert its influence on the rest of the layers. We will select a fusion mode de Color because what interests us is precisely working on that area, the color of the image. The Opacity we will reduce it to a 50% (Although you already know that this value is variable depending on our project). But as you can see, this effect not only affects our sculpture, it also affects its background and this does not interest us. To reduce its scope to the bust, we will make a selection of the silhouette (we will go to the sculpture layer and click on its miniature at the same time that we click on it) and we will go to the layer that we have tinted gray to create a layer mask. The effect will now only affect our sculpture.
Another element to take into account when working on a sculpture is the look. The eyes should be as realistic as possible, for which we must end the brightness, we must eliminate all the nuances that this photograph gives us. For this, we will select the eye, it does not have to be in a precise way, the essential thing is that within this selection is the basin. Then we will press a Ctrl + J and we will duplicate this selection in a new layer. We will go to Image> Brightness and Contrast and we will play with the parameters until the iris acquires a hue and contrast as similar as possible to the skin of the face.
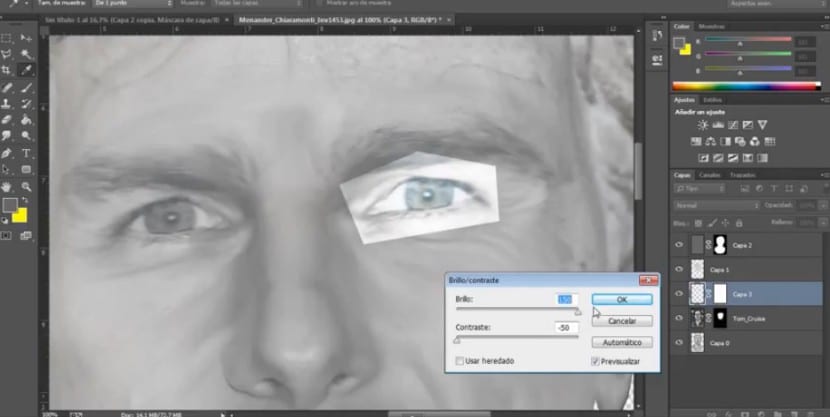
Once this is done we will create a layer mask in this eye and begin to eliminate the areas that do not interest us with a black front color brush. It is recommended that we repeat this process if necessary and duplicate this layer to play with the opacity. It will also be necessary that let's eliminate the pupil and glare since these elements subtract truth to our composition. We will go to the tool Clone and selecting the surface of the iris we will clone it making the brightness disappear. To work with the opposite eye we will follow the same process.
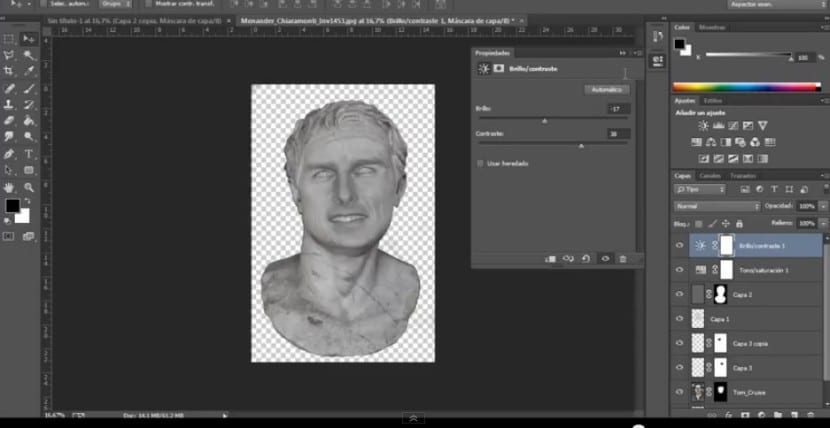
The next step is to create adjustment masks (Remember that to add adjustment masks you must select the button located under the crescent-shaped layers) to work on the set. We will use two adjustment layers. That of Tone and saturation (In this one we will work especially on lighting and of course saturation), we will play with the parameters until we find the result that best suits our idea. The second adjustment layer that we will add will be Brightness and Contrast and we will also look for the most successful solution.
The next step is optional, in fact I have omitted it to get to the final result. It's about adding a marble texture. We can get some texture of the desired material. We will import this and transform it and place it in the right place. With a blending mode on multiply and a opacity of the 70%. The next step will be to select the silhouette of our sculpture again and create a layer mask on the layer of our texture. By last we will import our fund. In this case, I will use the background that appeared on Menander's bust, I will import the original photograph and place it under all the other layers.
Well, here we have our stone texturing in a fairly simple and very realistic way. Easy, right?