
Today we will talk about Cloner buffer, a quick way to add elements to an image or remove them.
With the clone pad we can retouch details on a face, as well as duplicar to a person in a scene, or remove many others.
We will show you how to copy multiple times or remove a person who is on the beach.
We will start by opening an image that is on the beach and has at least one person there.
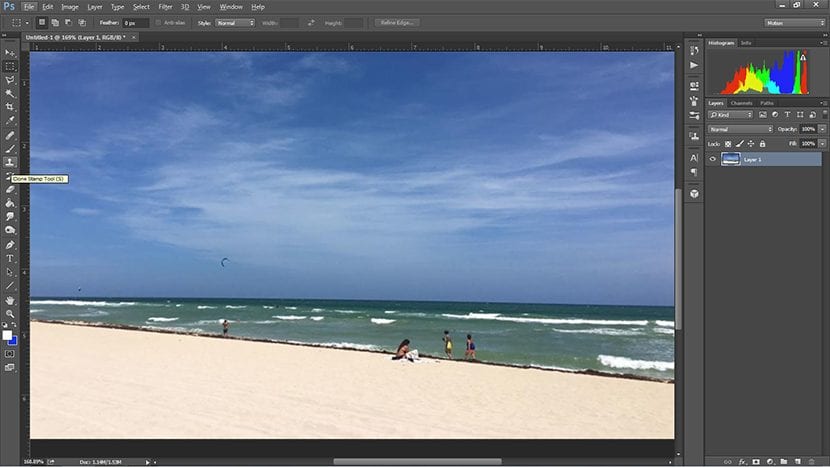
We choose the person who we would like to copy or delete and we zoom in to get into more detail.
If the image is medium small it will happen to us that when zooming it appears pixelated, but this should not be a problem, because once we finish, we will remove the zoom and it will look good again.
We proceed to take the tool Clone stamp that you can see in the image above. We must make sure that it is not the pattern clone buffer since that will not be useful for this tutorial. Generally, the one that we will use in this tutorial is found by default.
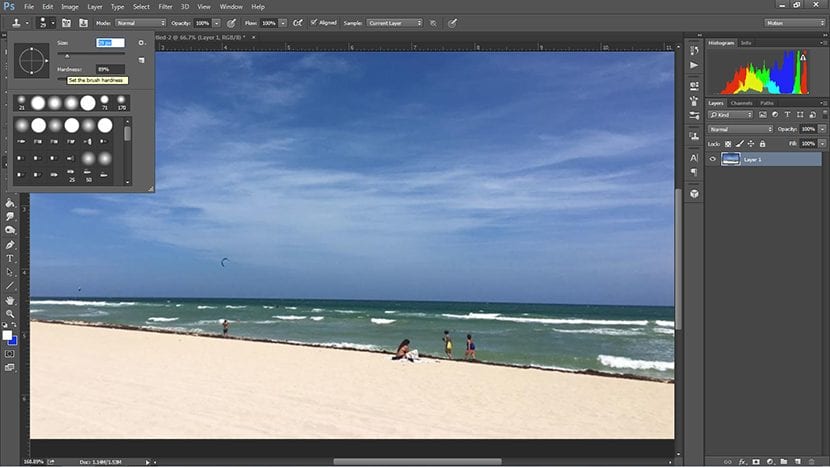
Now that we have the tool selected and we are looking closely at the person we will clone, we adjust the size of the brush adapting it to the size of the person's head, or of a leg or arm, this to copy little or nothing of the environment in which the person is located that we will duplicate.

We make a "selection" of what we want to clone, holding down the Alt key and clicking only once. So we already choose where to start from to clone. Then we just have to click normally where we want to copy that person.
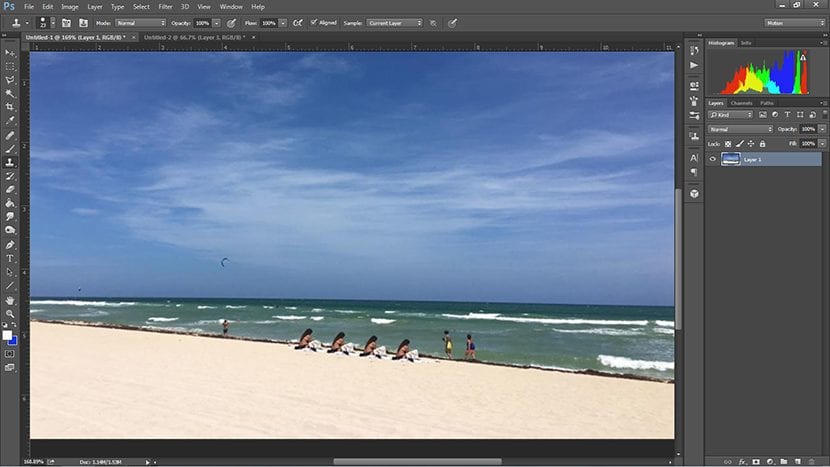
We make the copy as many times as we want, as long as we previously select what we want to copy.

Then to eliminate a person from there we do the same procedure but instead of choosing the person, we choose the sector of nature that will go in its place. And we do everything the same as what was previously scheduled.
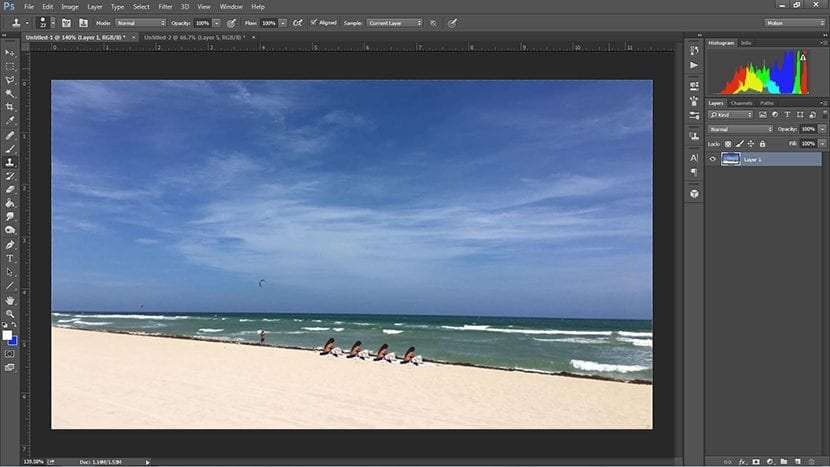
So you are left with, in the end, an image that has many of the same people, and few or no other people in it. We hope this tutorial has been useful for you.