
Whether for a plate presentation or to have fun for a while, tell our friends that we prepare an excellent meal, or make ideas for restoration without having the time to actually prepare the food; this tutorial will teach you to use cutouts and shadows to match a harmonic composition with food, drink and more.
On this occasion we will make a breakfast plate with some fruits, bread and tea. You can adapt it to your personal tastes, from just many drinks, or just food, coffee or beer, fruits and vegetables, or fast food.
We start with the images that we will get of each component that will be represented in the composition, and the plate or cup that we will use to introduce these.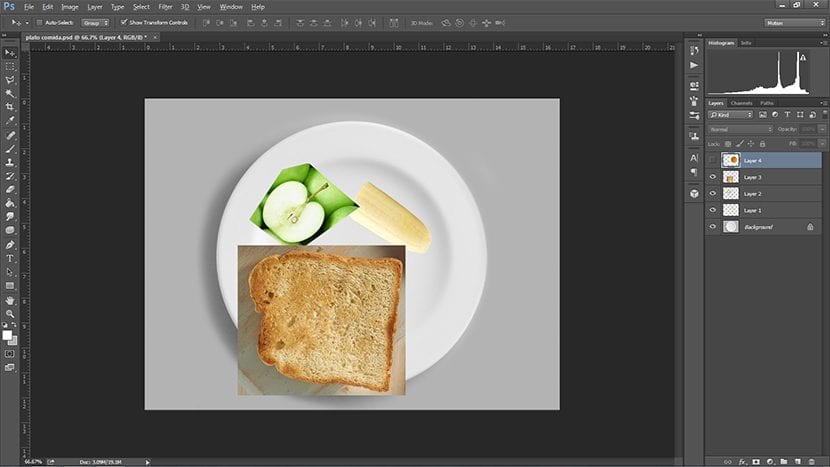
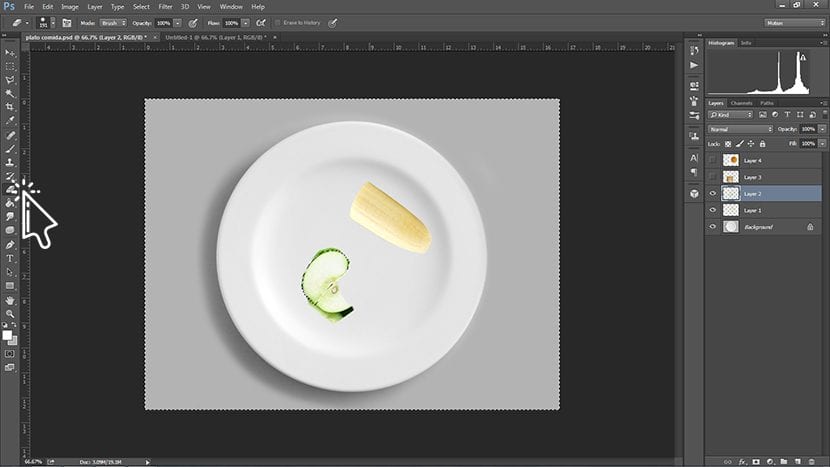
We will show you the process with only one of the components, since then it will be about reproduce the same process for the other components.
We take the blotter: select contour and we erase what is left over.
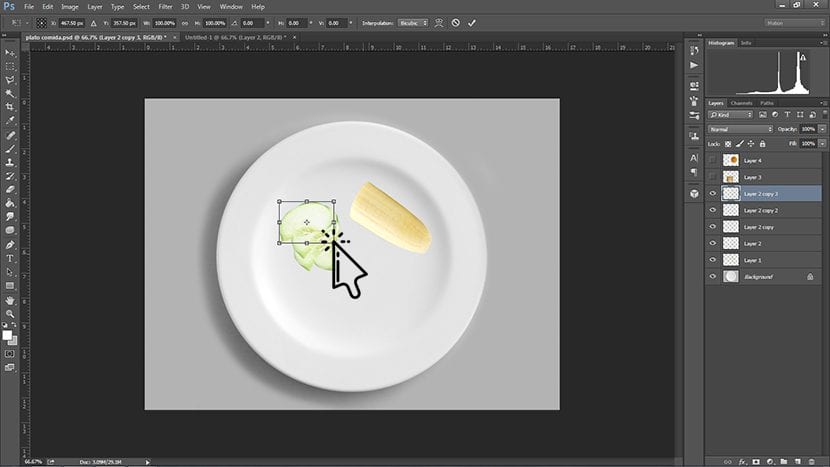
In this case we take the piece of apple that we leave and copy it to make them more. For duplicate layer we use the remote CTRL + J, and then we rotate the image a little bit so that all the layers are visible.
Then to make the shadows we do double click on the image and the following panel will appear.
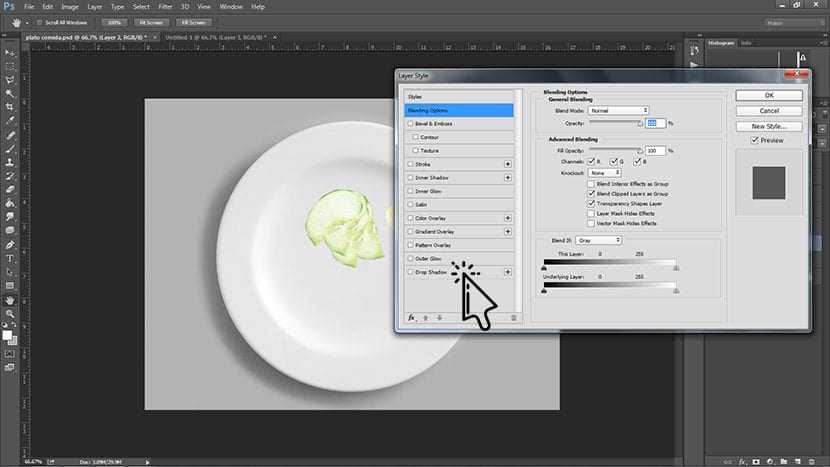
Here we will go to Parallel shadow, and from there we will accommodate the shadow, taking into account the shadow that your plate already projects or cup that we use as a background, or as the first image from which to start. In this case we have set an angle of 28%.
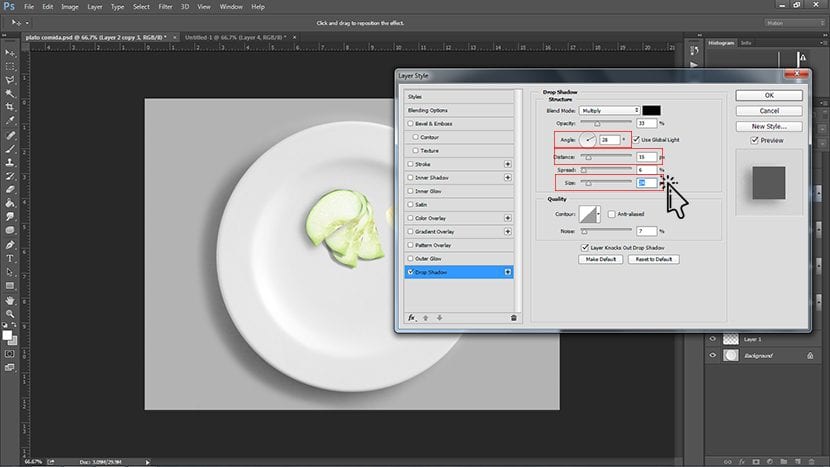
Remember that if we mount objects, the higher they are more shadow they will project, and more dispersed should be the same. To accommodate these details we must adjust size and offset of the parallel shadow, which we pointed out above.
Once everything harmonizes with the details of the shadows, we repeat the process to the other elements. We can even do right click on the layer and choose the option Copy Layer Style, and Paste Layer Style, to make it faster.
If we also wanted, to the final composition we can add a filter of the ones we have learned in previous tutorials, such as the Color Consultation.